———————————
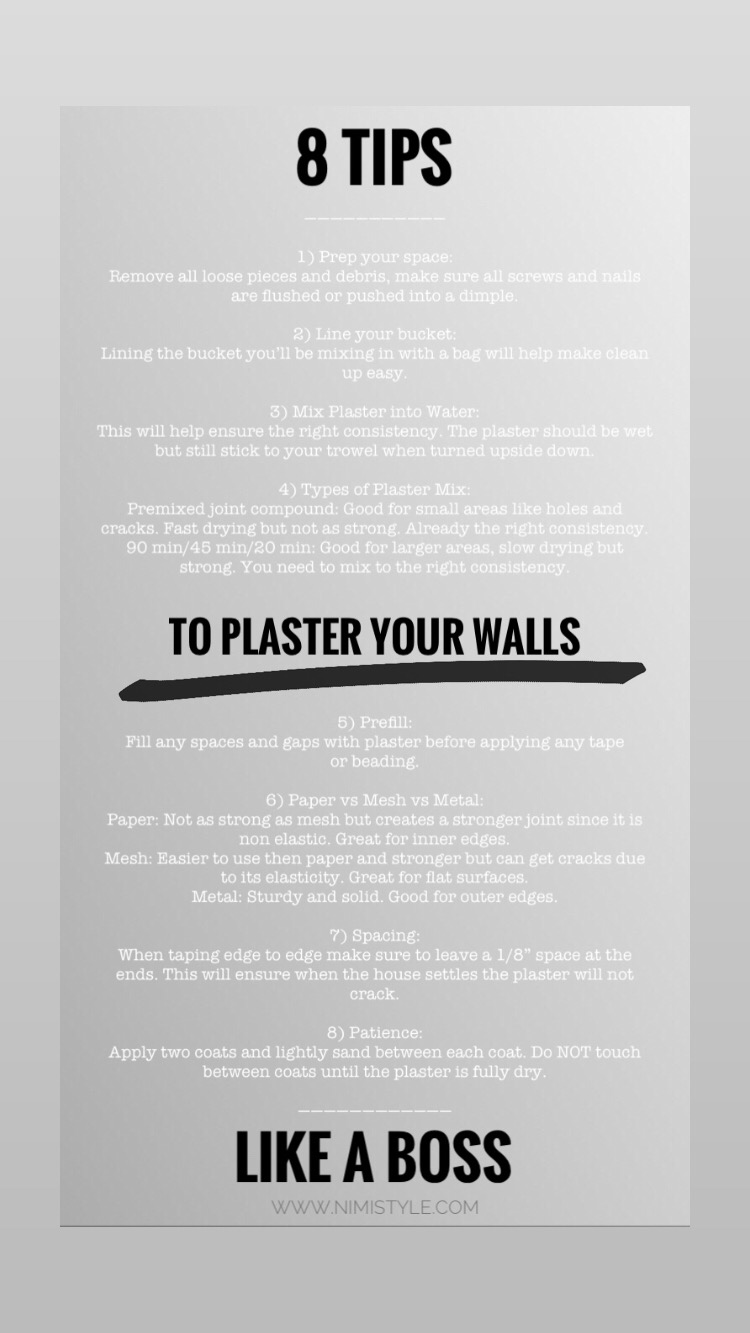
1) Prep your space:
Remove all loose pieces and debris, make sure all screws and nails are flushed or pushed into a dimple.
2) Line your bucket:
Lining the bucket you’ll be mixing in with a bag will help make clean up easy.
3) Mix Plaster into Water:
This will help ensure the right consistency. The plaster should be wet but still stick to your trowel when turned upside down.
4) Types of Plaster Mix:
Premixed joint compound: Good for small areas like holes and cracks. Fast drying but not as strong. Already the right consistency.
90 min/45 min/20 min: Good for larger areas, slow drying but strong. You need to mix to the right consistency.
5) Prefill:
Fill any spaces and gaps with plaster before applying any tape or beading.
6) Paper vs Mesh vs Metal:
Paper: Not as strong as mesh but creates a stronger joint since it is non elastic. Great for inner edges.
Mesh: Easier to use then paper and stronger but can get cracks due to its elasticity. Great for flat surfaces.
Metal: Sturdy and solid. Good for outer edges.
7) Spacing:
When taping edge to edge make sure to leave a 1/8” space at the ends. This will ensure when the house settles the plaster will not crack.
8) Patience:
Apply two coats and lightly sand between each coat. Do NOT touch between coats until the plaster is fully dry.
————————————


