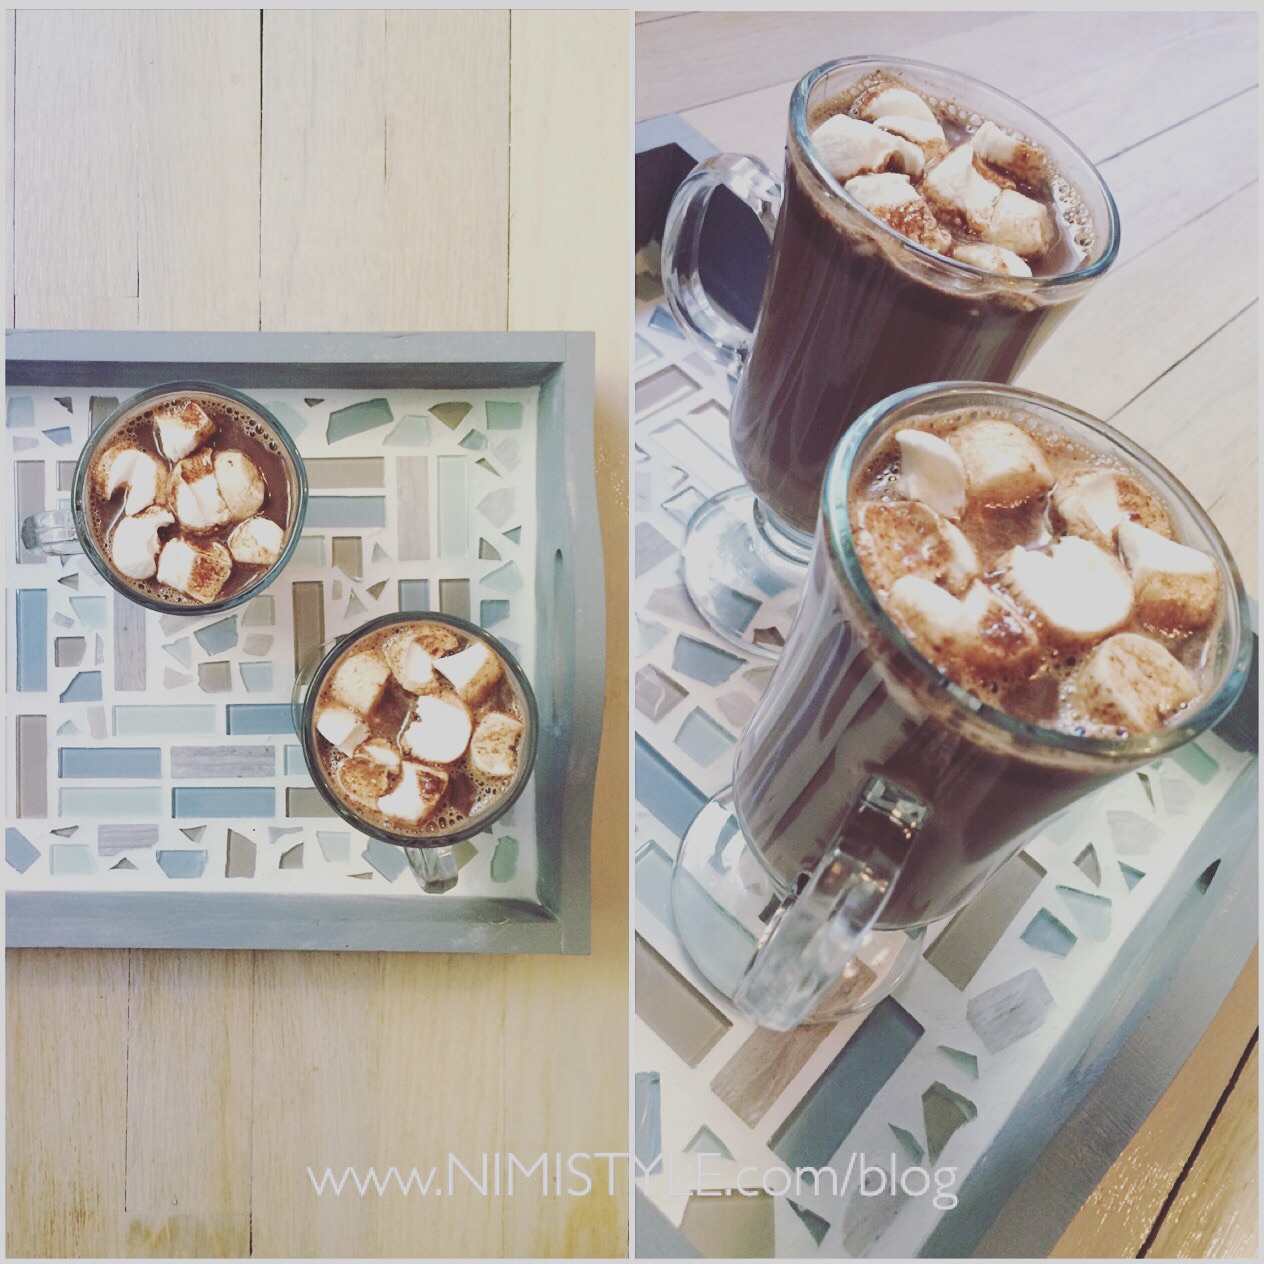
 Hubby and I recently had the opportunity to lead a workshop at Mubarakville. We guided the attendees on creating their very own mosaic serving trays. This was such a fun project to design. These trays will definitely give many years of use. I’ve been making use of mine every chance I get!
WHAT YOU NEED:
Unfinished wood tray
Plastic gloves
Paint
Paint Brush
Mosaic tiles
Tile cutter and/or hammer
Industrial strength glue
Icing bag (yes sounds strange, but works wonders!)
Grout
Trowel
Sponge
Grout sealer
WHAT YOU WILL DO:
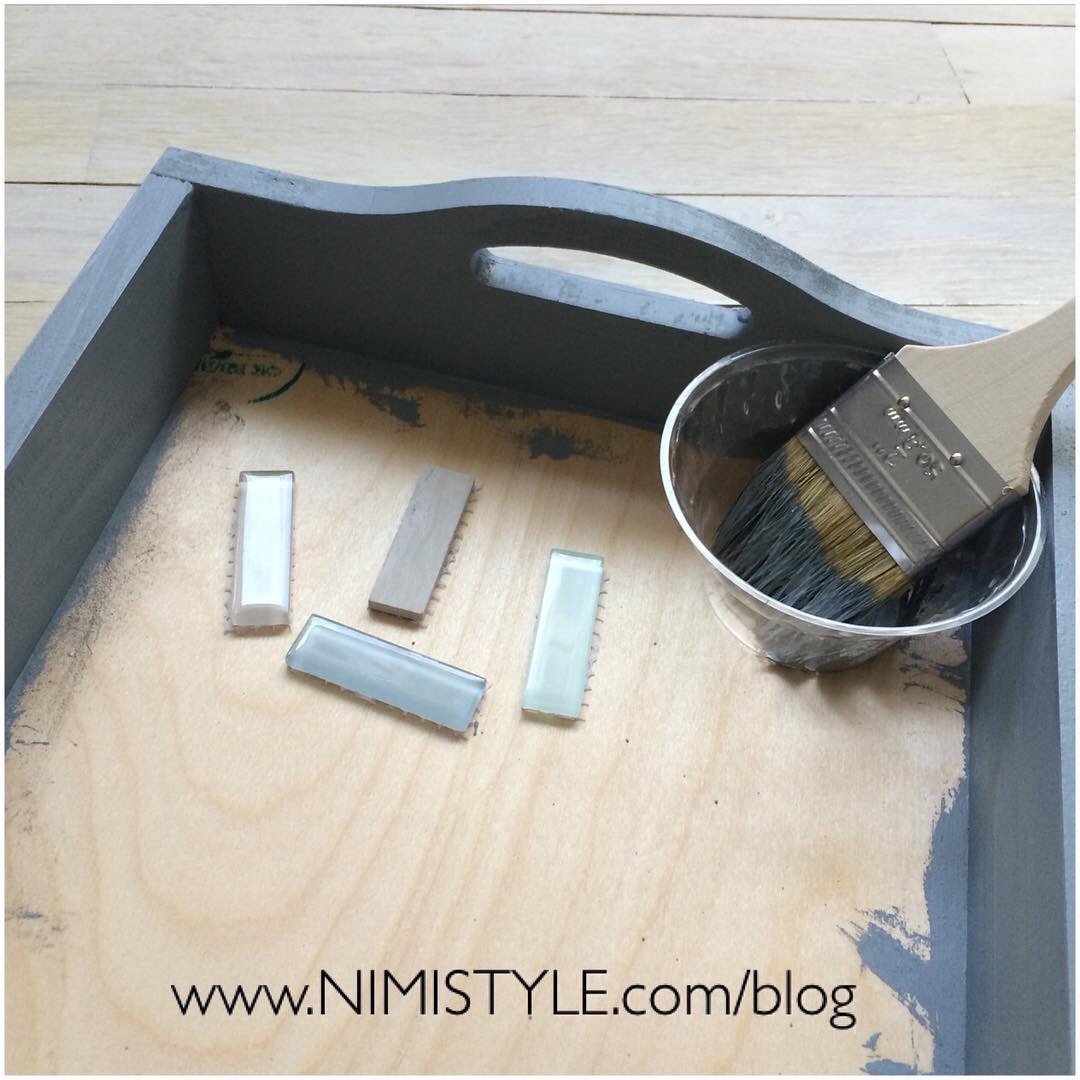
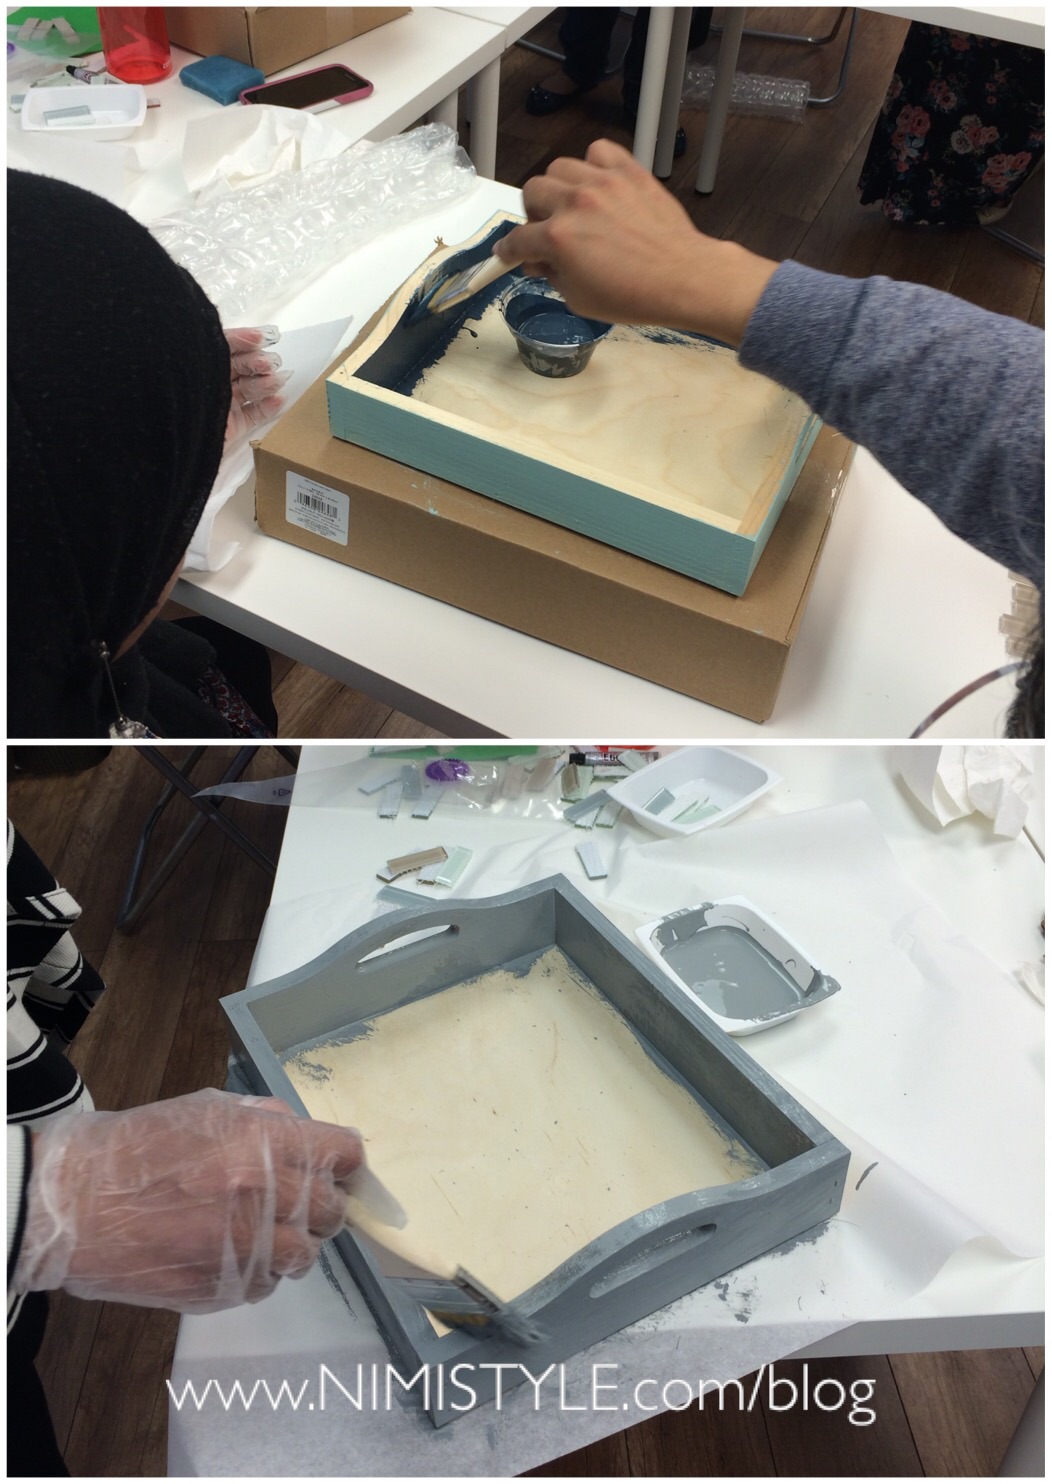
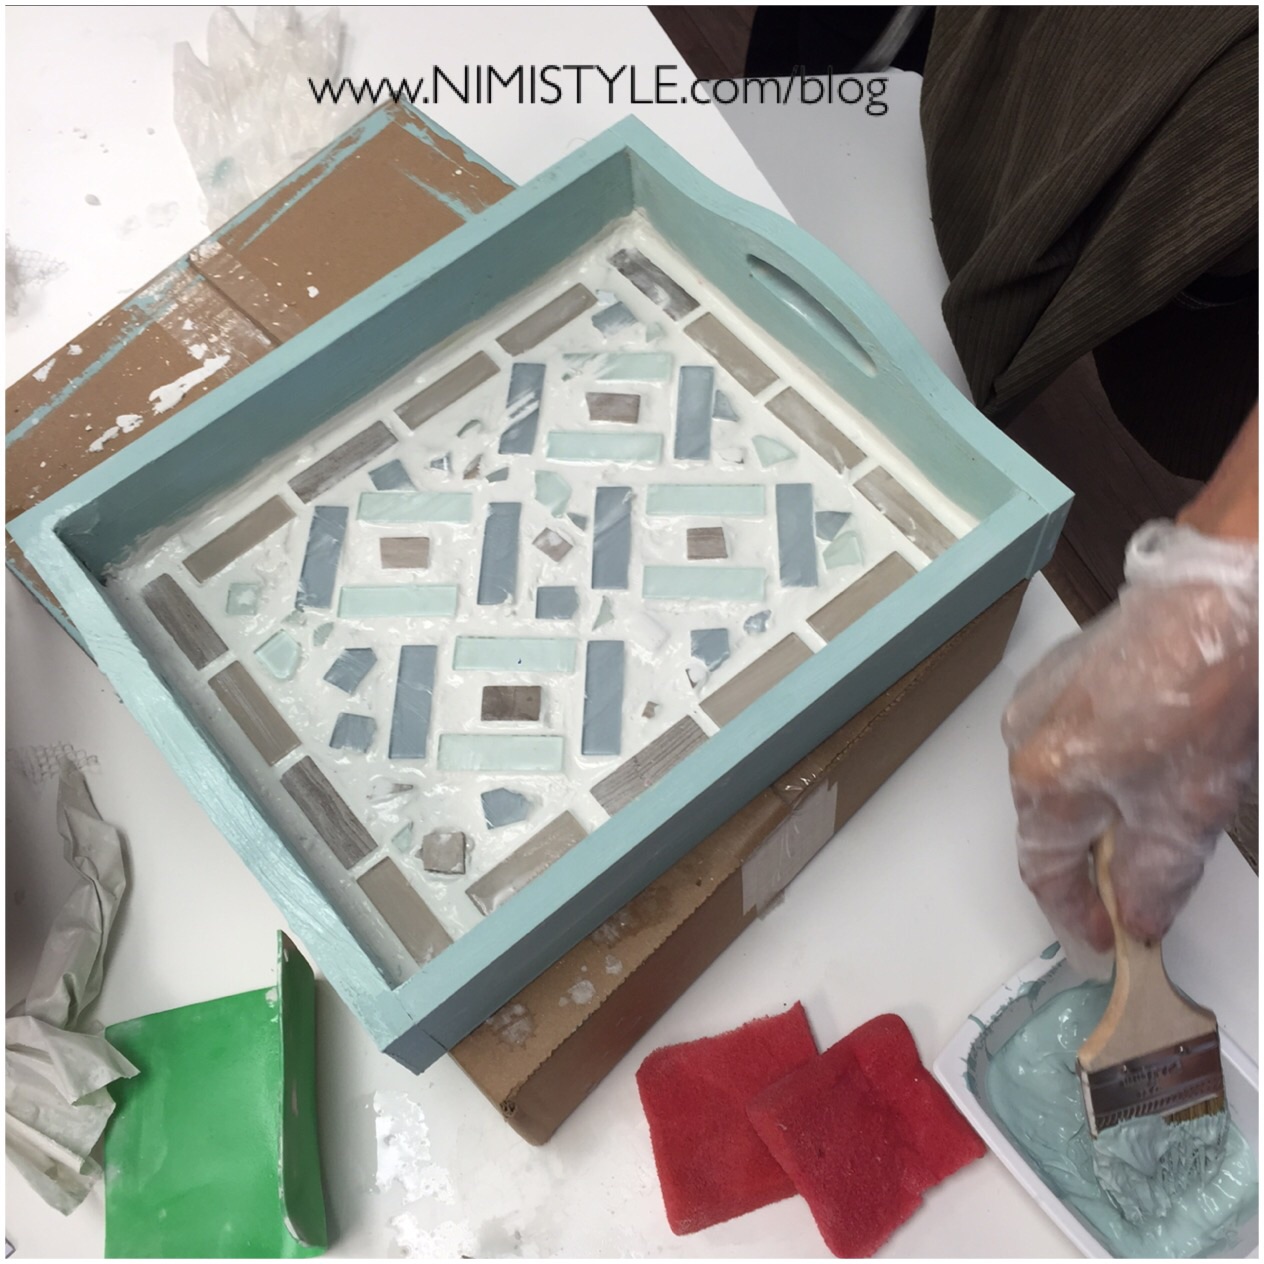
(1) Put on your gloves and paint the frame and outside bottom of your tray. The inside bottom does not need to be painted. It will be covered with the tiles.
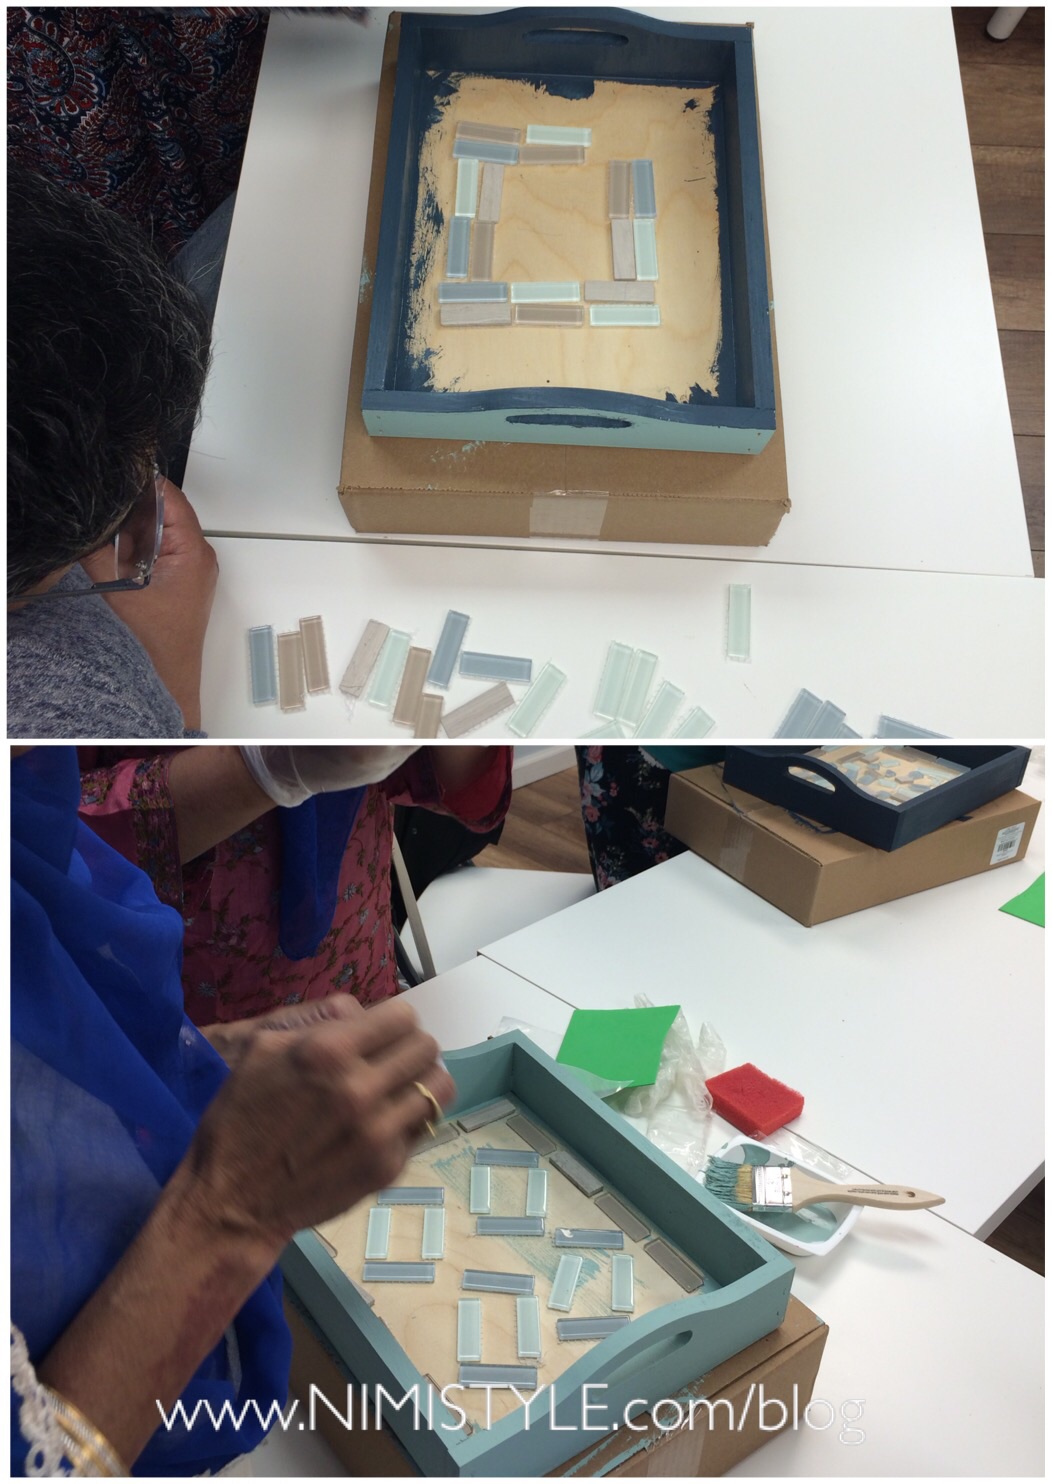
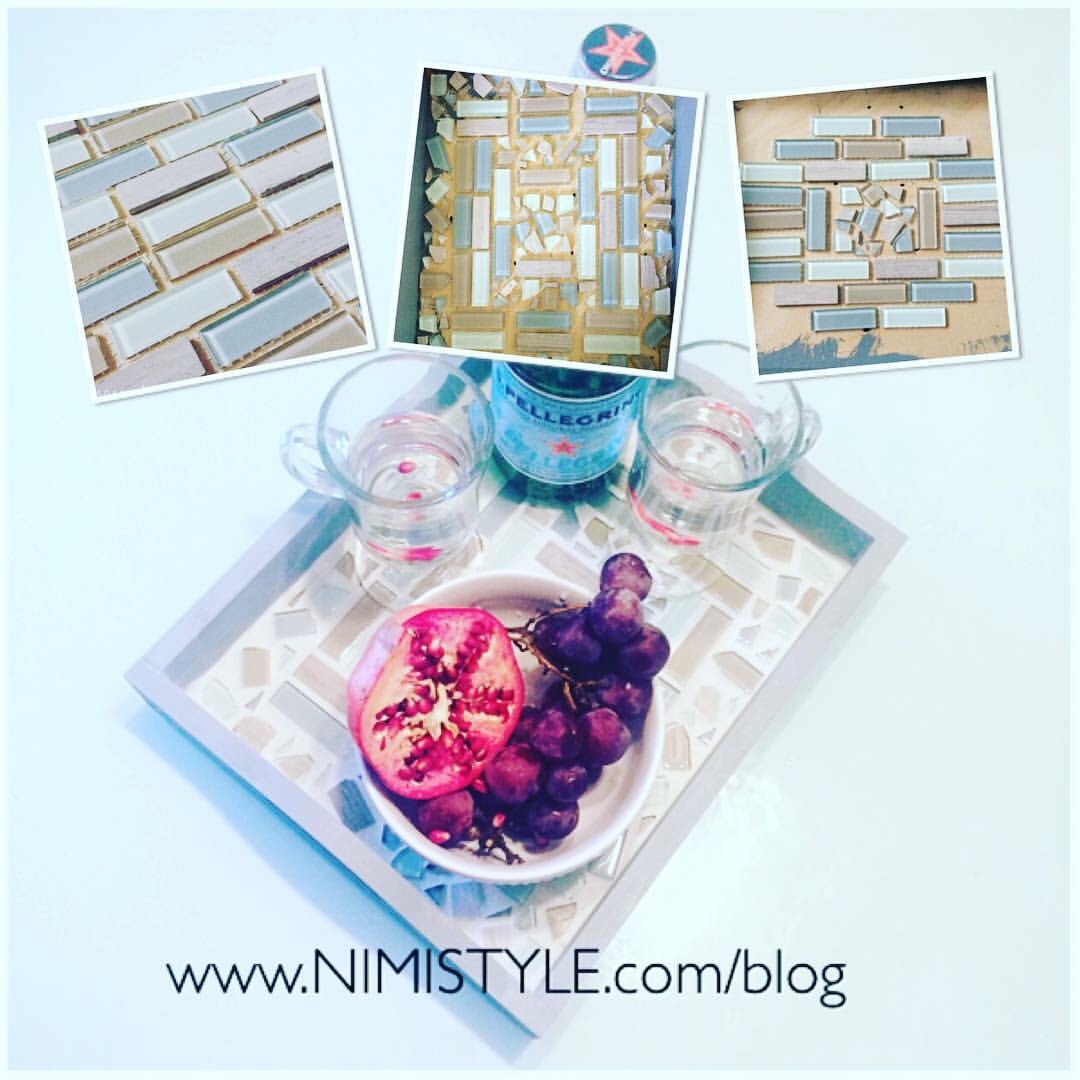
(2) Start arranging your tiles to see which pattern you like best.
(2a) You can use whole pieces of tile.
(2b) You can use a tile cutter to make clean cuts.
(2c) ou can place the tiles between two sheets of paper and hammer. Using the two sheets of paper will still allow the tiles to shatter yet prevent glass from flying everywhere. Using shattered tiles can create a more abstract design and help fill empty spaces.
…or you can do all of the above!
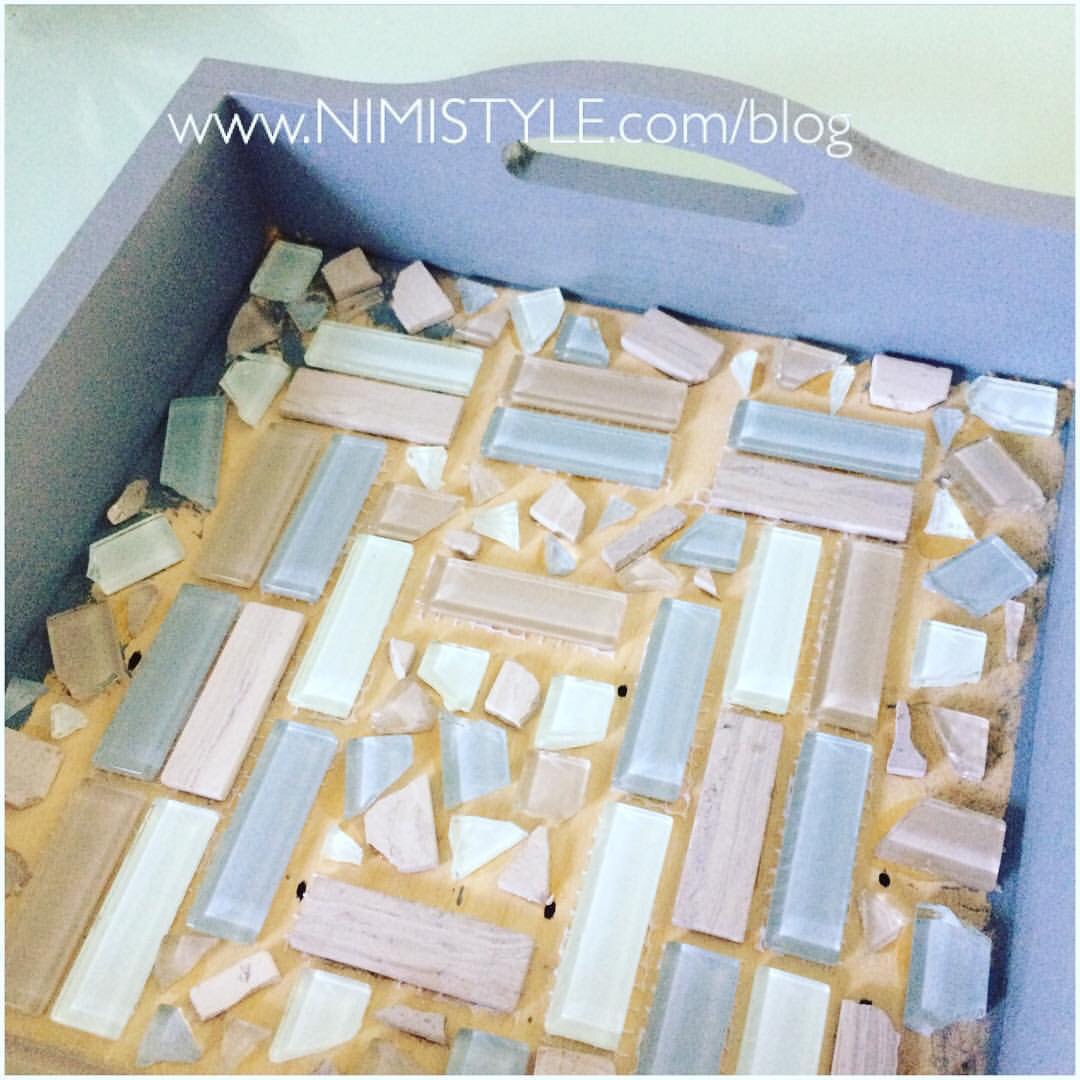
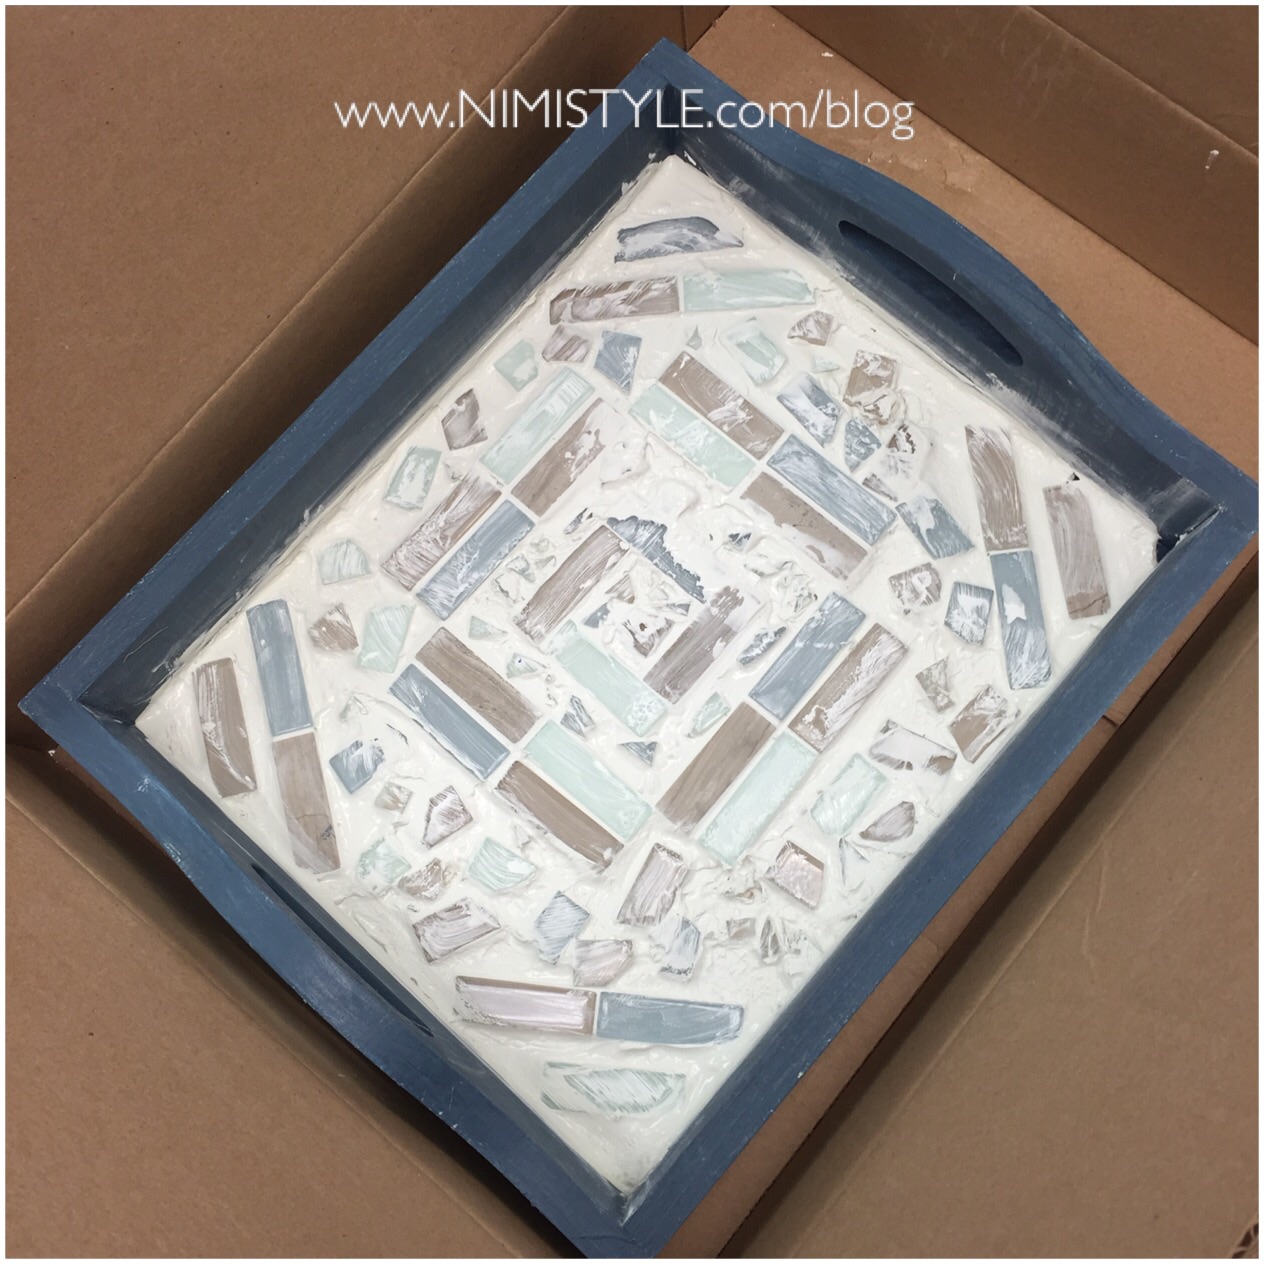
I decided on doing a mix of shattered and whole pieces.
(3) Once you’ve decided on a pattern start gluing down your pieces. Remember to start gluing from the center of the tray and work your way out. This will ensure your design is centered on the tray.
(4) Let it dry for at least 30 minutes.
(5) While you are waiting for your glue to set follow the directions on the box to mix your grout. Pre-mixed grout is also available in all home improvement stores.
(6) Fill an icing bag with grout and start filling in the space between each tile. This isn’t the conventional way of applying grout, but I find it helps in getting the grout into all the tiny spaces.
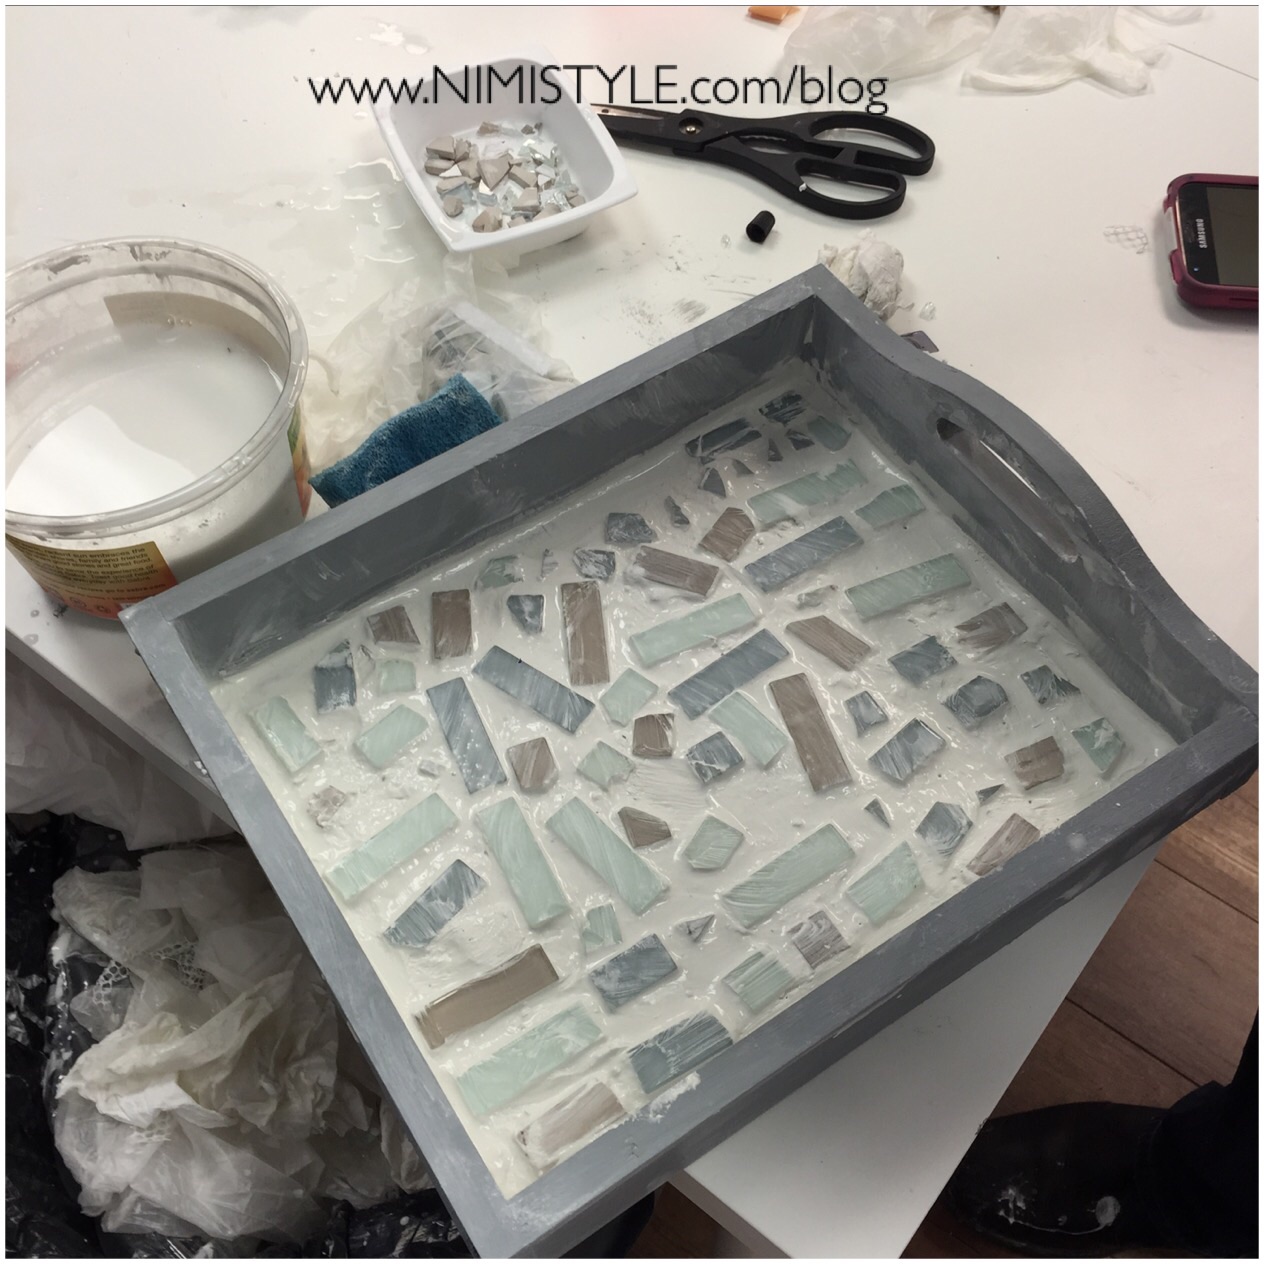
(7) Once you have filled in all the spaces use the trowel to even out the surface and remove any excess. There should be no grout covering the tiles. Also clean around the frame if needed with a damp sponge.
(8) Let the grout set for 2-3 hours. A haze should have formed on your tiles. Use a damp sponge to clean your tiles.
(9) Wait 24 hours and then spray your grout with grout sealer. This helps your grout stay nice and stain free.
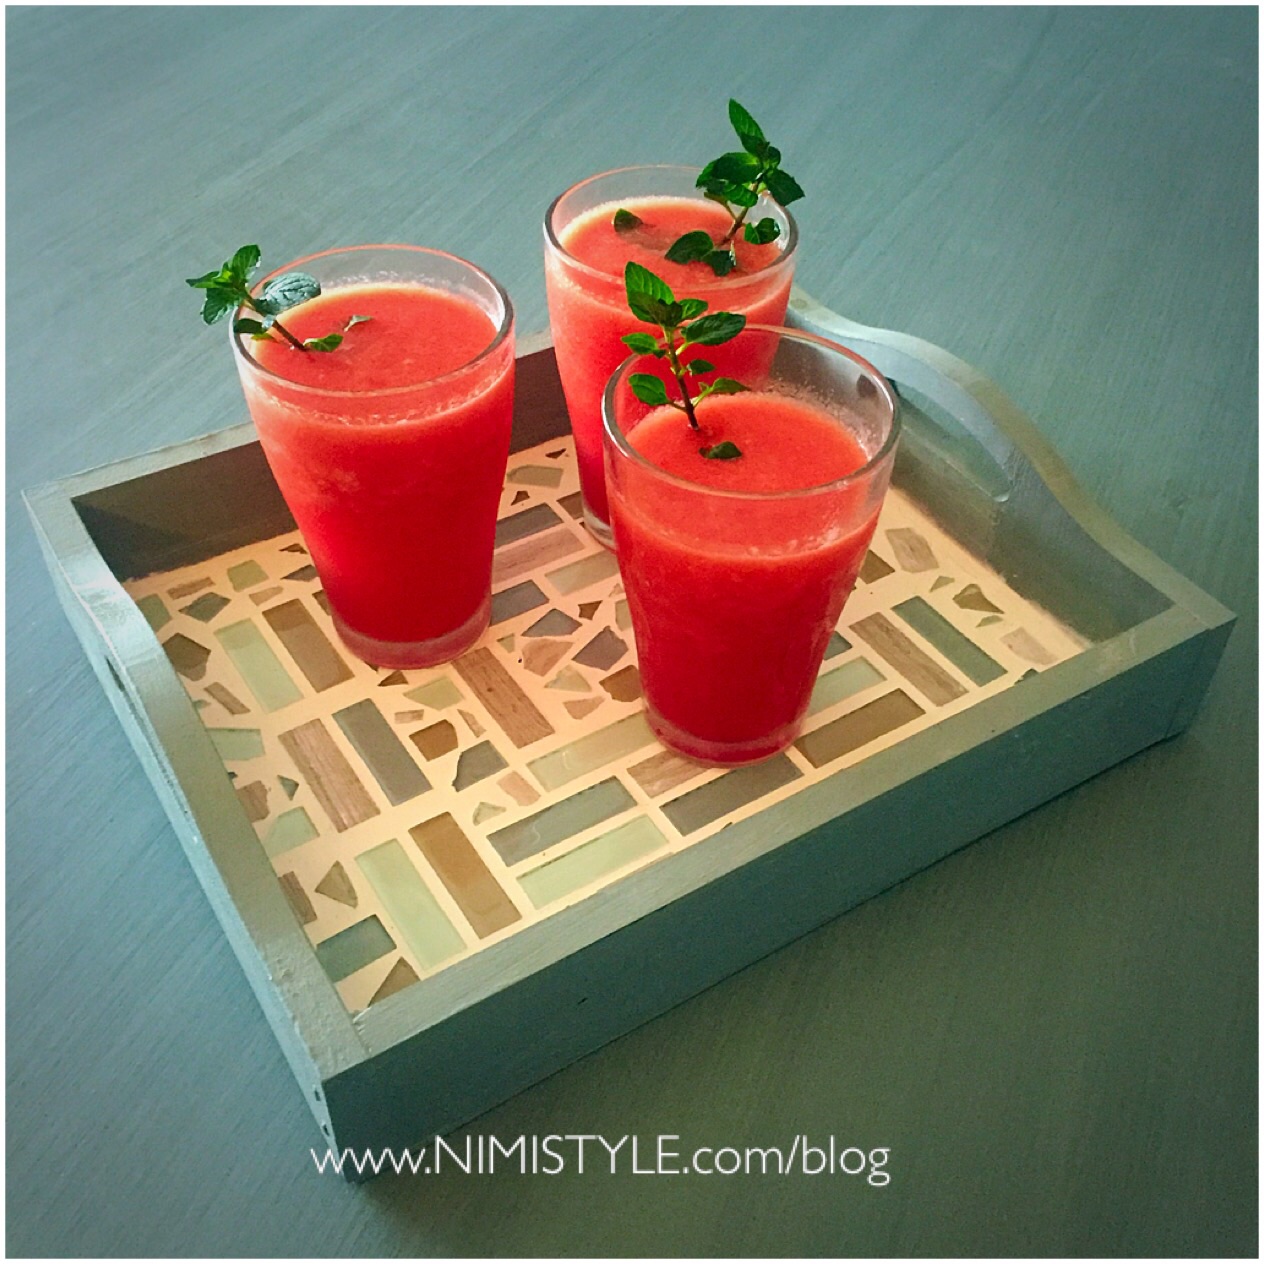
(10) Enjoy and serve!