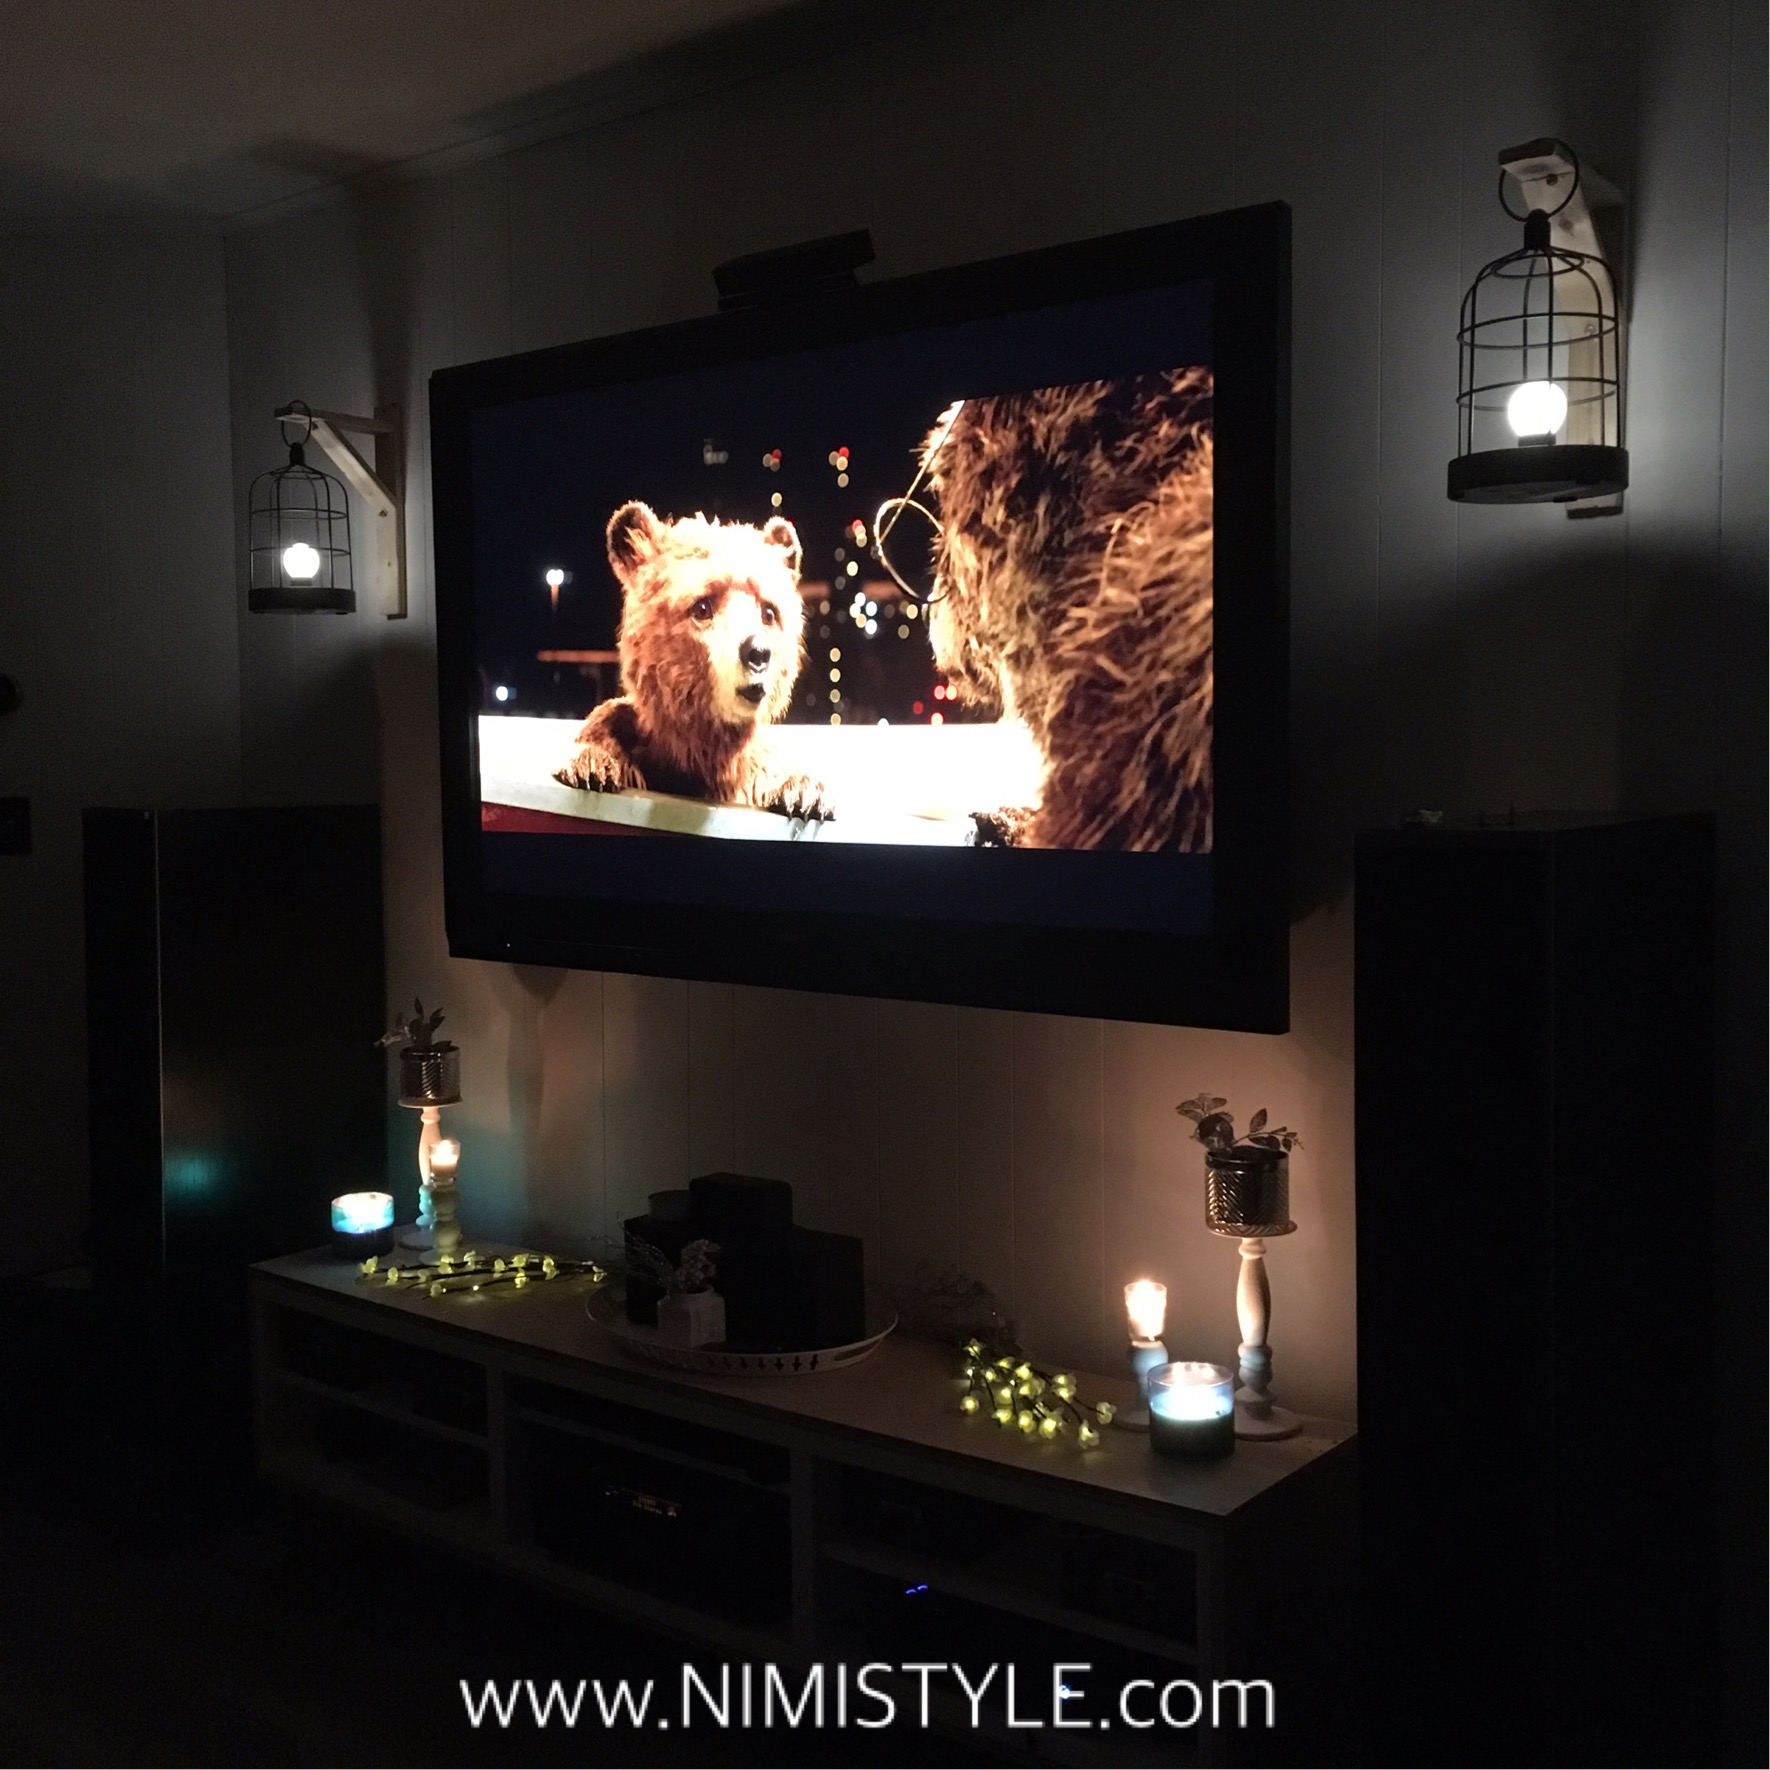
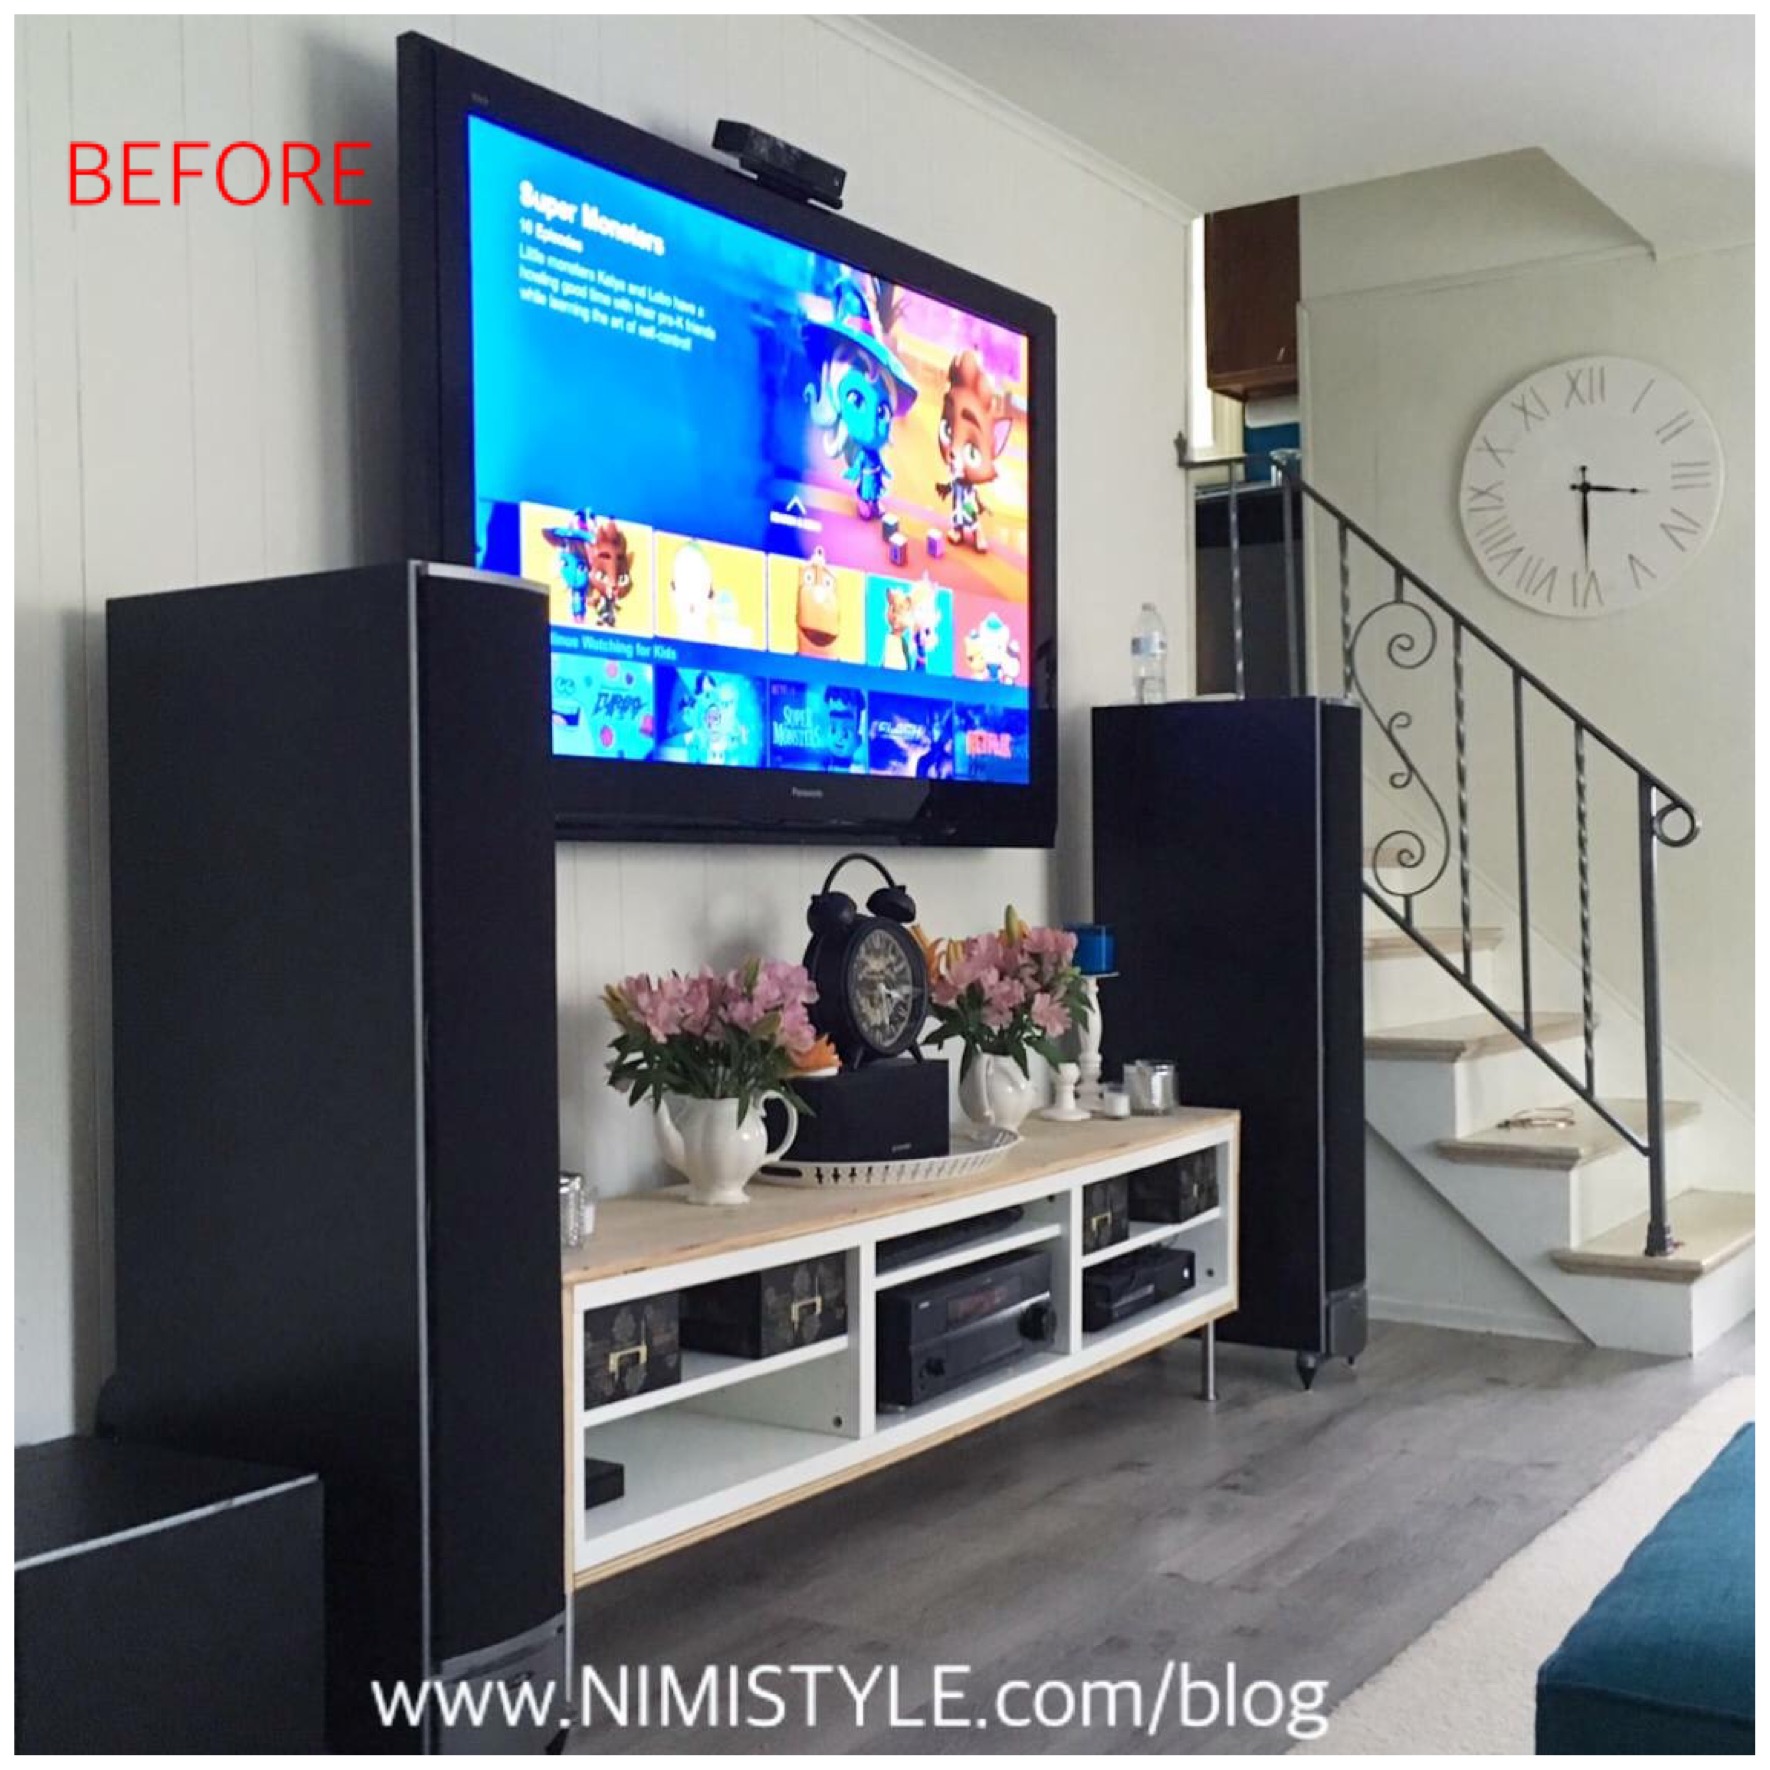
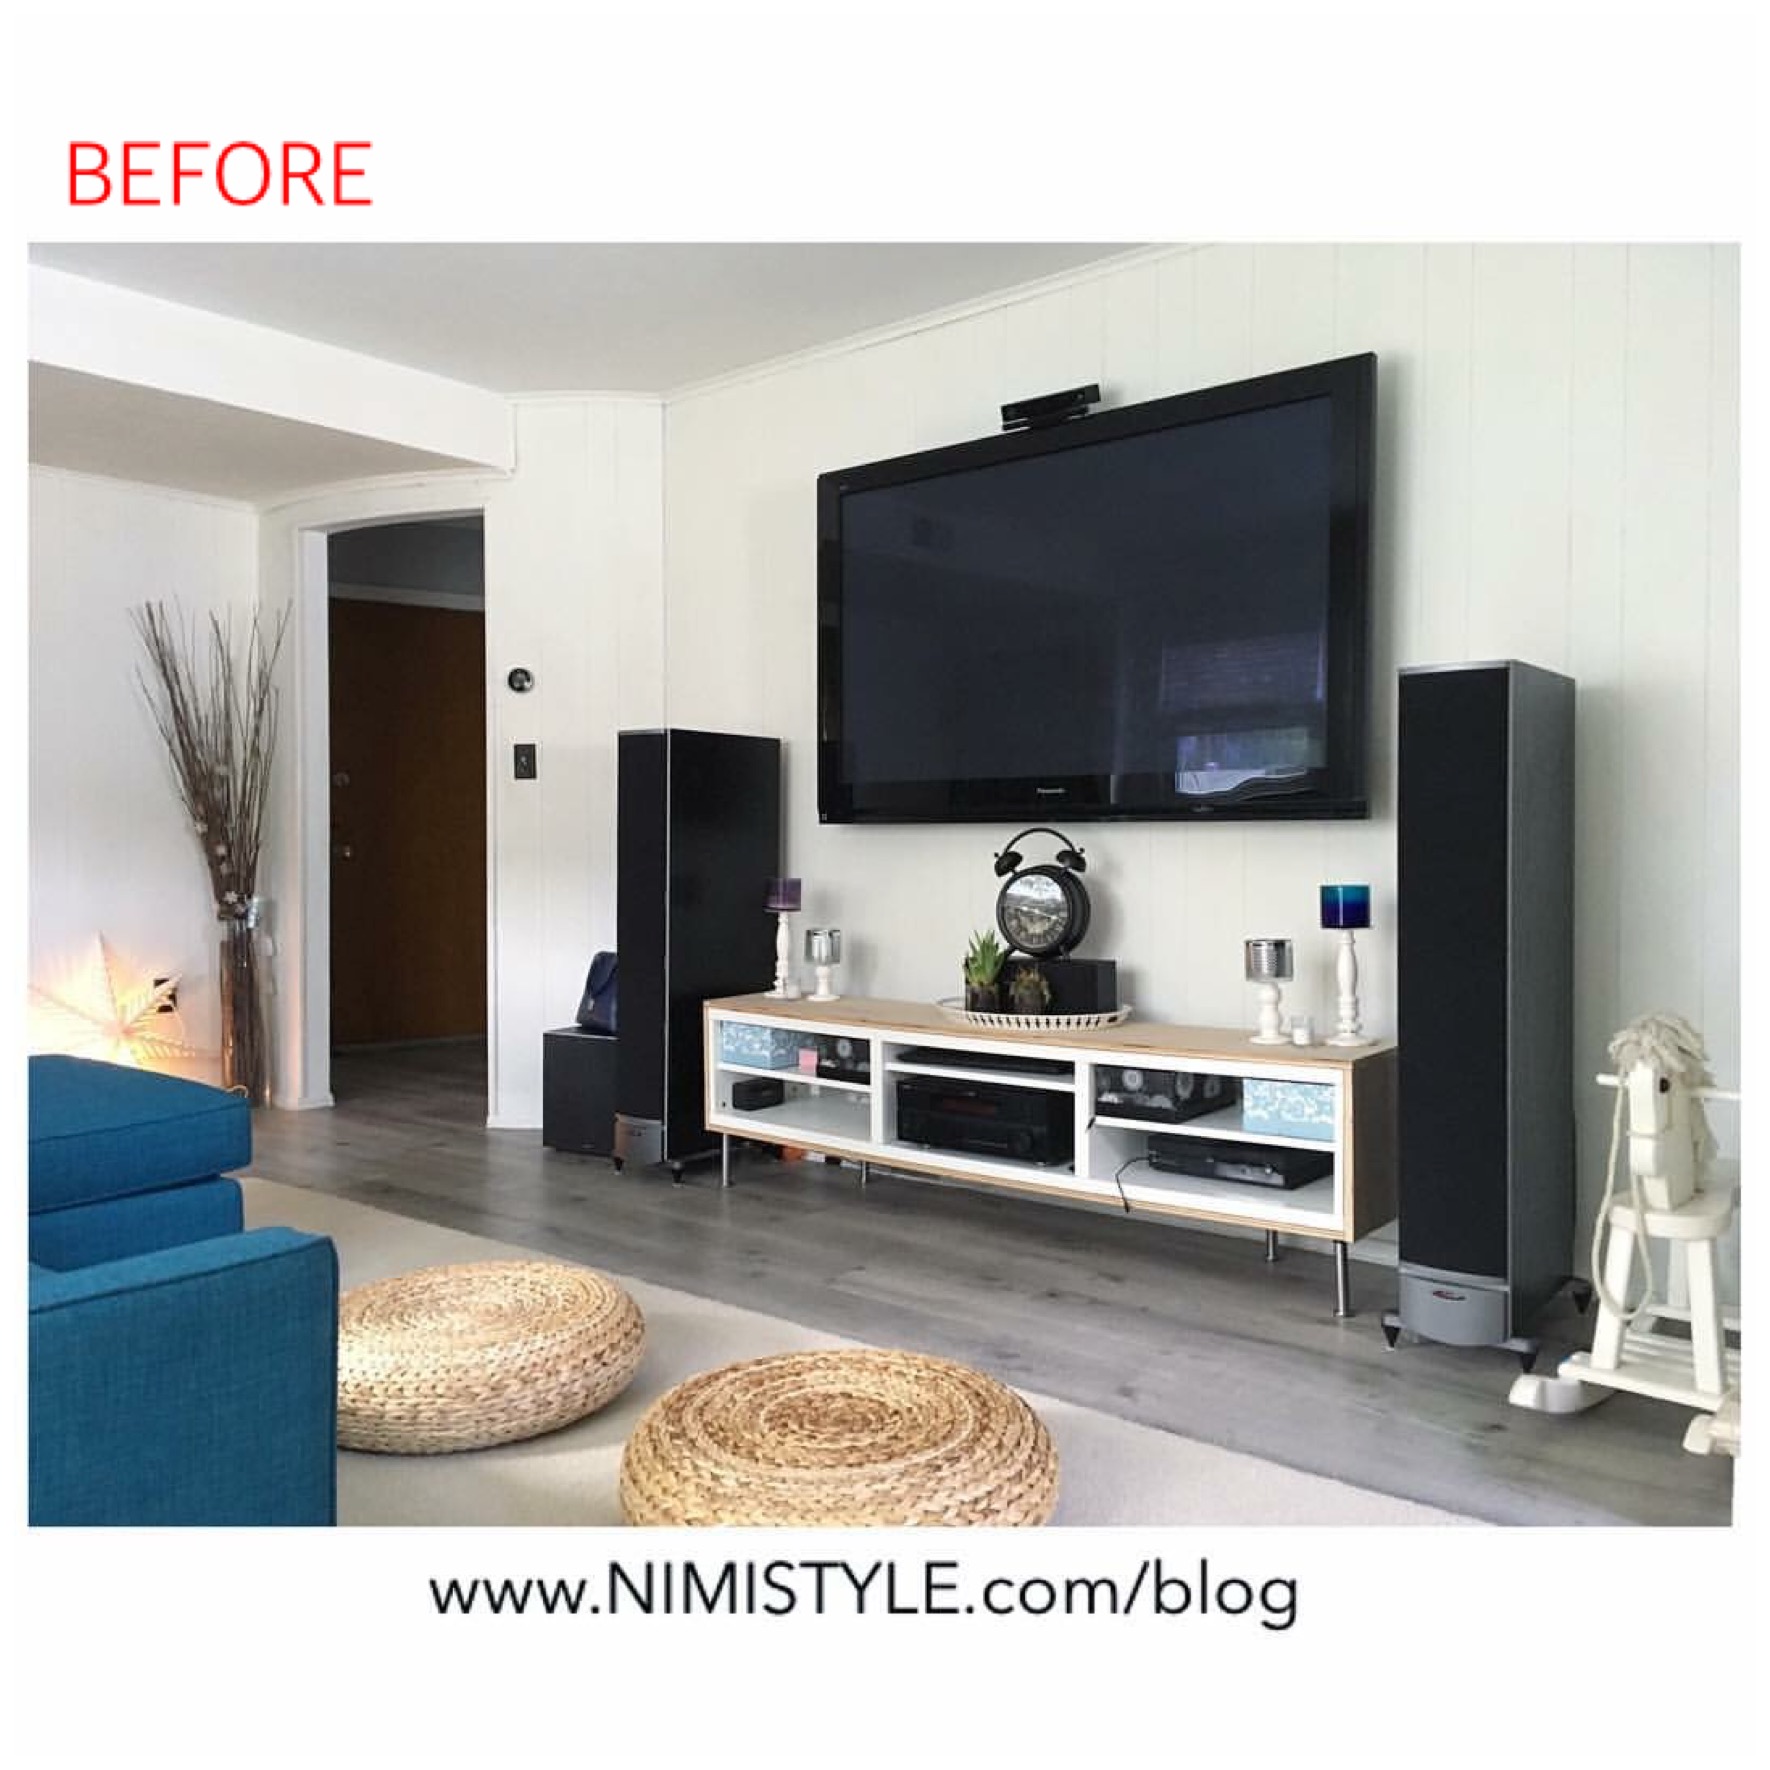
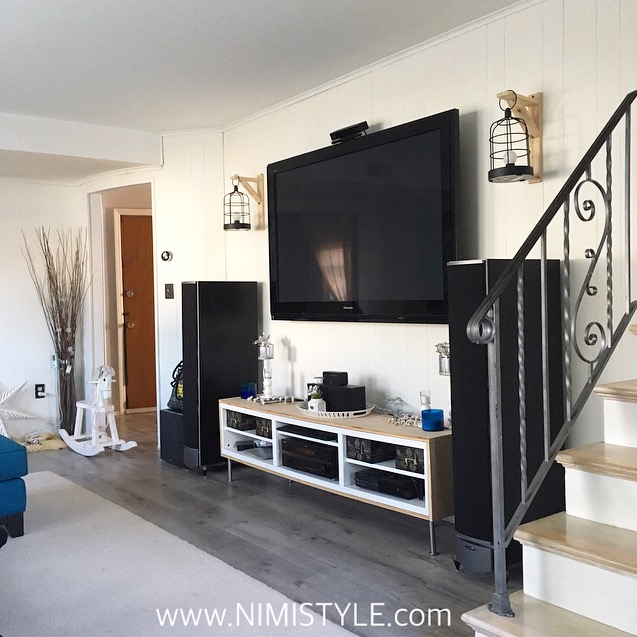
One day as I was watching the kids and they were watching TV an idea came to me. I immediately texted hubby to see if he could make it happen. I wanted to hang lanterns in our family room on either side of the TV. I always knew I wanted something there, but just wasn’t sure what. That day it just clicked.
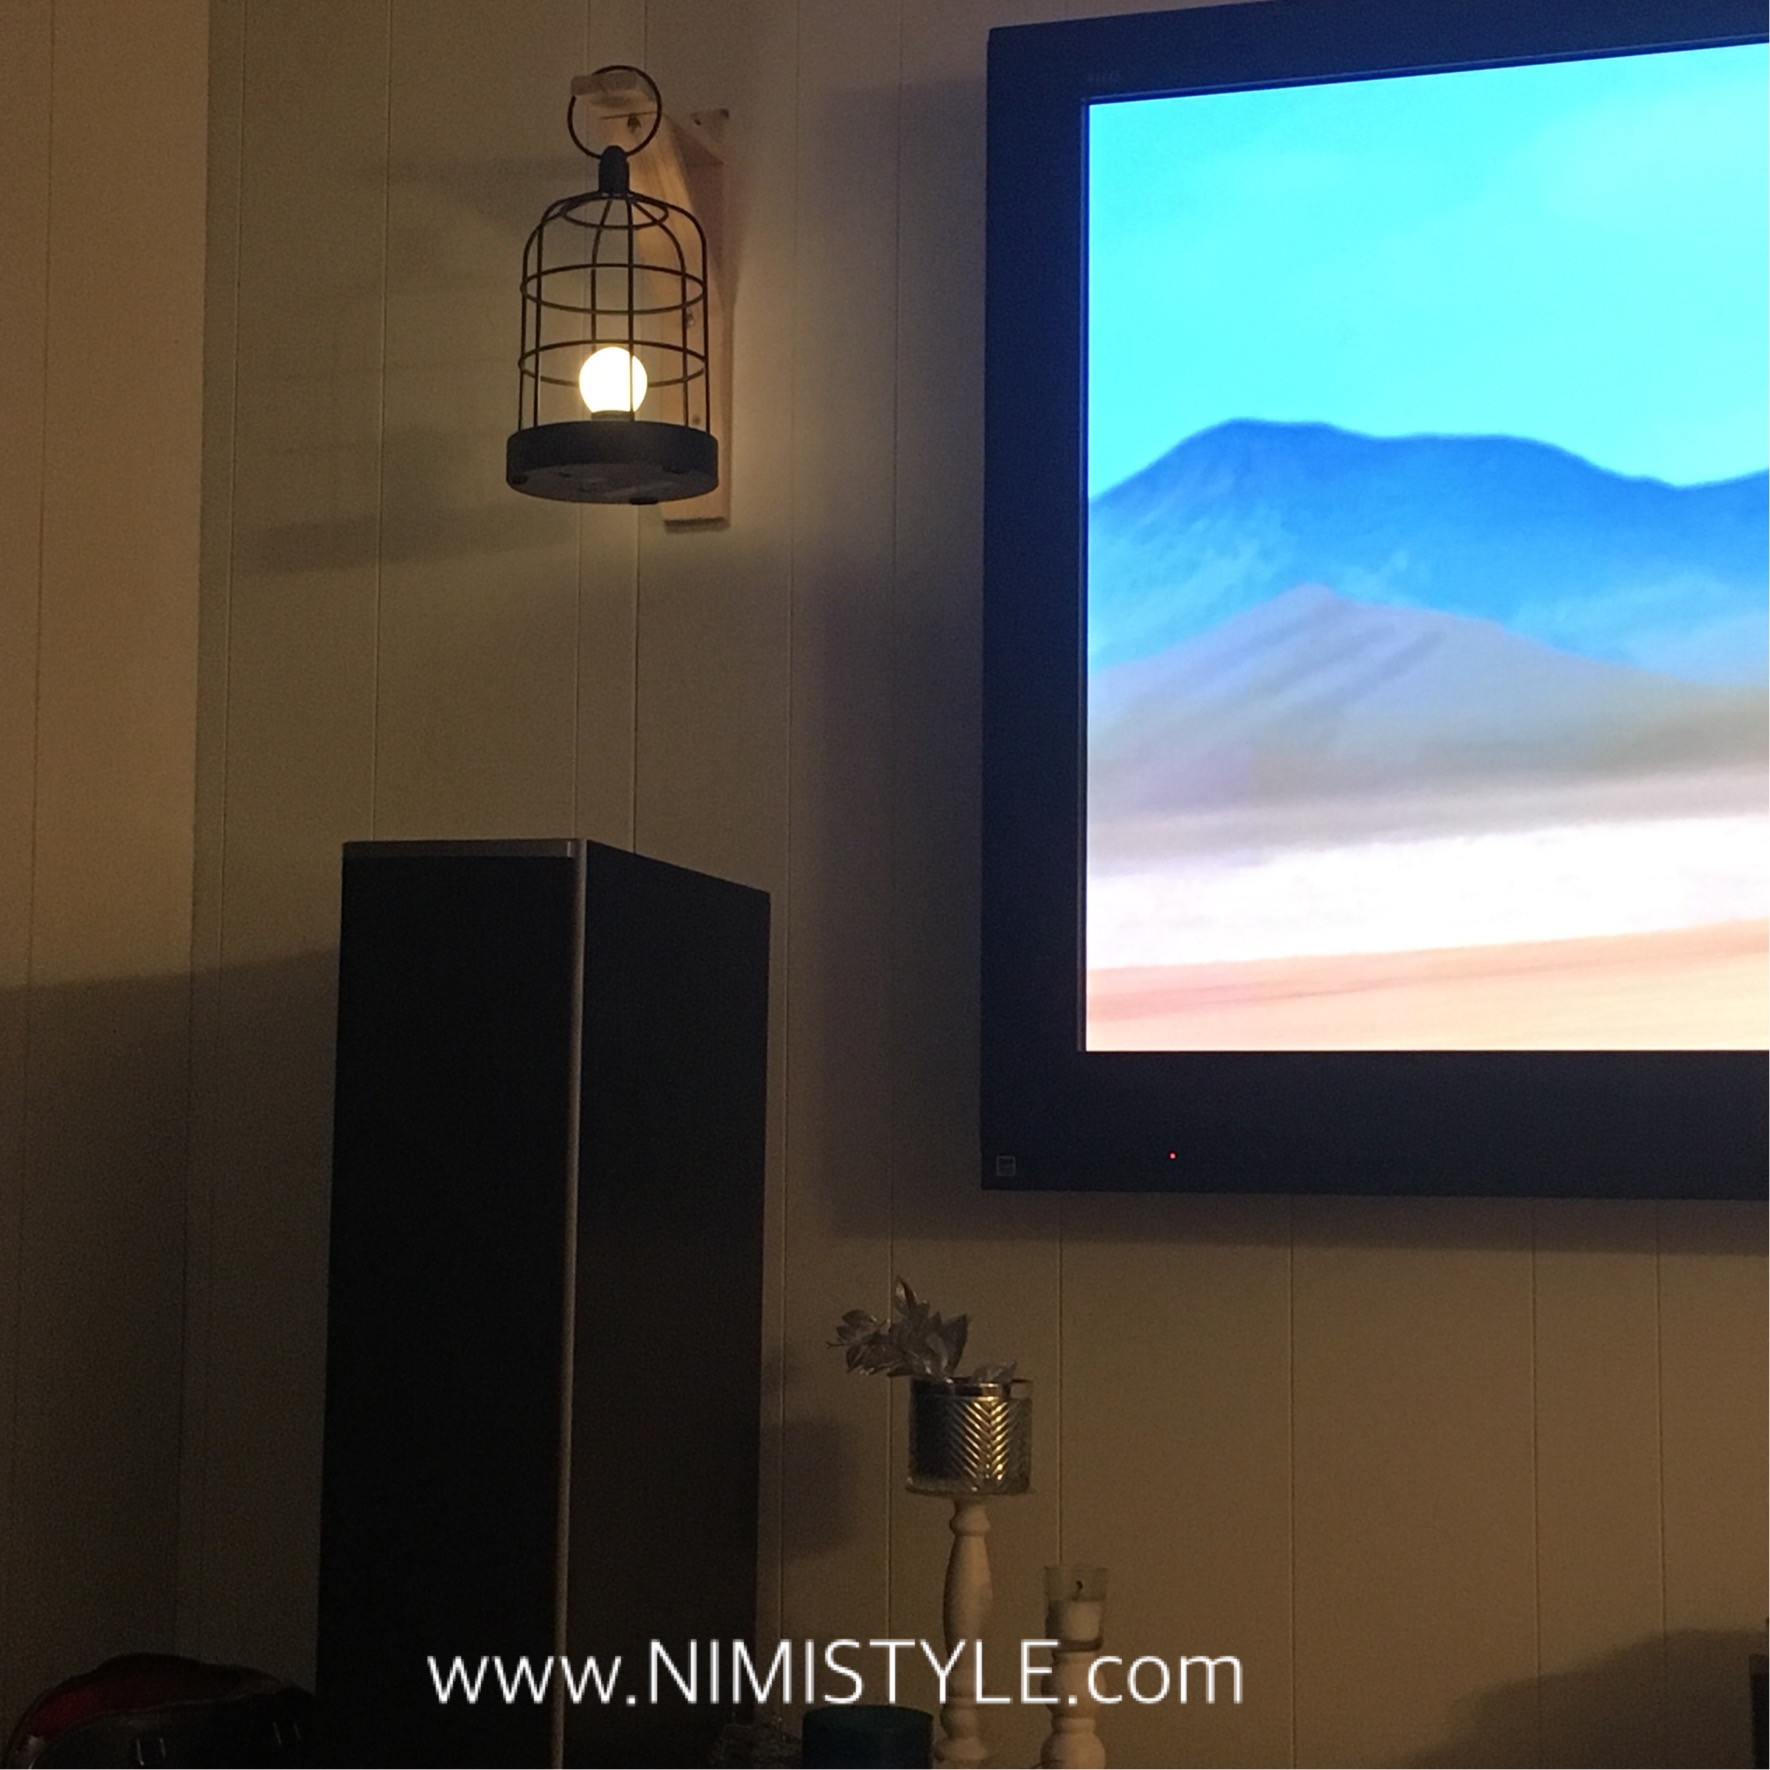
I originally thought of hanging non-electrical lanterns and placing candles in them for ambience. We didn’t need bright lights since it’s on either side of the TV so I knew we didn’t have to do any wiring. Then I came across these battery operated lanterns. The lighting on it was perfect. Ambience of a candle without the fire hazard…and so on Christmas Eve when everyone was doing Christmas Eve-y things, we got cutting.
WHAT YOU NEED:
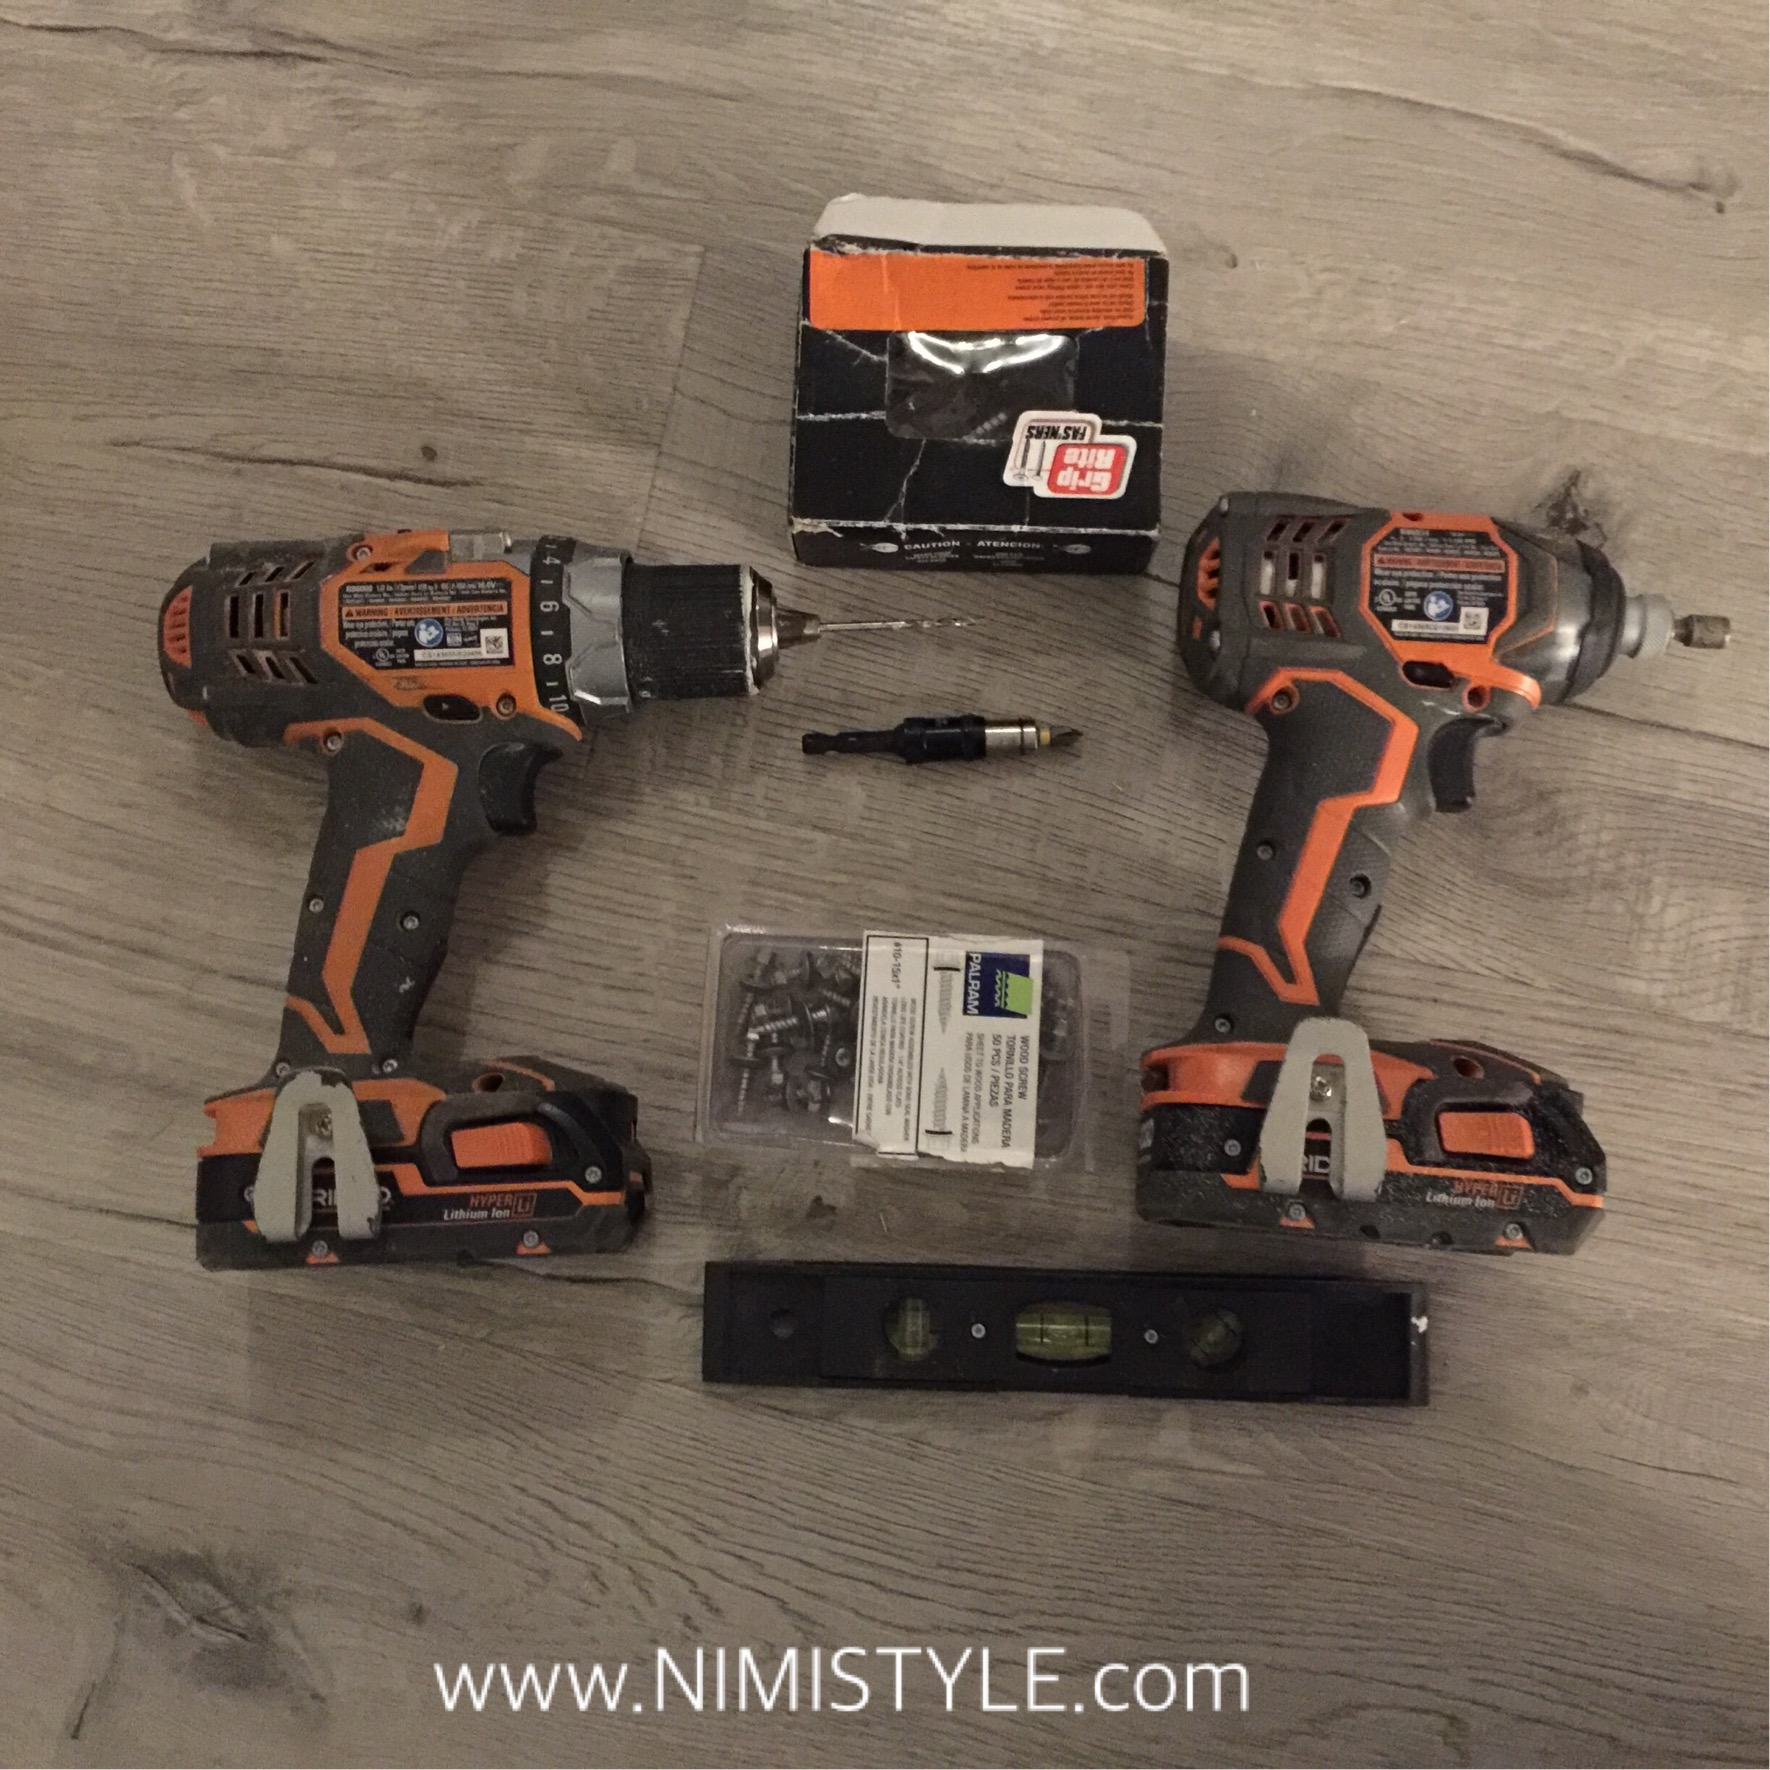

Drill w/ drill bit
1-5/8″ Dry wall screws*
Screw bit
1″ Wood screws*
Impact drill
Level
2×4 (3 pieces)
Lantern of choice
WHAT YOU WILL DO:
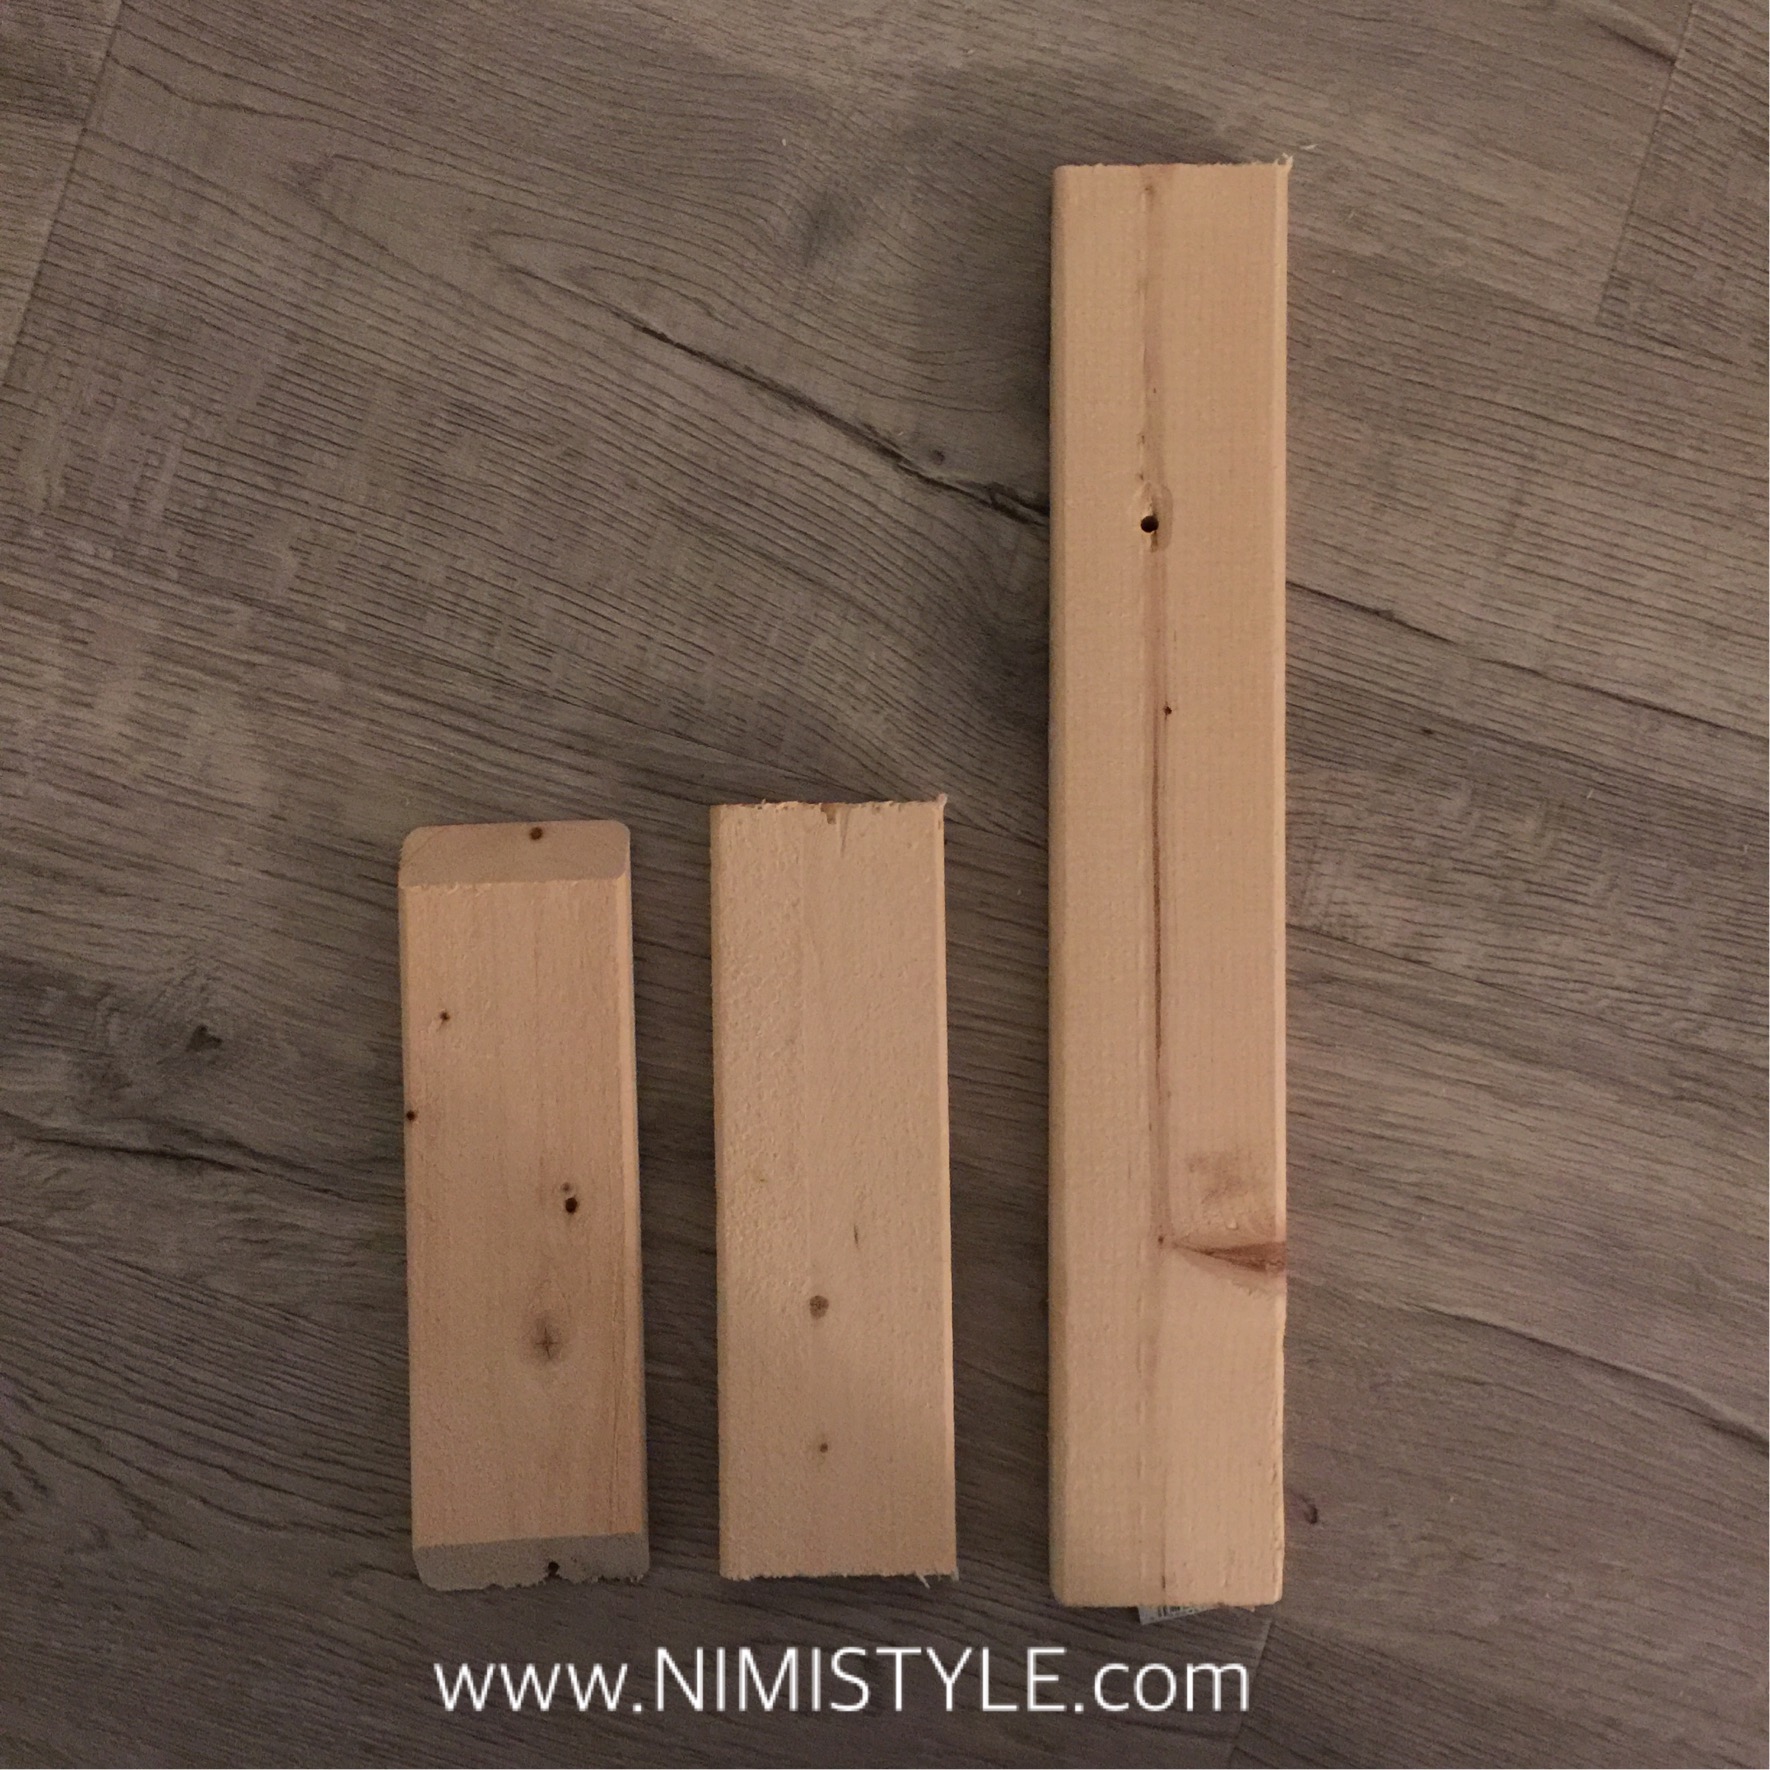
(1) Cut your 2×4 into 3 pieces.
-The first piece you cut will be the back. This should be the height of your lantern + 4 inches. My lanterns height was 11 inches so I cut the back piece to be 15 inches.
-The second piece you cut will be the top. This should be the depth of your lantern + 1.5 inches. My lanterns depth was 7 inches so I cut the top piece to be 8.5 inches.
-The third piece you cut will be the middle support this will be 8 inches with both ends being cut at 45 degree angles.
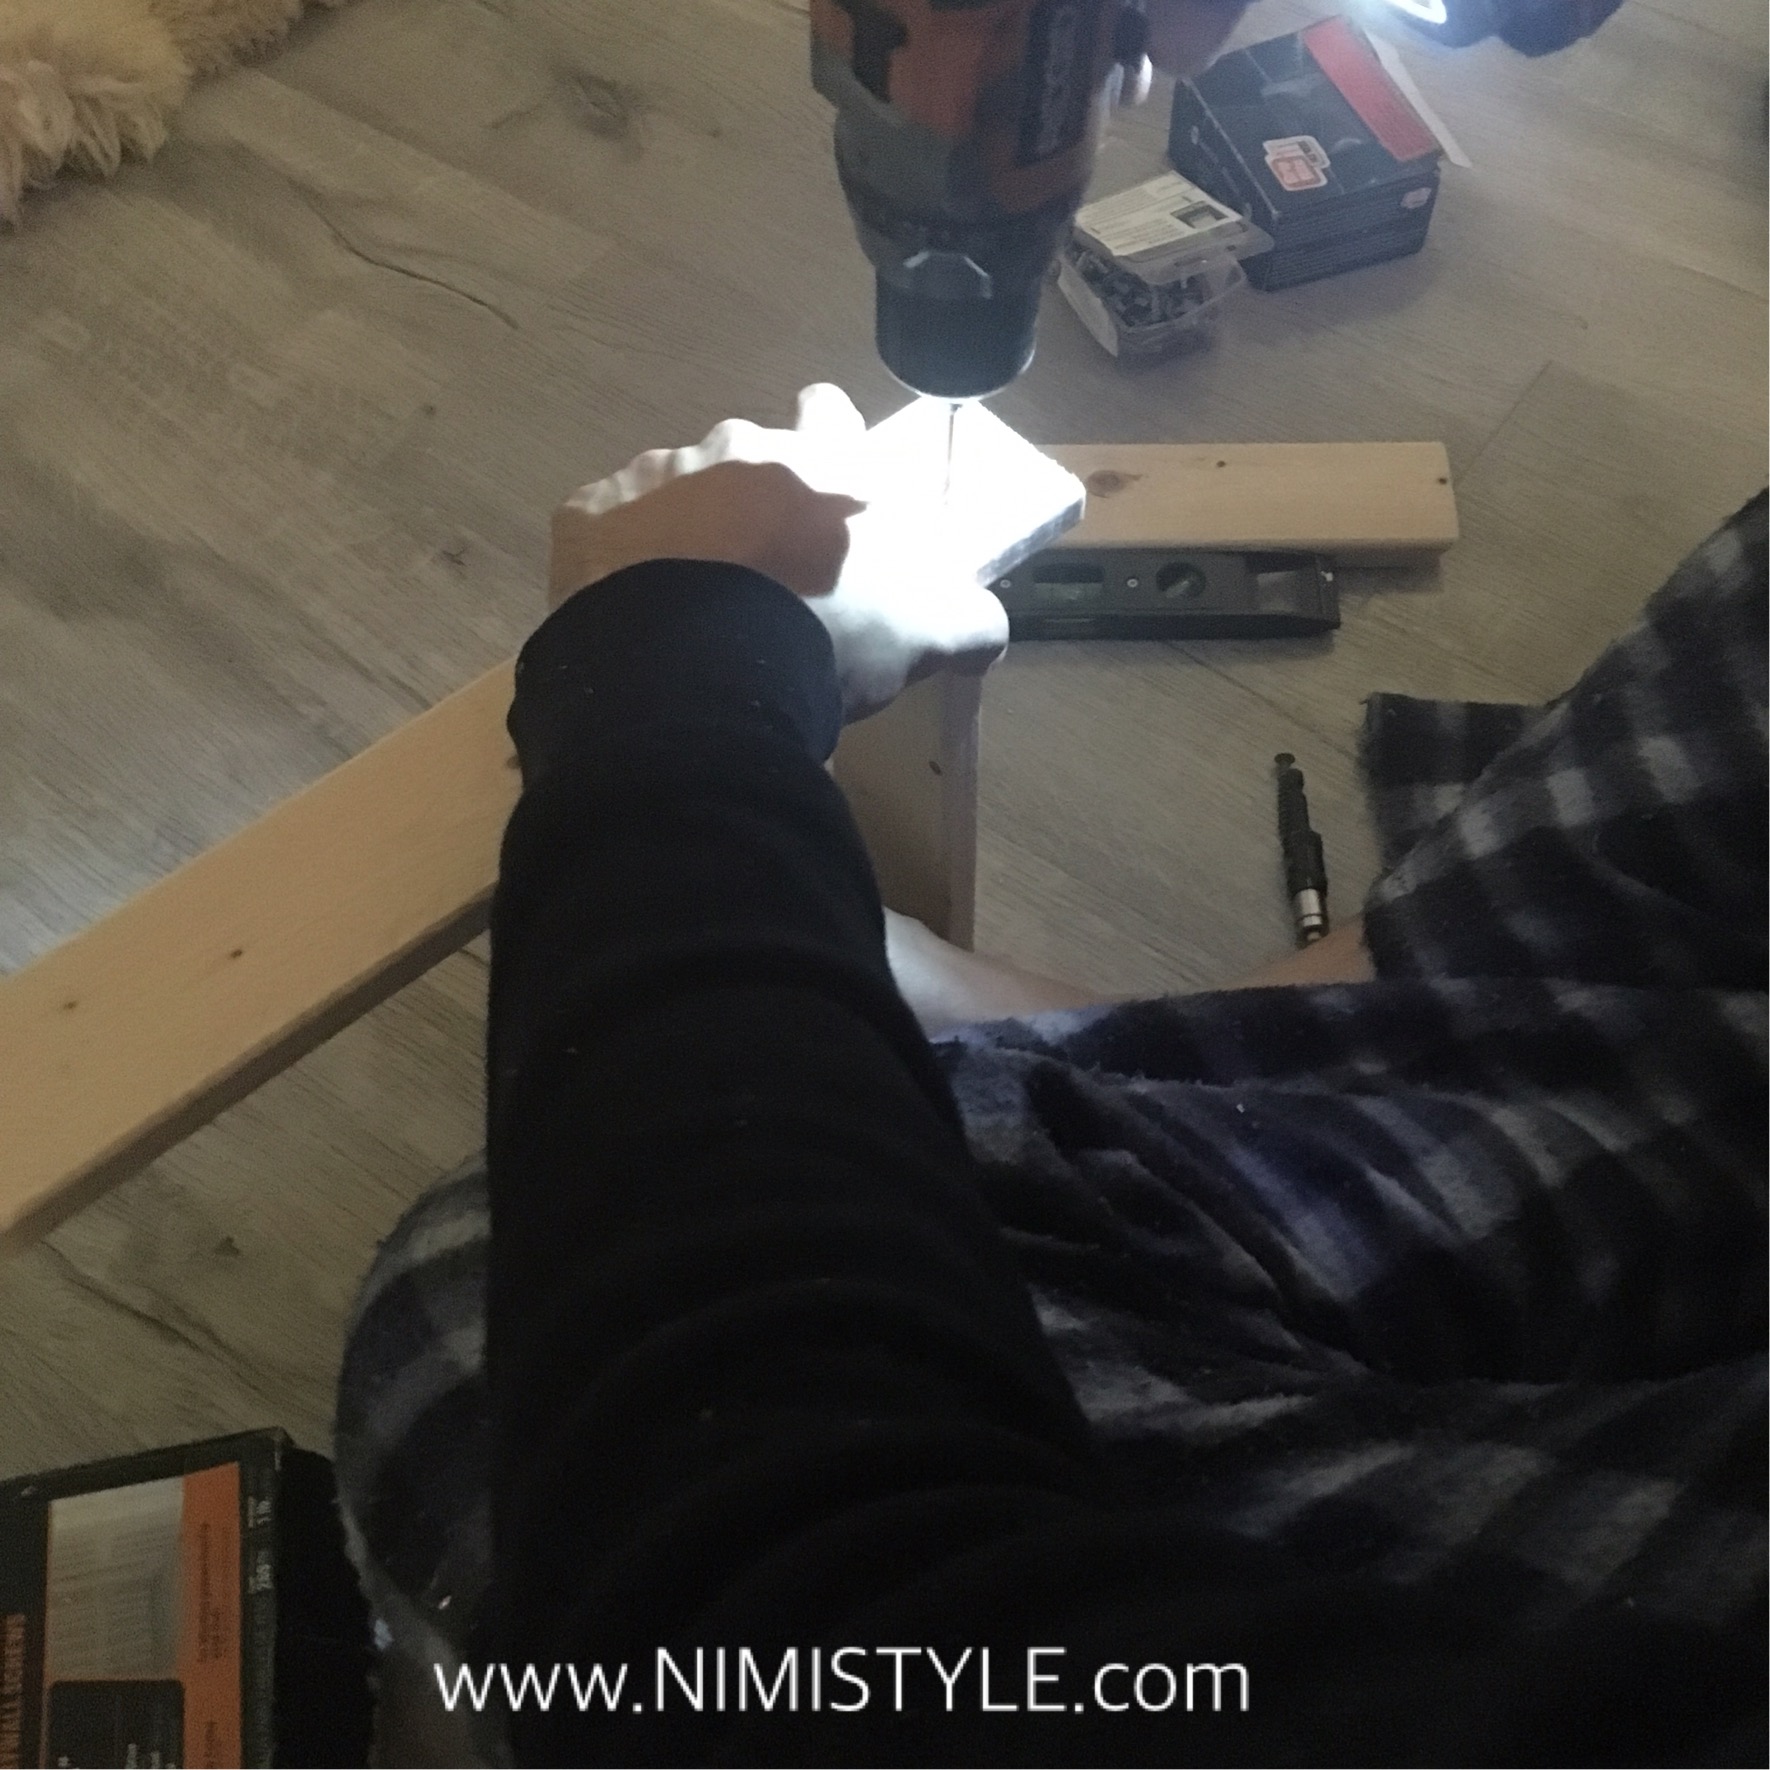
(2) Now that all the pieces are cut place the top piece 1 inch down on the back piece and drill holes.
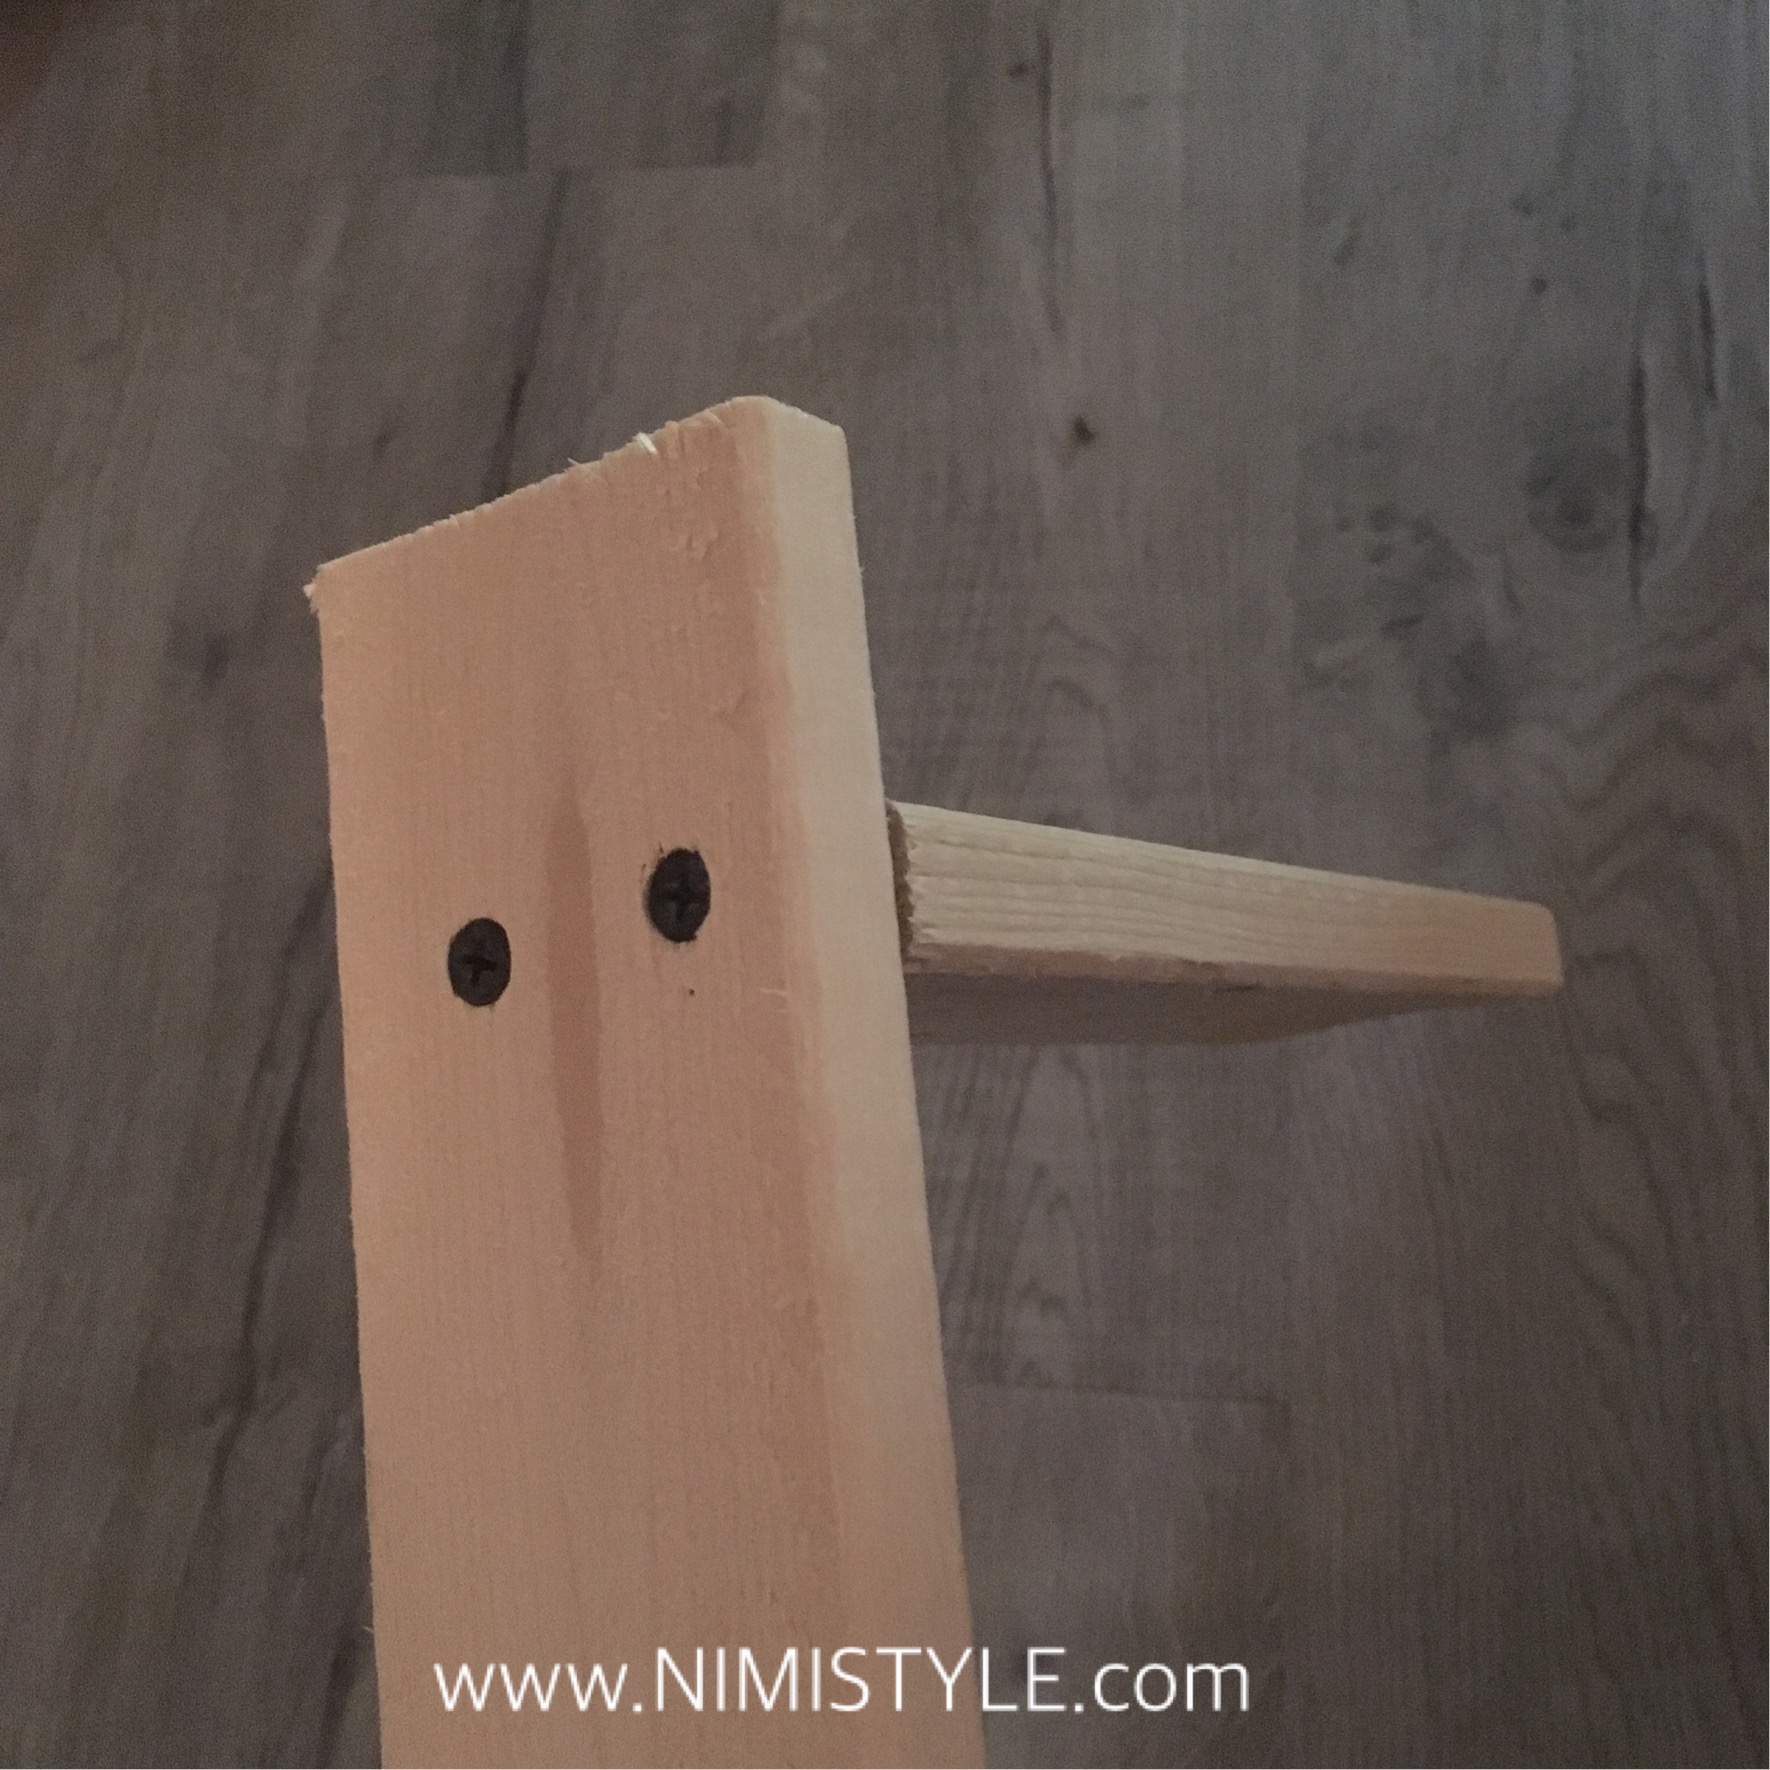
(3) Next screw the two pieces together using the drywall screws.
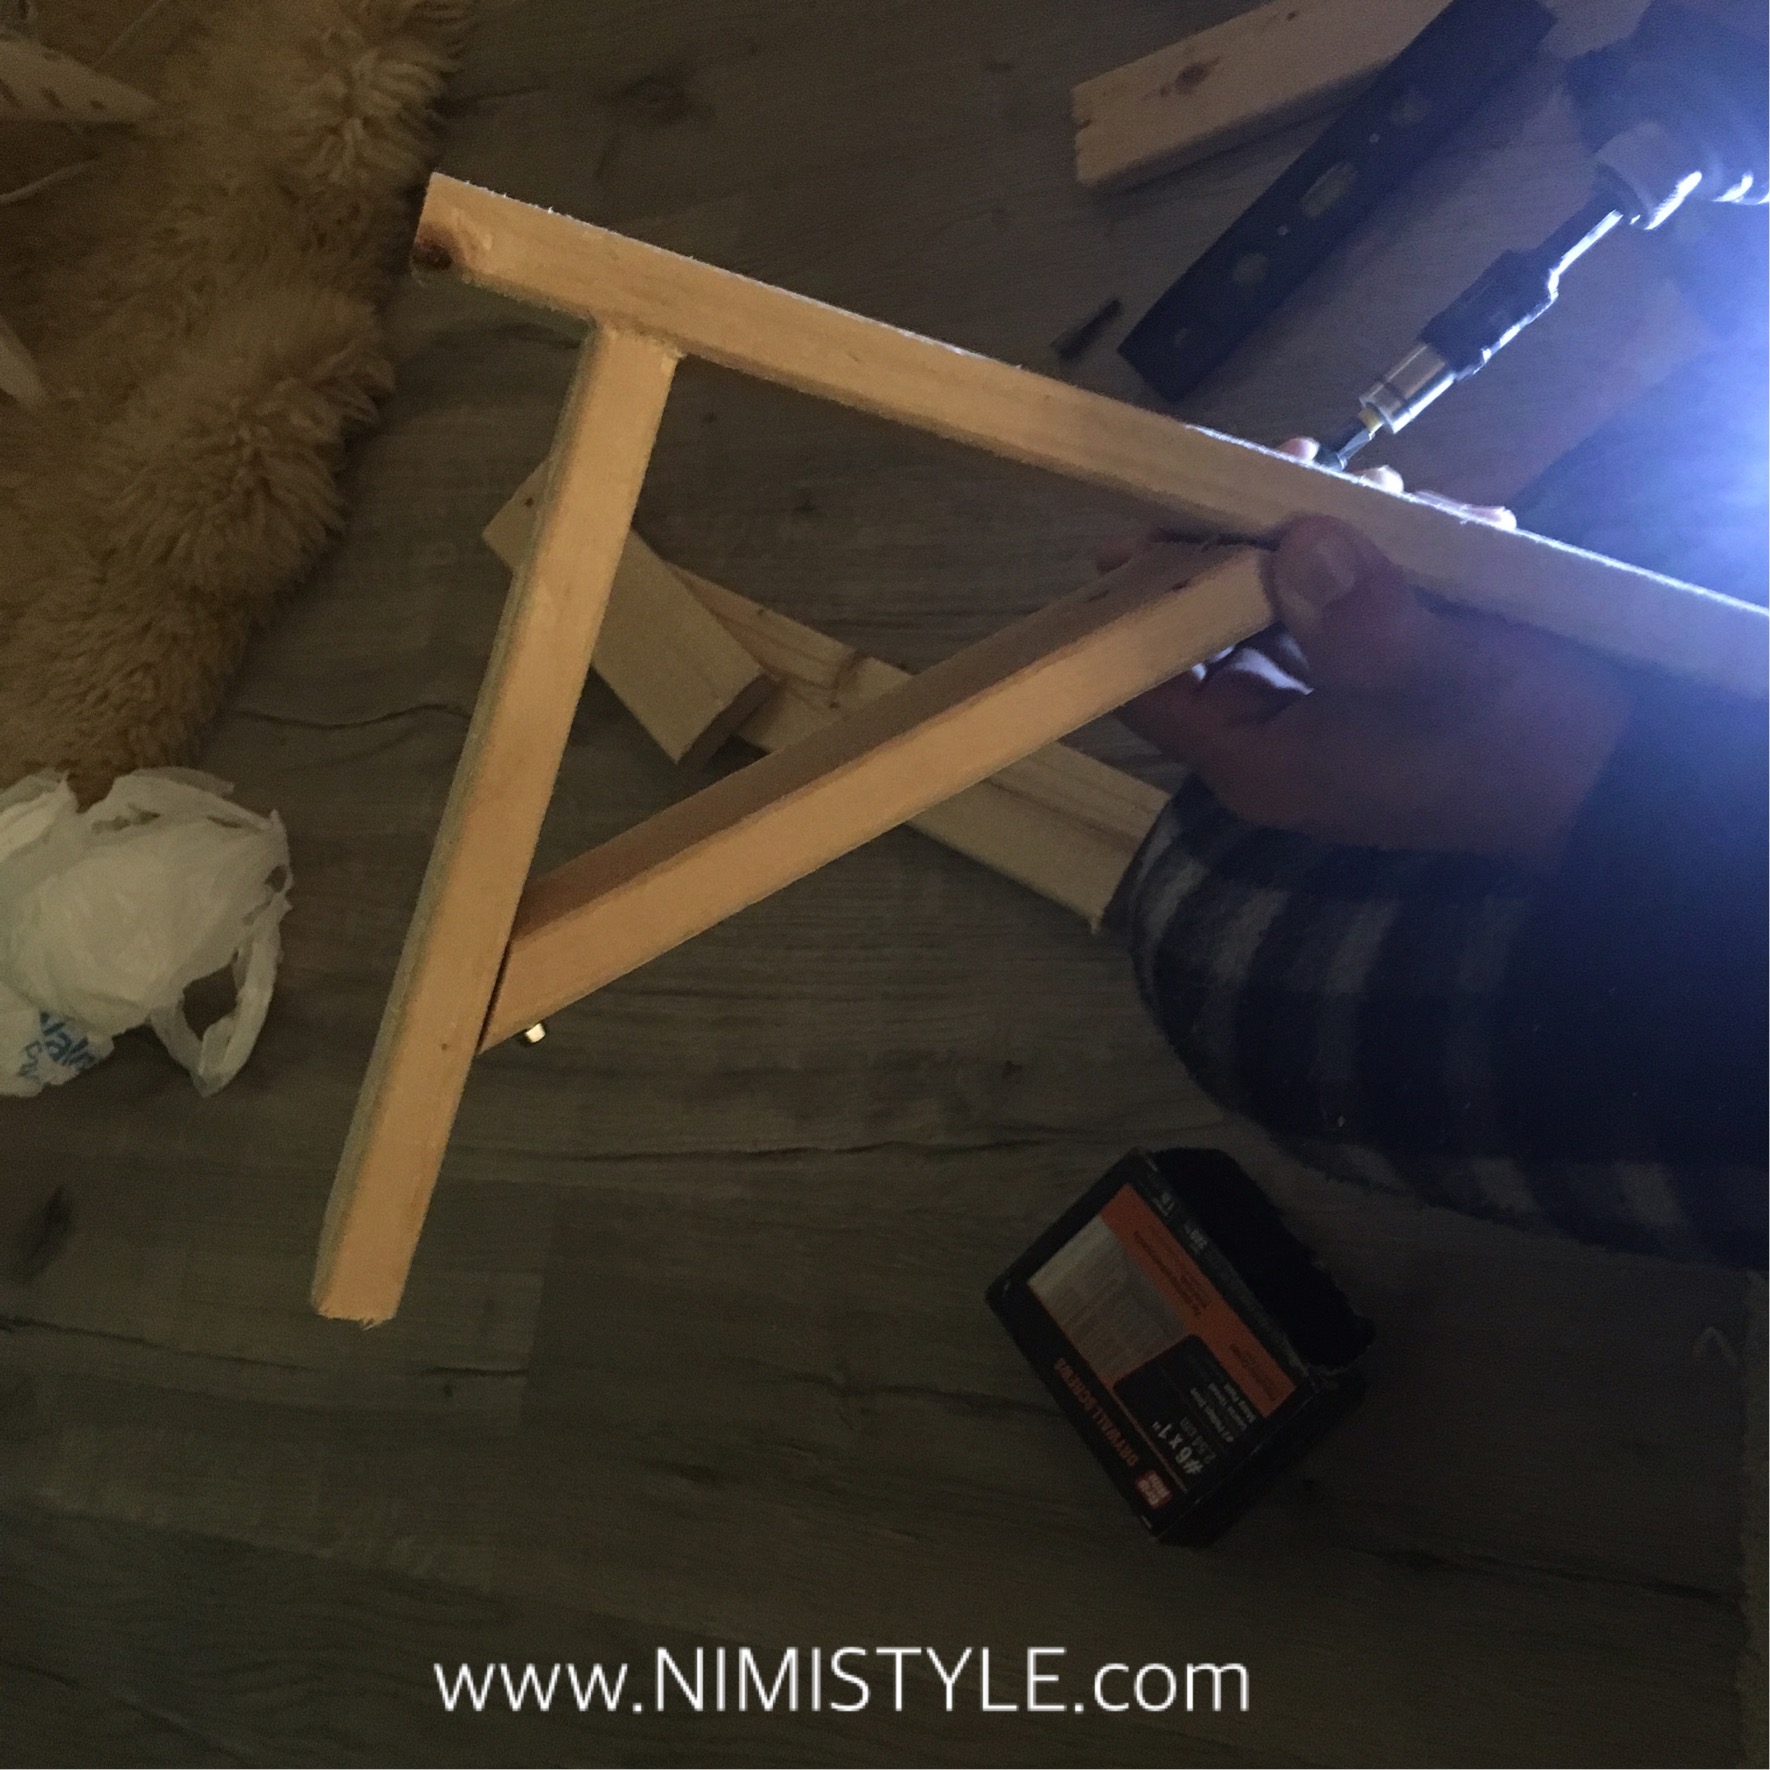
(4) Now that you have the back and top joined. Put the center support in place and drill holes.
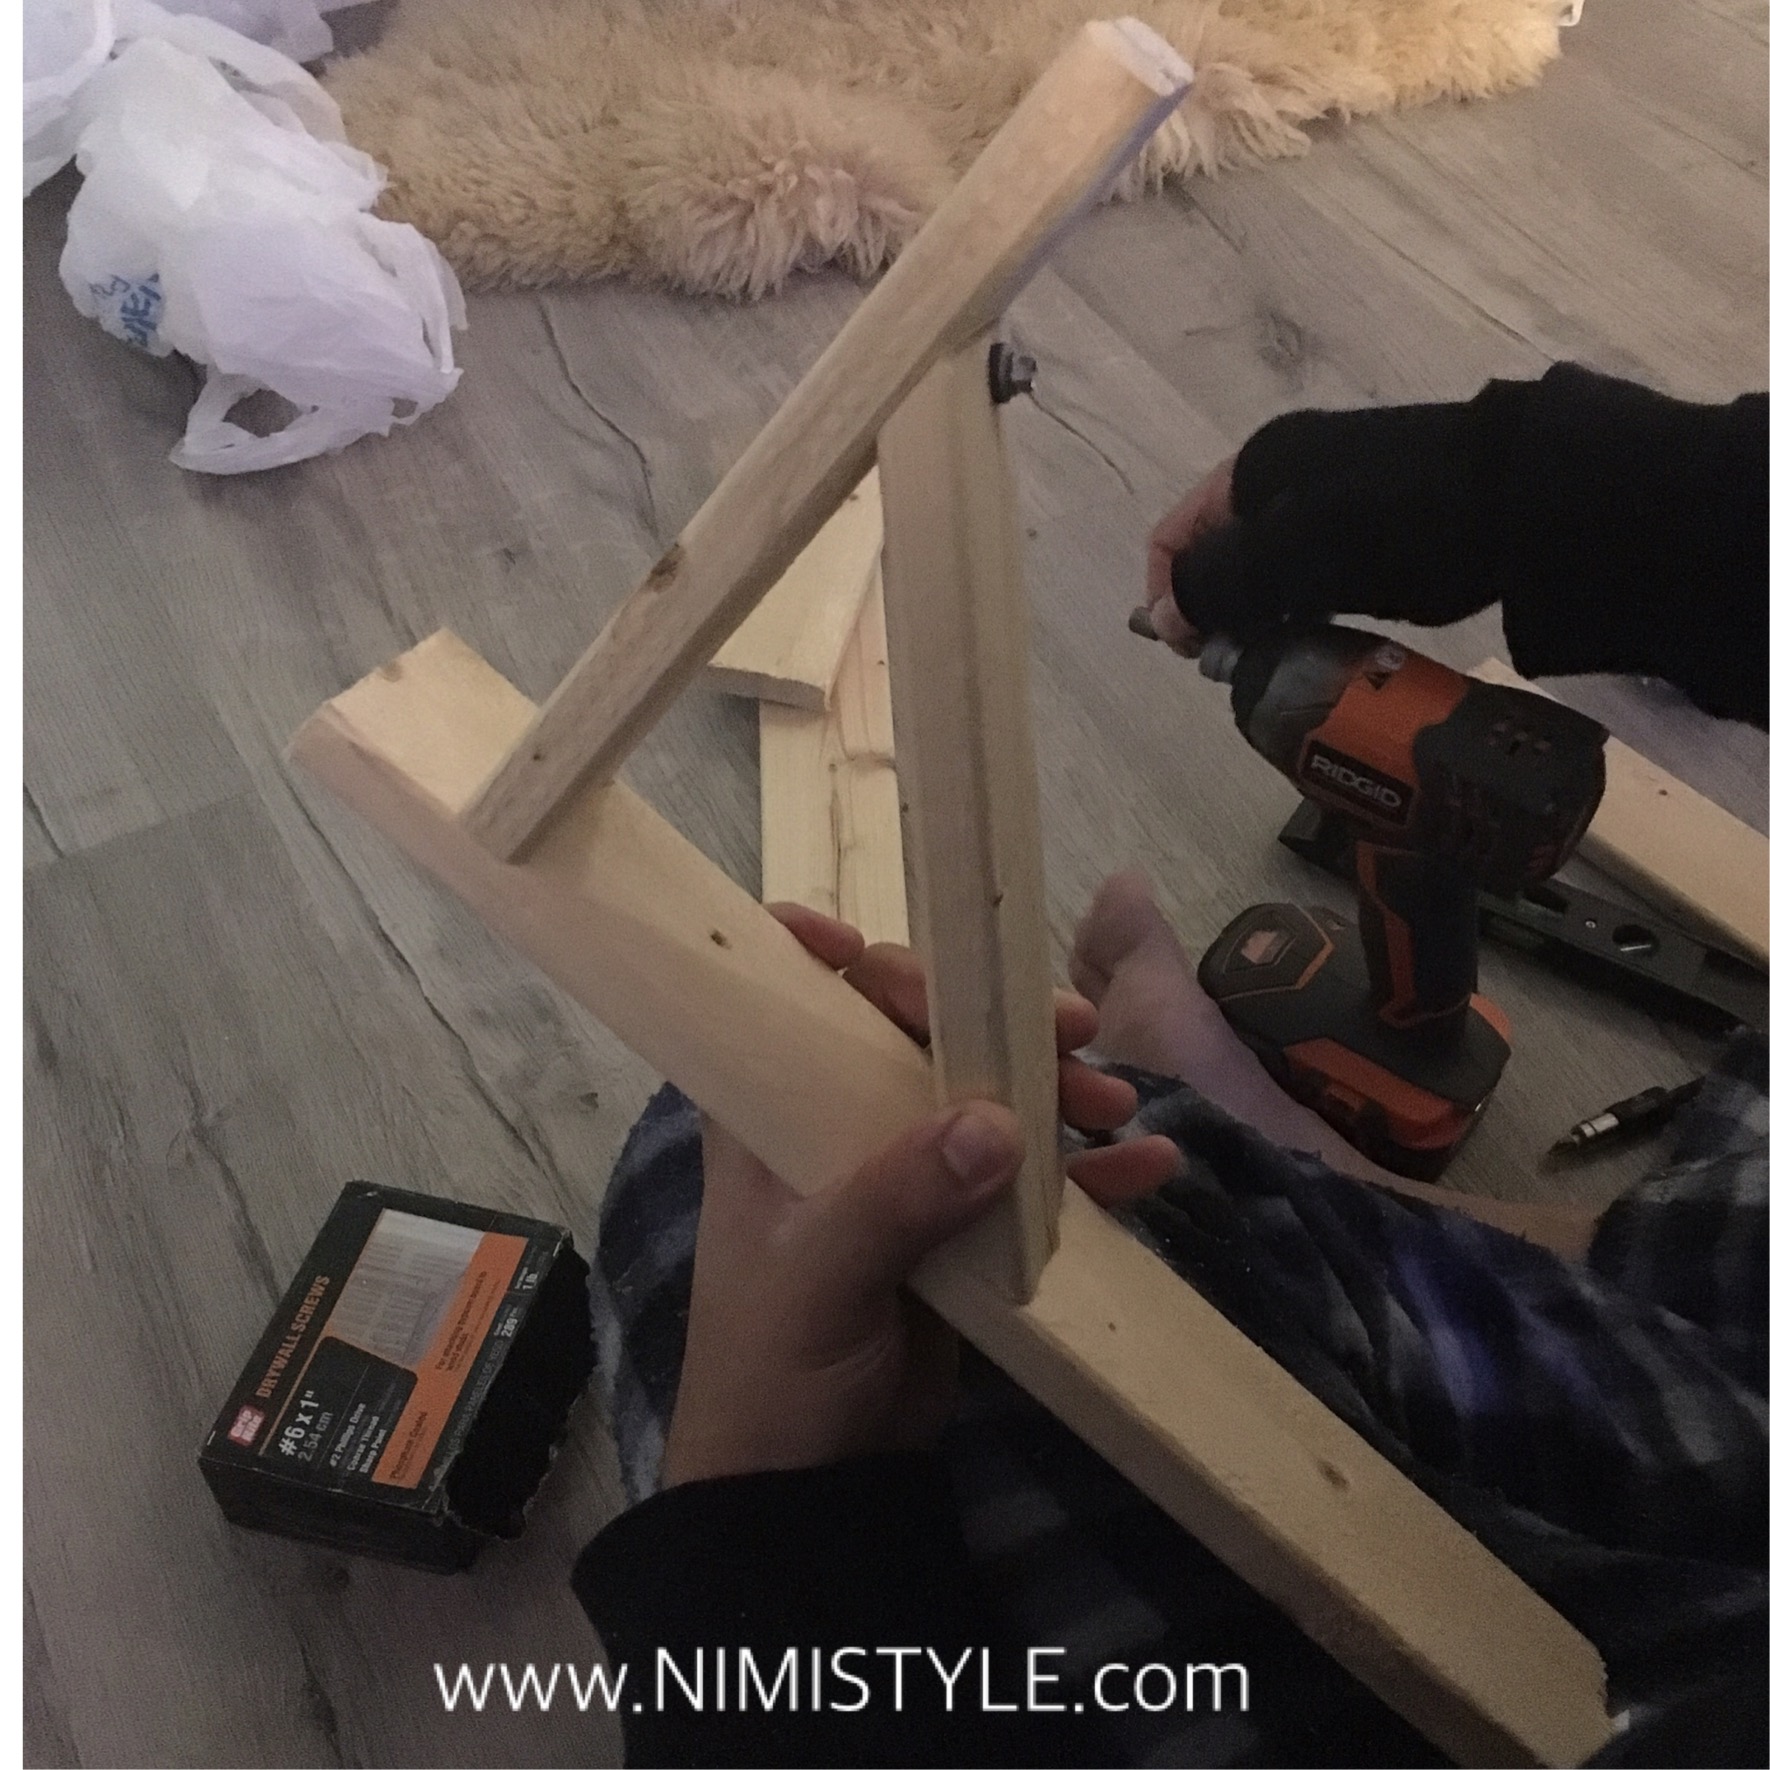
(5) Screw the center support in using wood screws.
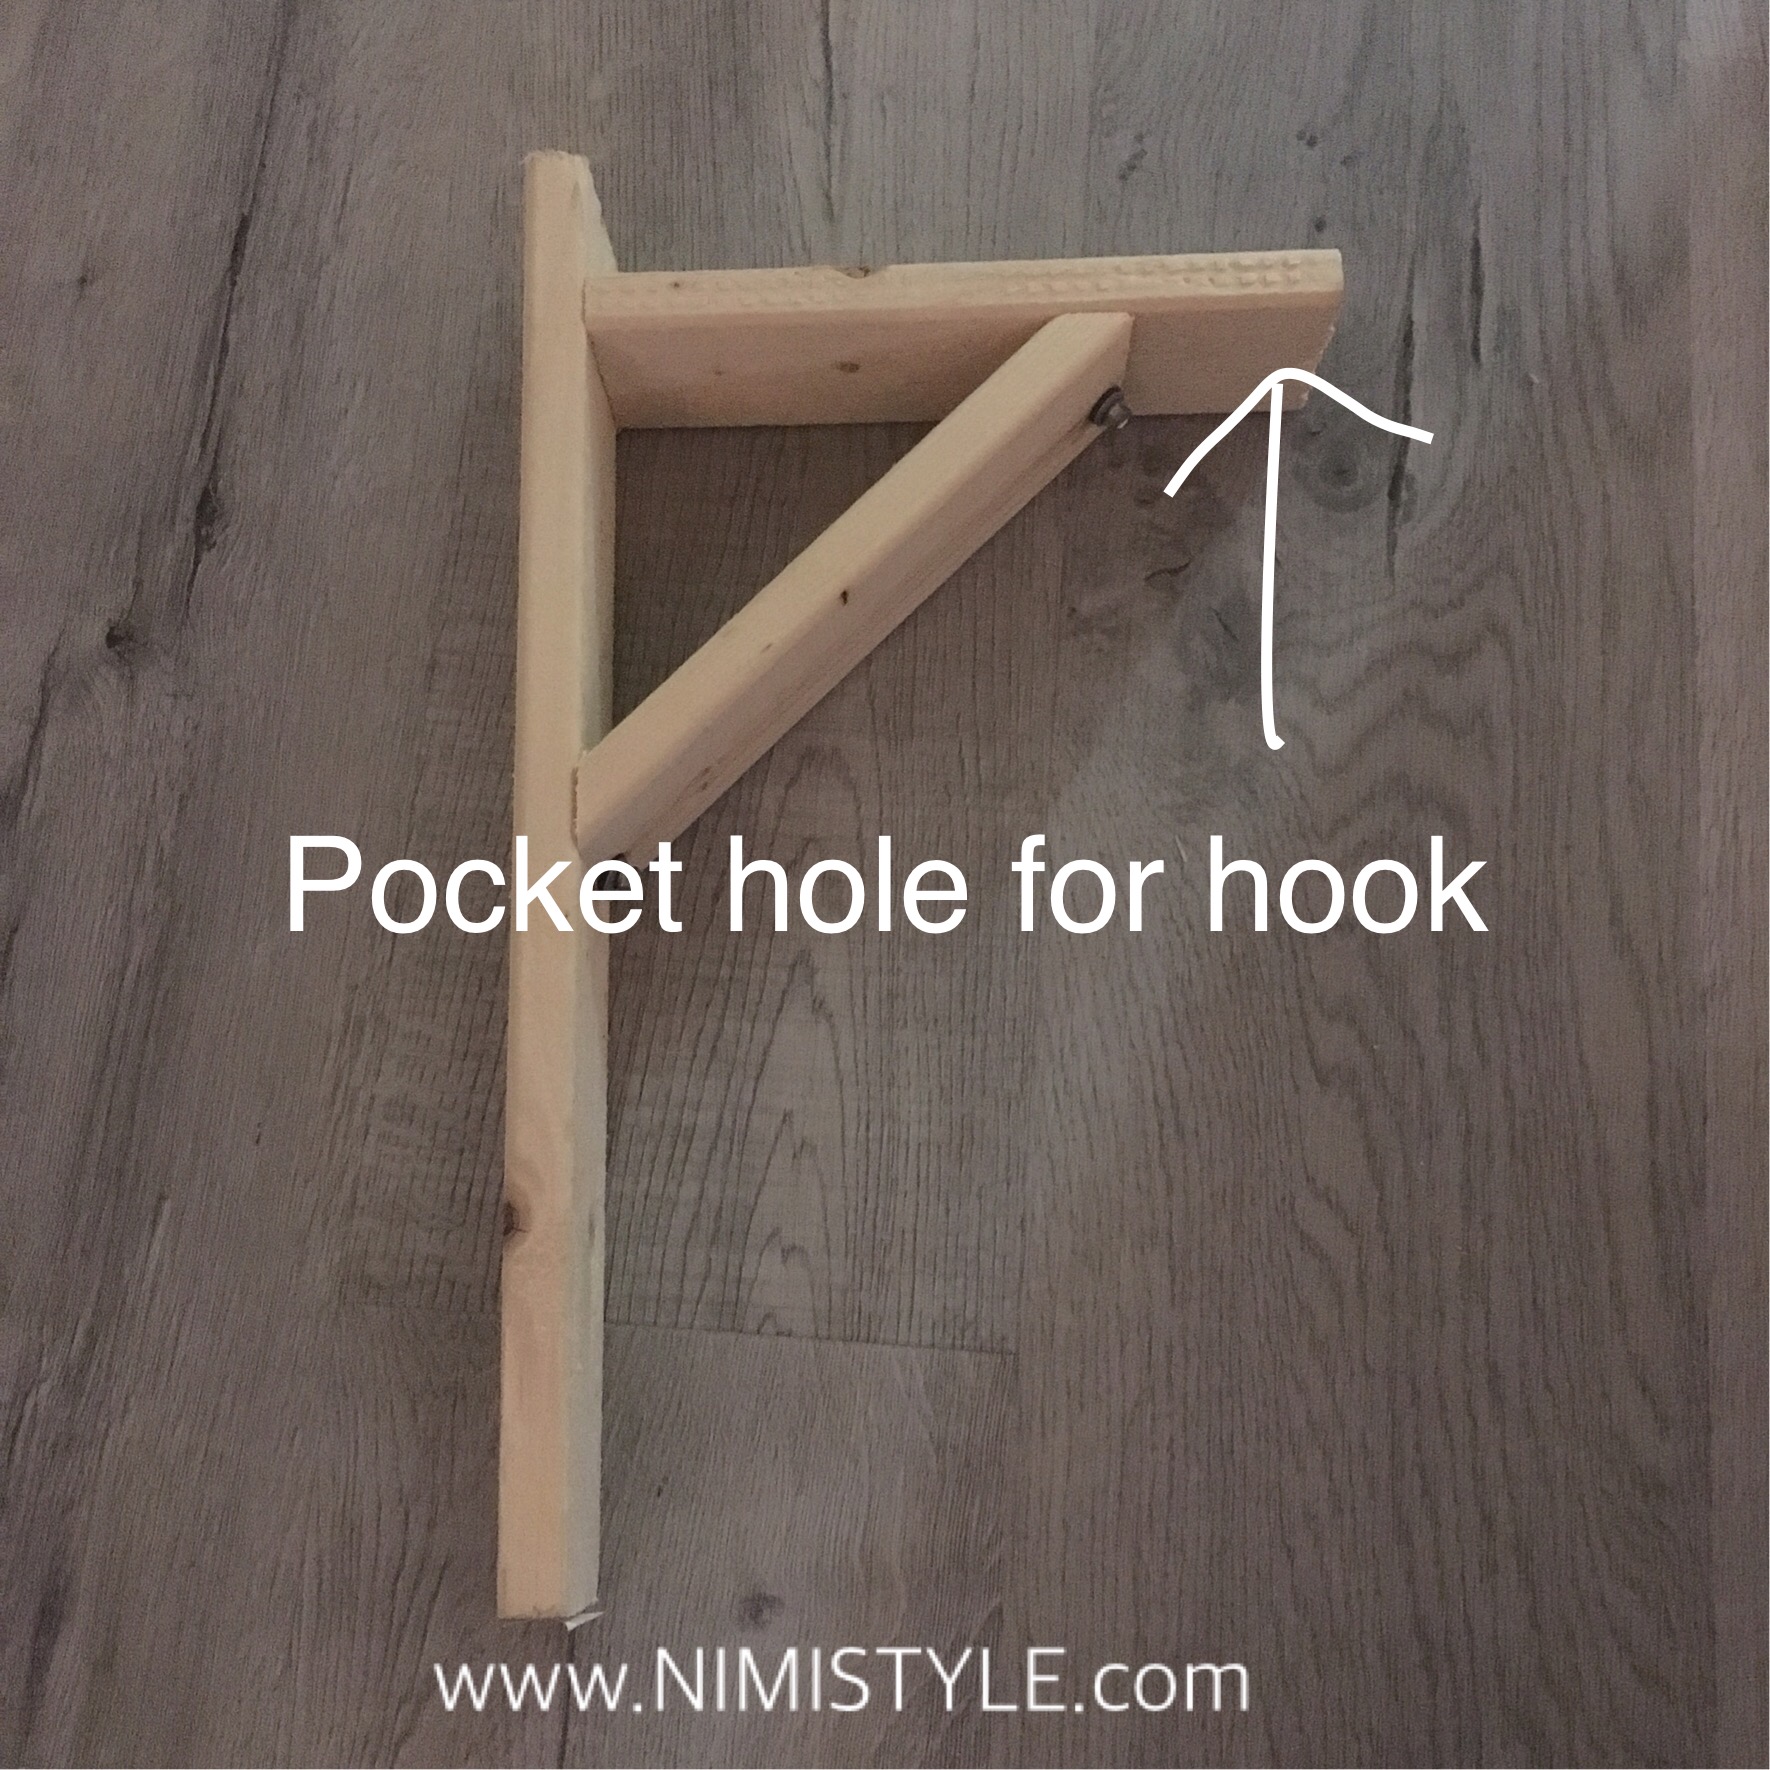

(6) At this point you can drill another hole in the top piece to attach a hook and then proceed to stain your bracket and then screw in your hook.**
(7) Drill two more holes on the back piece. One on top and one on the bottom. Next screw your bracket into your wall using drywall screws.
(8) Hang your lantern, and enjoy!
*These are just screws we had at home if you have something else that’ll work use that instead.
** For our project we decided on not adding a hook because (a) this was made in less then 15 mins with materials we had at home and a hook wasn’t one of them. (b) Our lanterns ring was big enough to fit over the top piece of our bracket and hang from it. We also did not stain our bracket since I’m so indecisive about what color I’d like to go with, but ya’ll don’t be like me and stain it at step 6. 😊