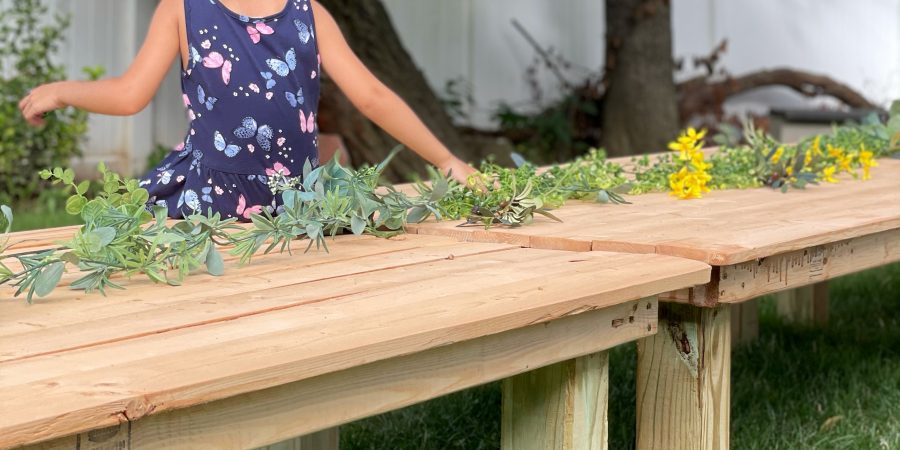
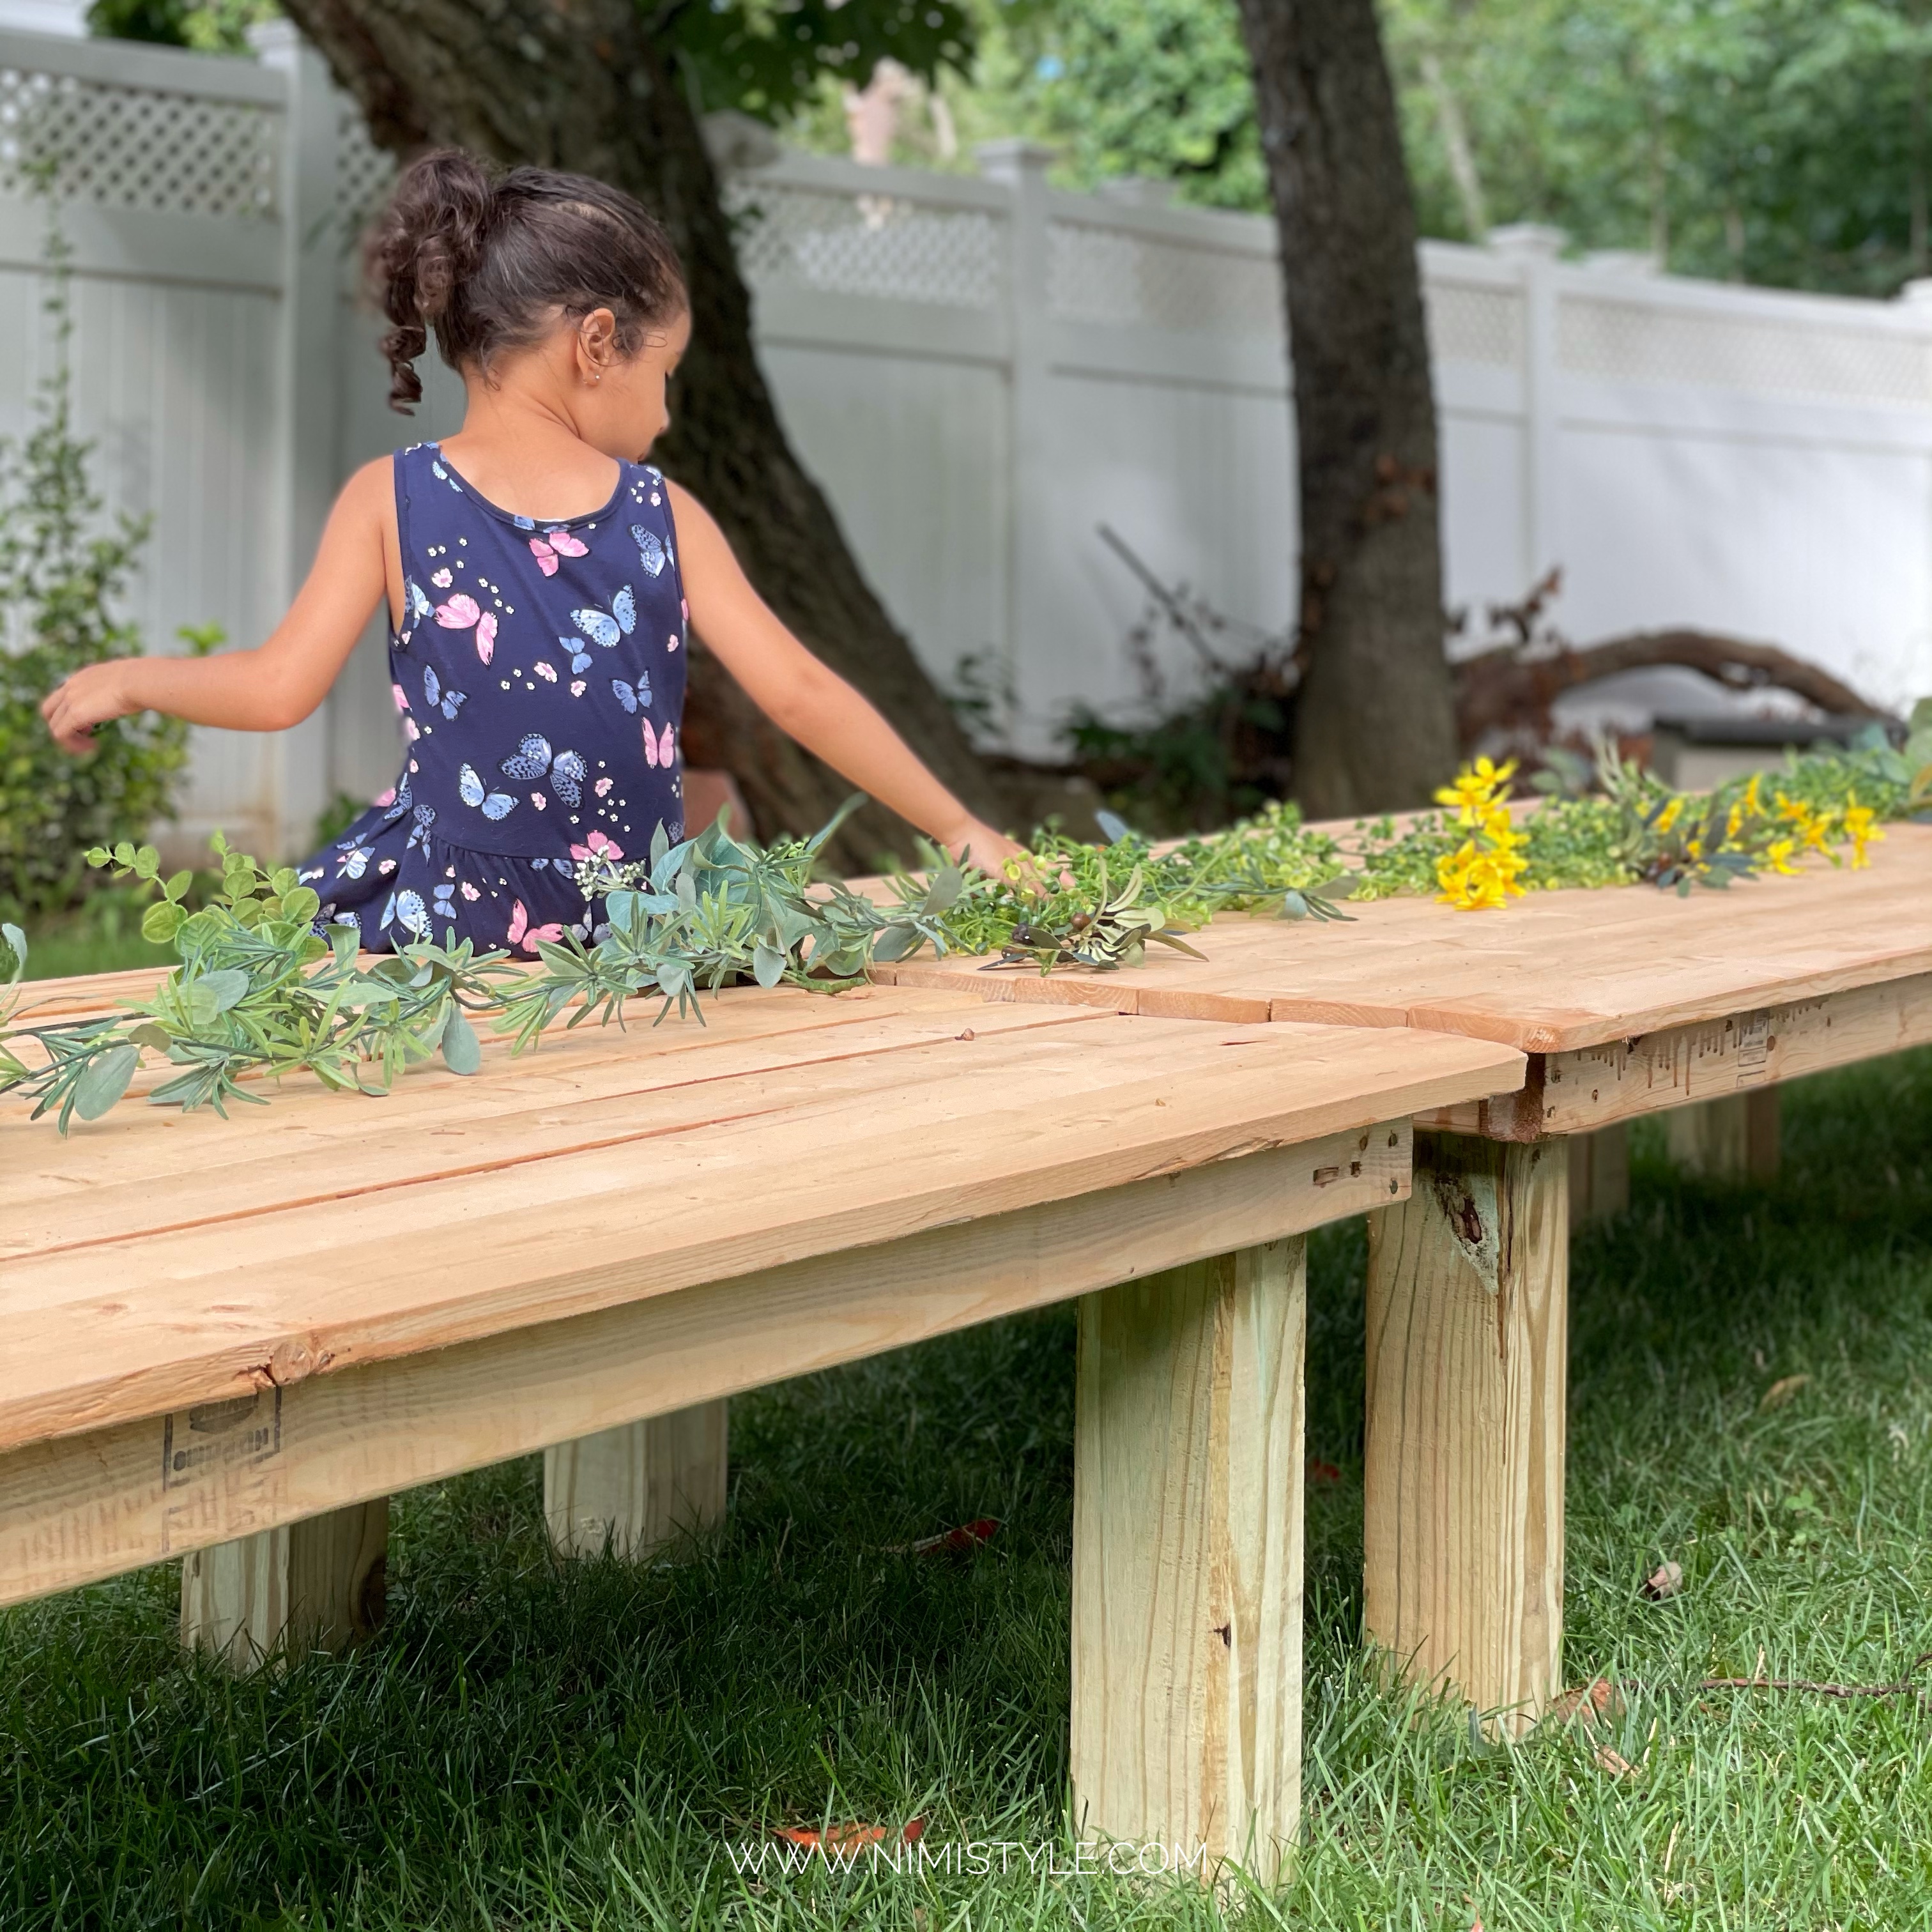
We had 3 days to create 3 commissioned low picnic tables and 3 low picnic tables did we create!
WHAT YOU NEED (For 1 Table):
A. 10- 6’ boards that are 1”x4”
B. 02- 66” boards that are 2”x3”
C. 02- 30.5” boards that are 2”x3”
D. 02- 29” boards that are 1”x4”
E. 04- 17” legs that are 4”x4” weathered treated
F. 04- 15-1/2” (widest part) that are 2”x3”
WHAT YOU WILL DO:
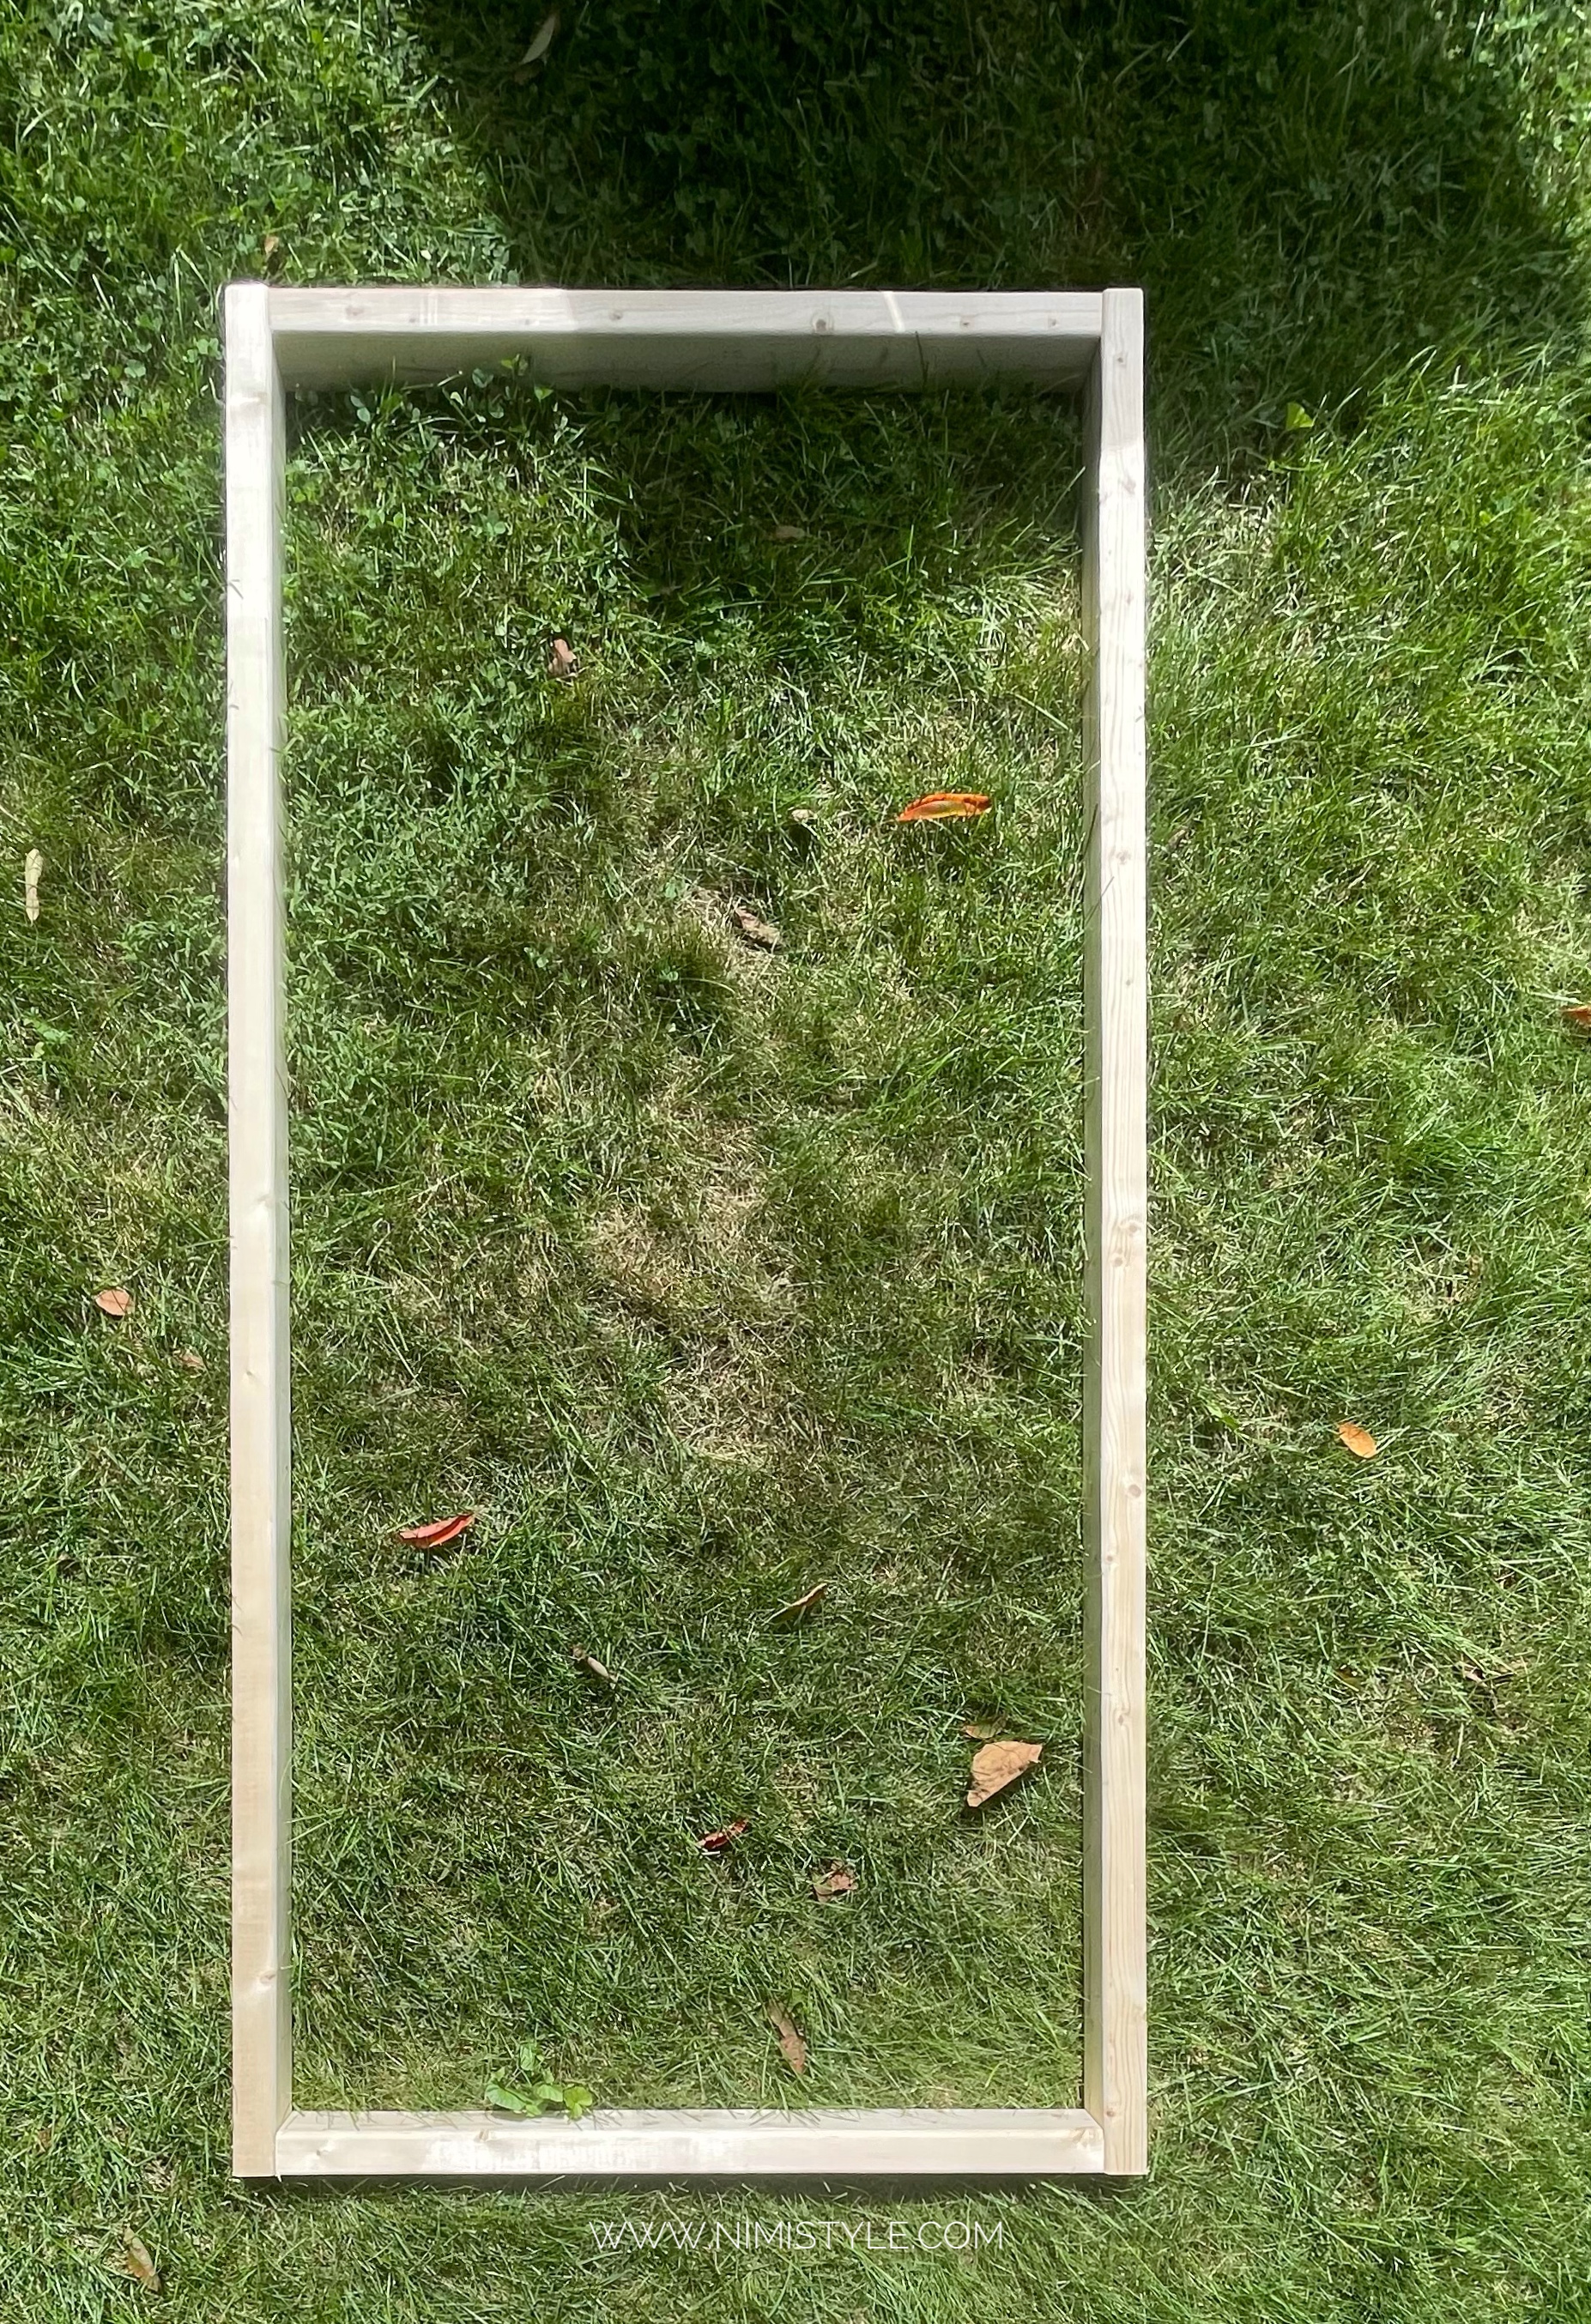
(1) Attach “B” to “C” using outdoor screws to create a frame. Finished frame size should be 32”x66” on the outside.
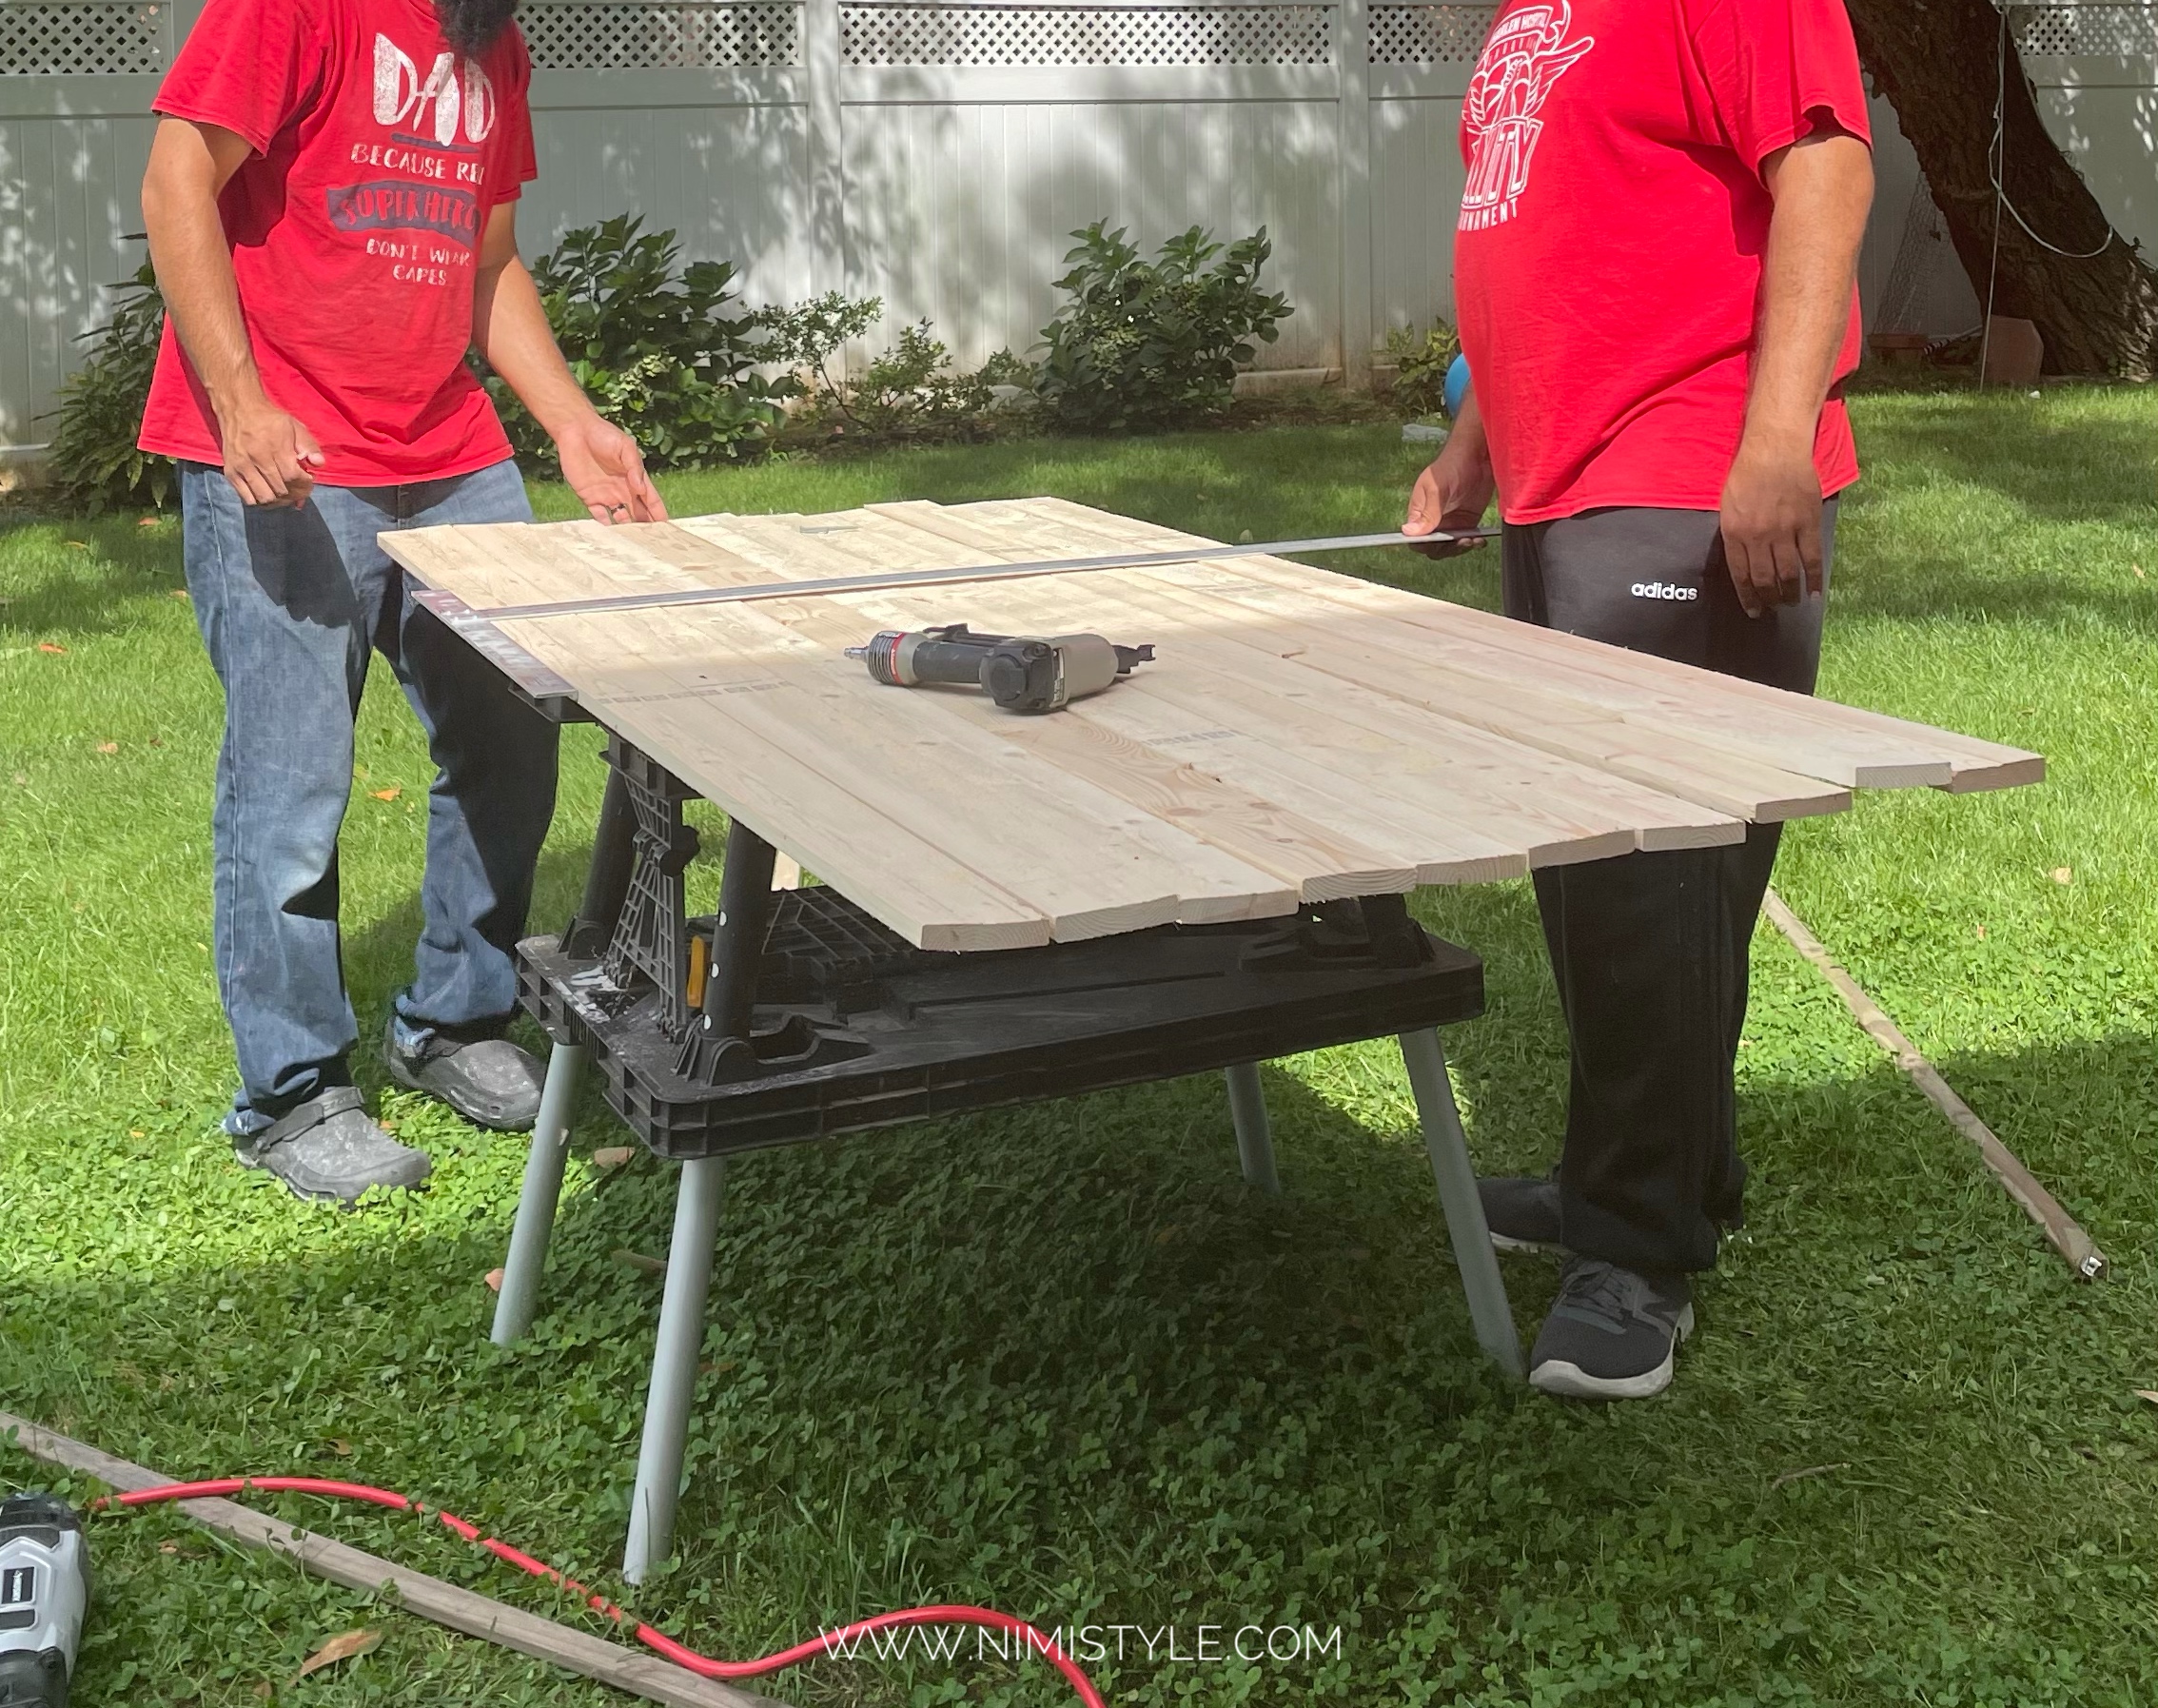
(2) Line up “A” the ten 6’ boards making sure the ends are even.
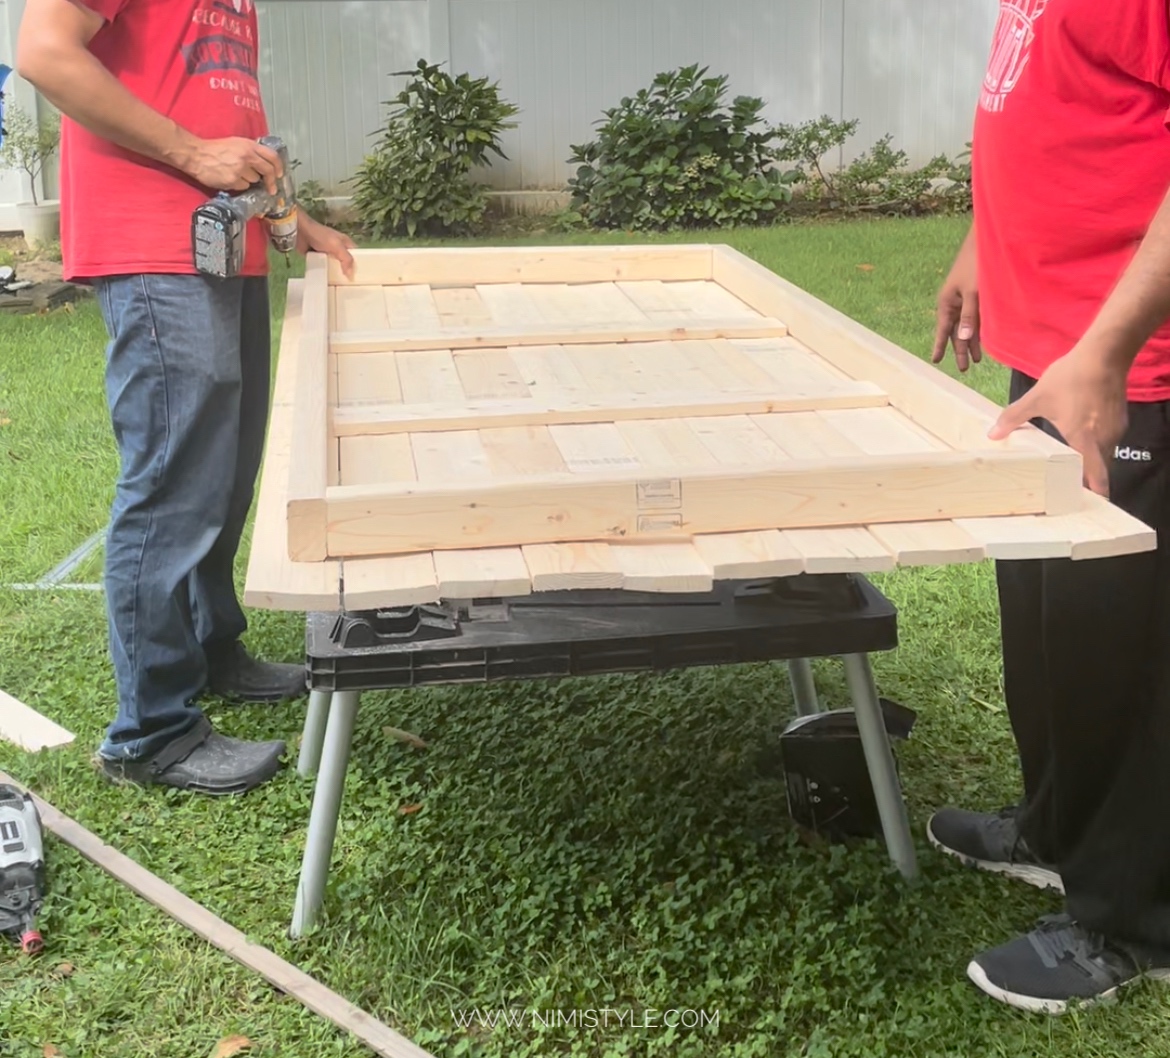
(3) Place the “B & C” frame on “A” the 10 lined up boards and screw it in using outdoor screws.
(4) Next place “D” in between the frame perpendicular to the “A” boards. Space both of the “D” boards equidistant from each other. Screw both “D” boards into each of the “A” boards.

(5) Attach “E” on each of the 4 corners of the “B & C” frame using a nail gun.
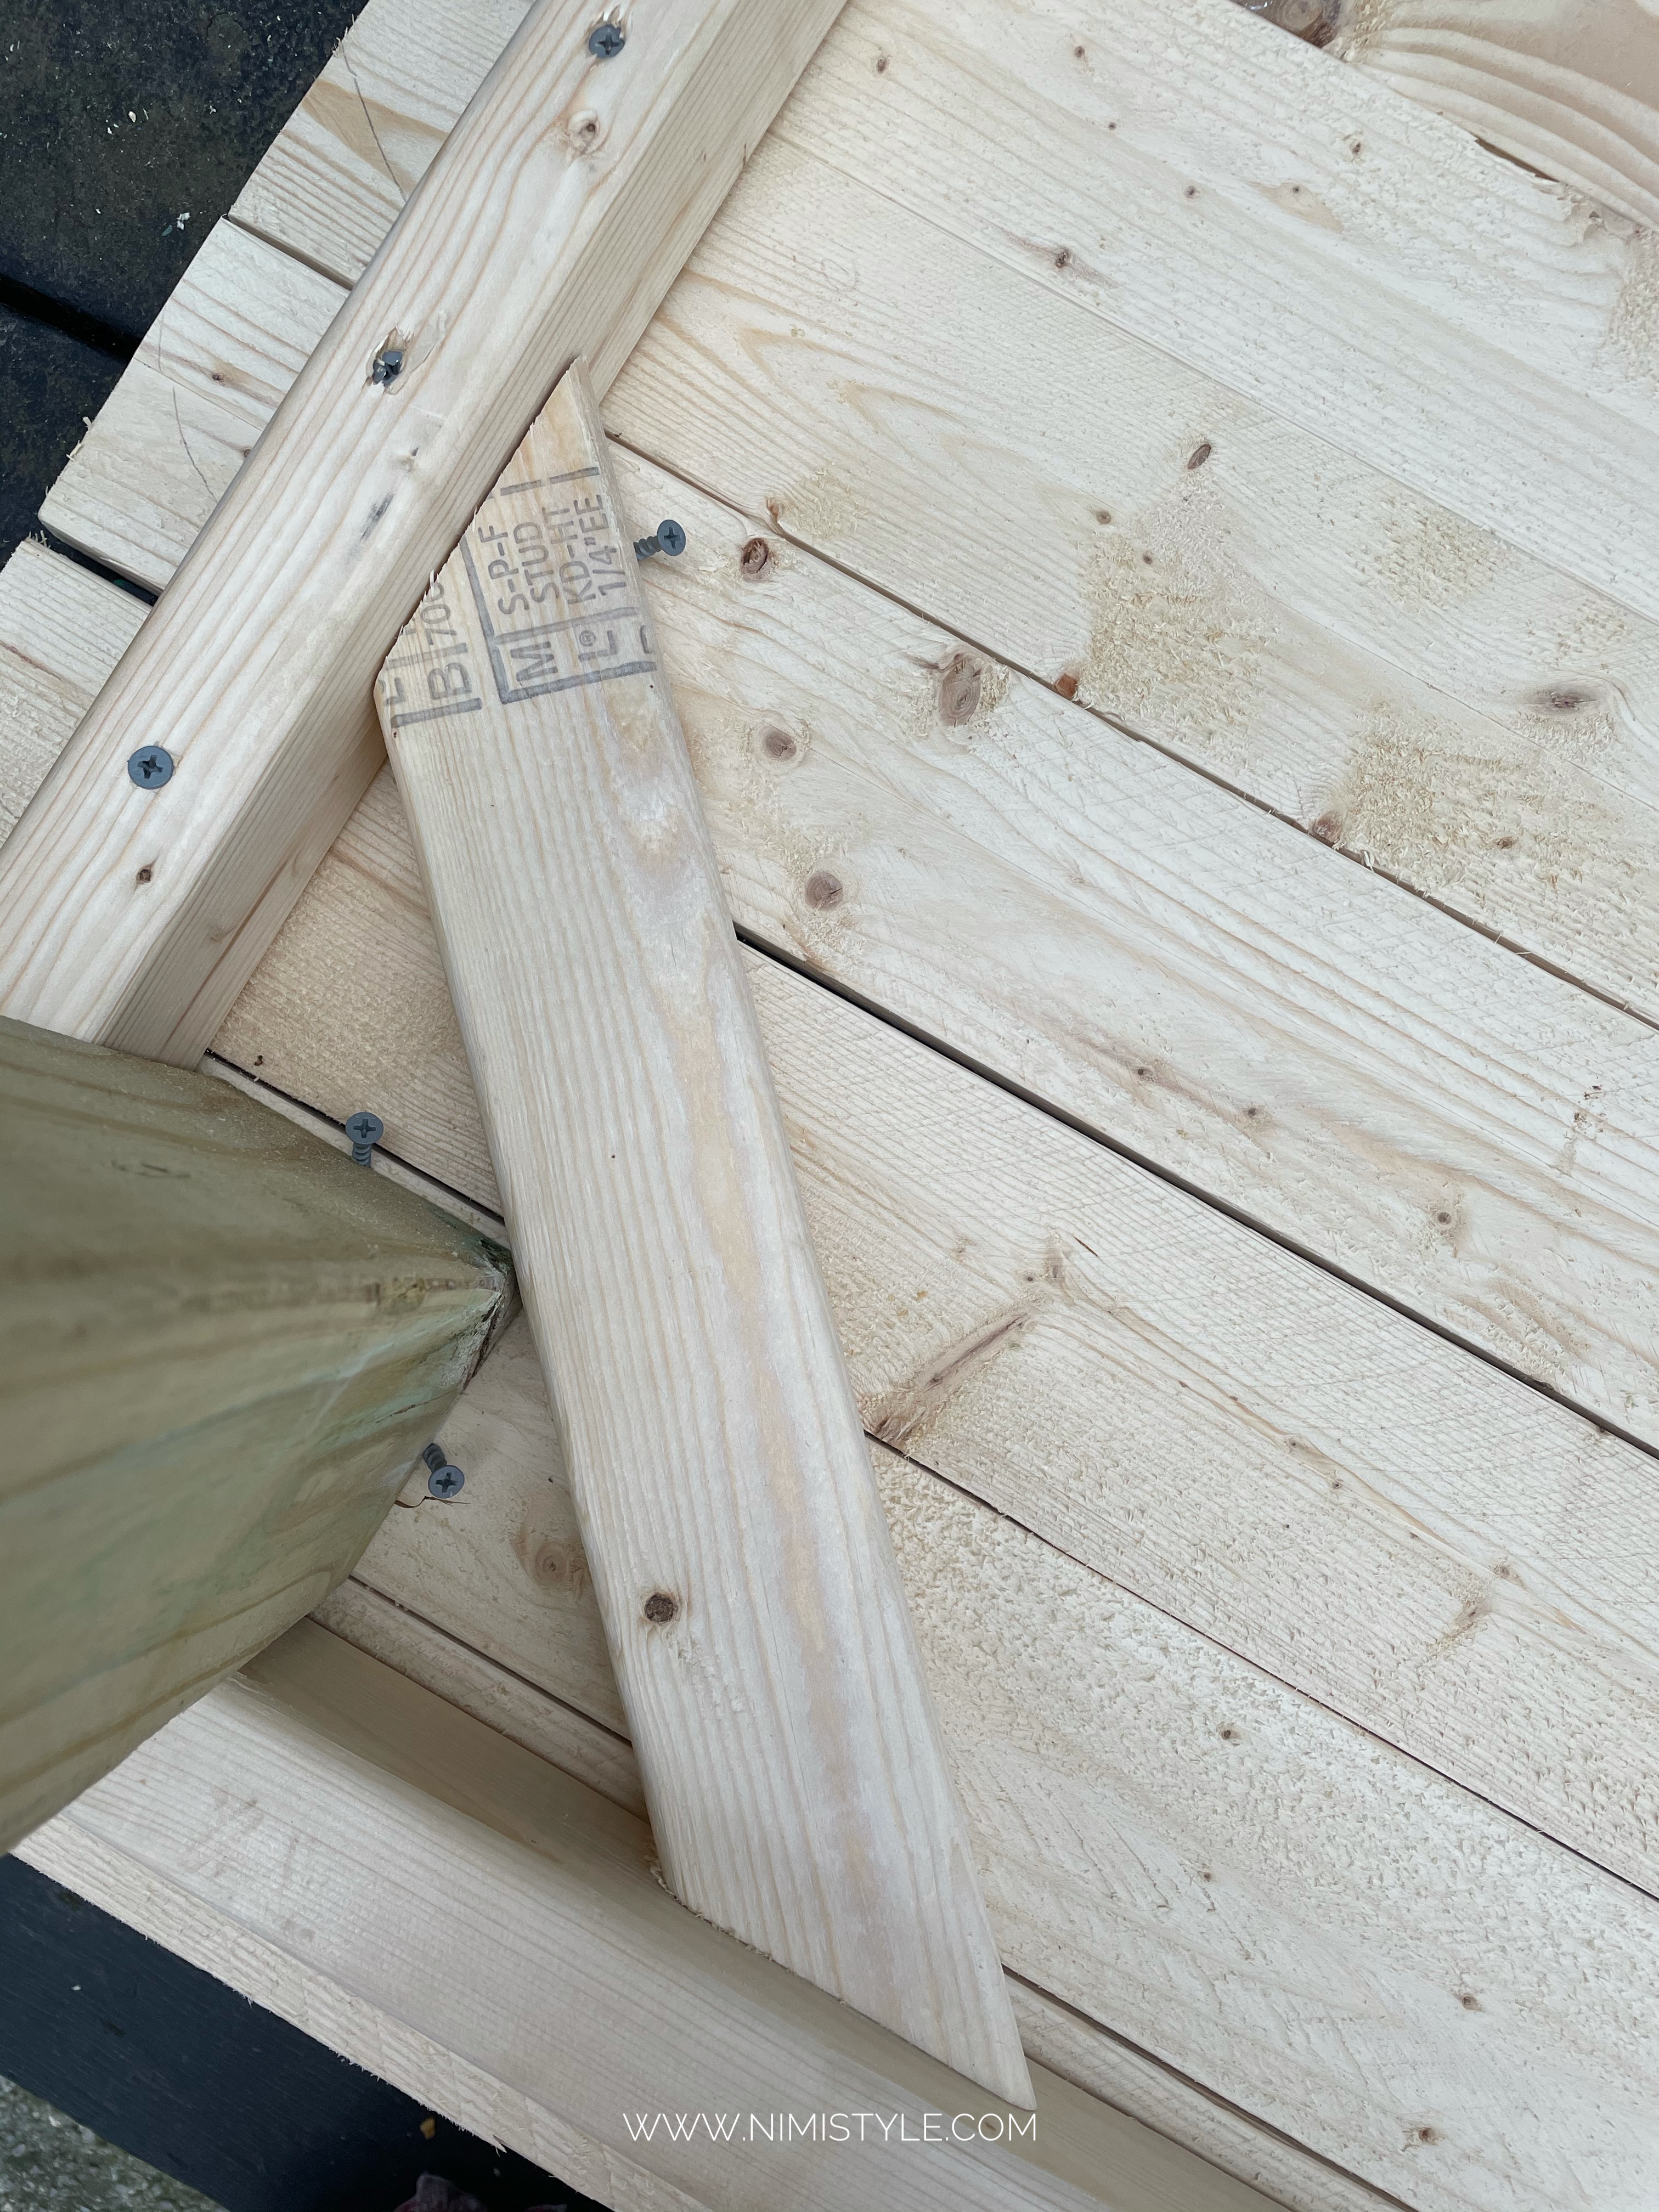
(6) Attach “F” the corner brace into the “B & C” frame with a nail gun providing support to the “E” legs and stability to the table.
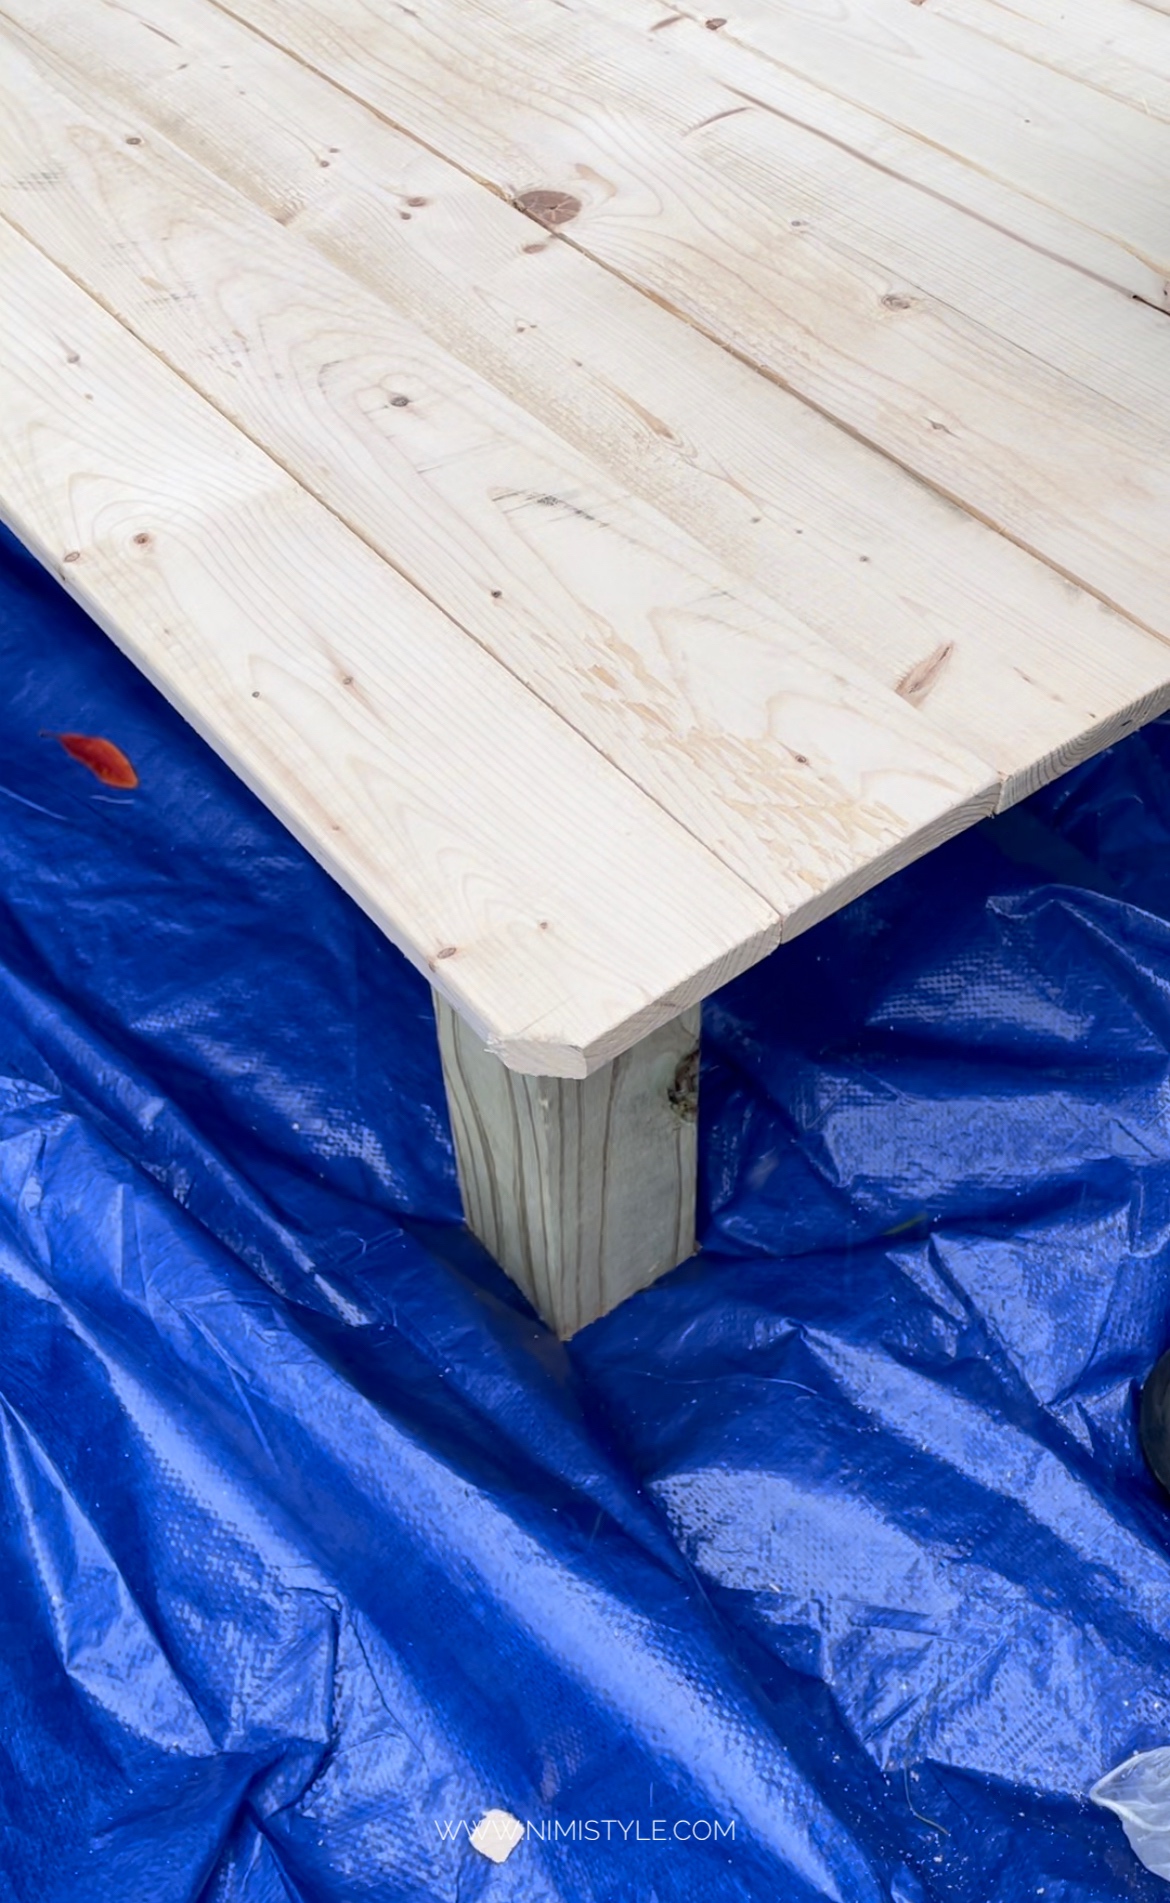
(7) Cut the corners of the table at 45*. This will prevent anyone from getting hurt on a sharp corner.
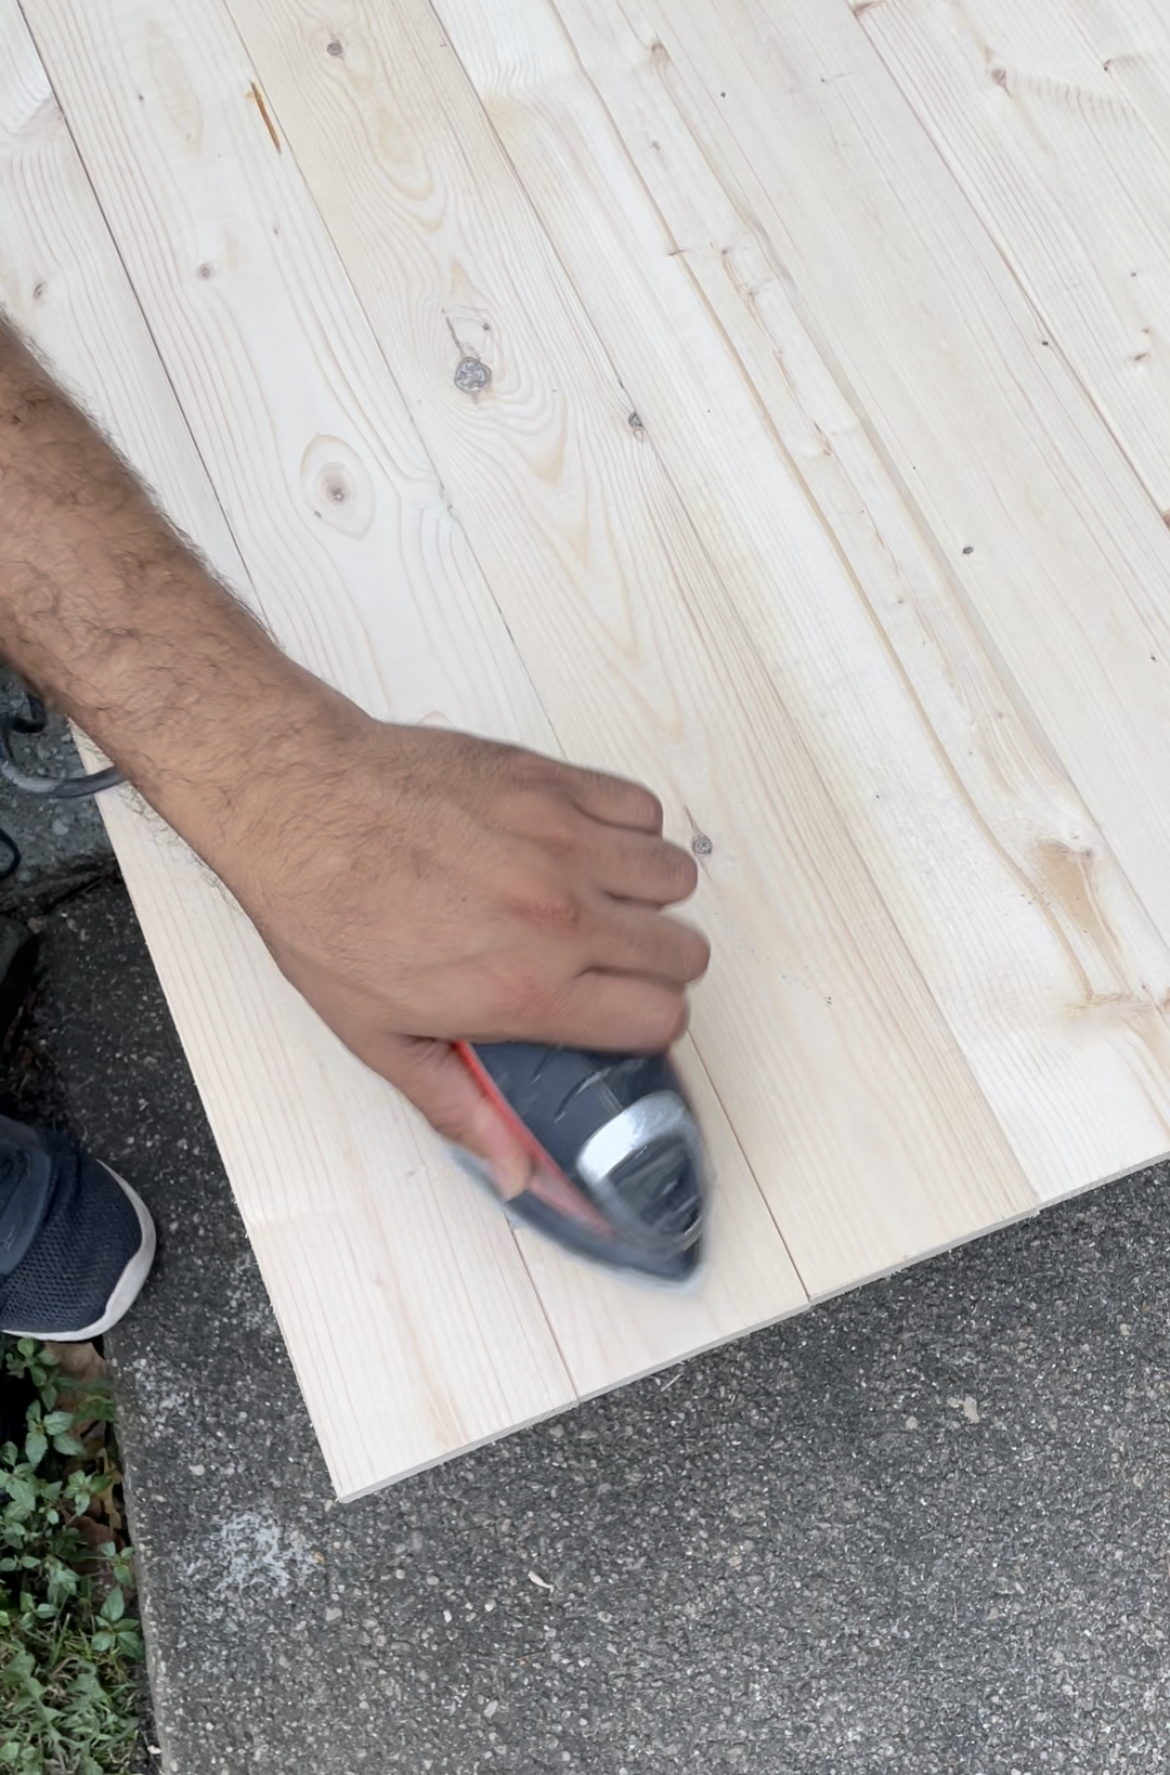
(8) Sand your table to smooth out the grain.
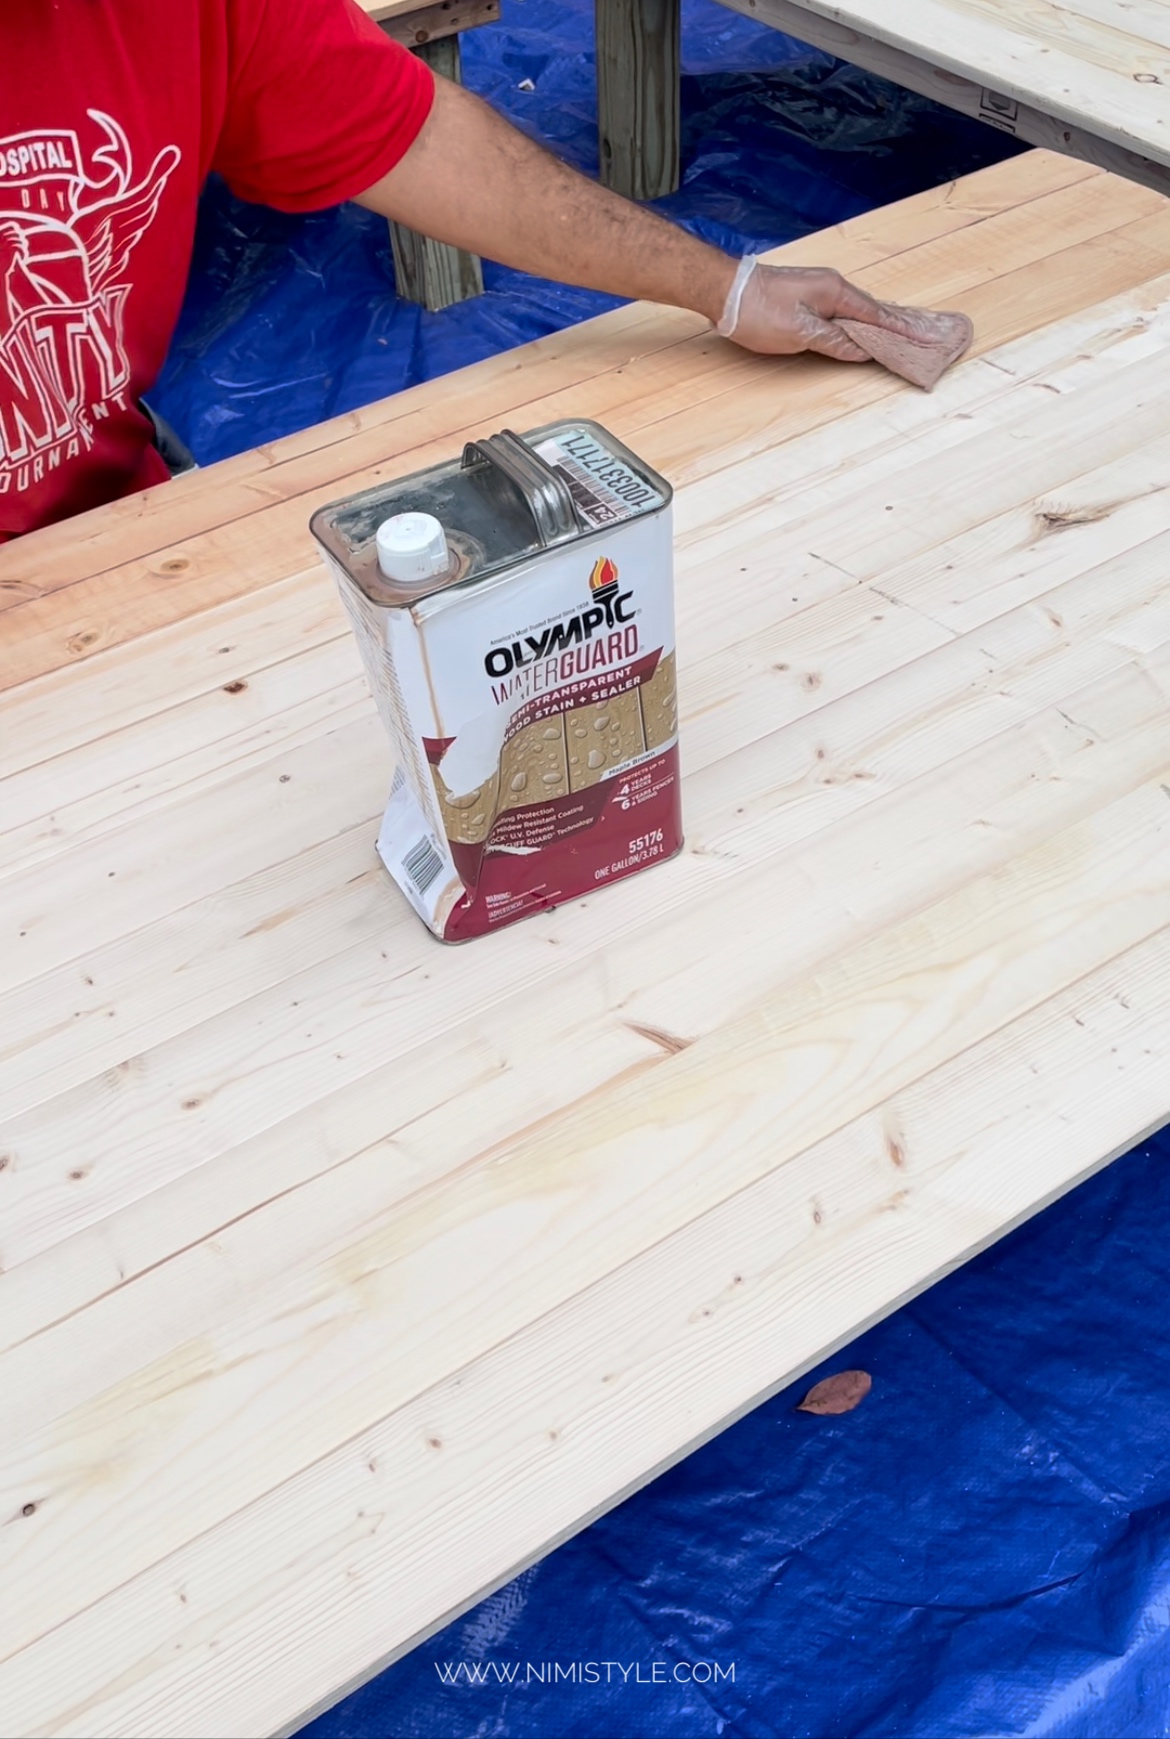
(9) Stain and seal your table.
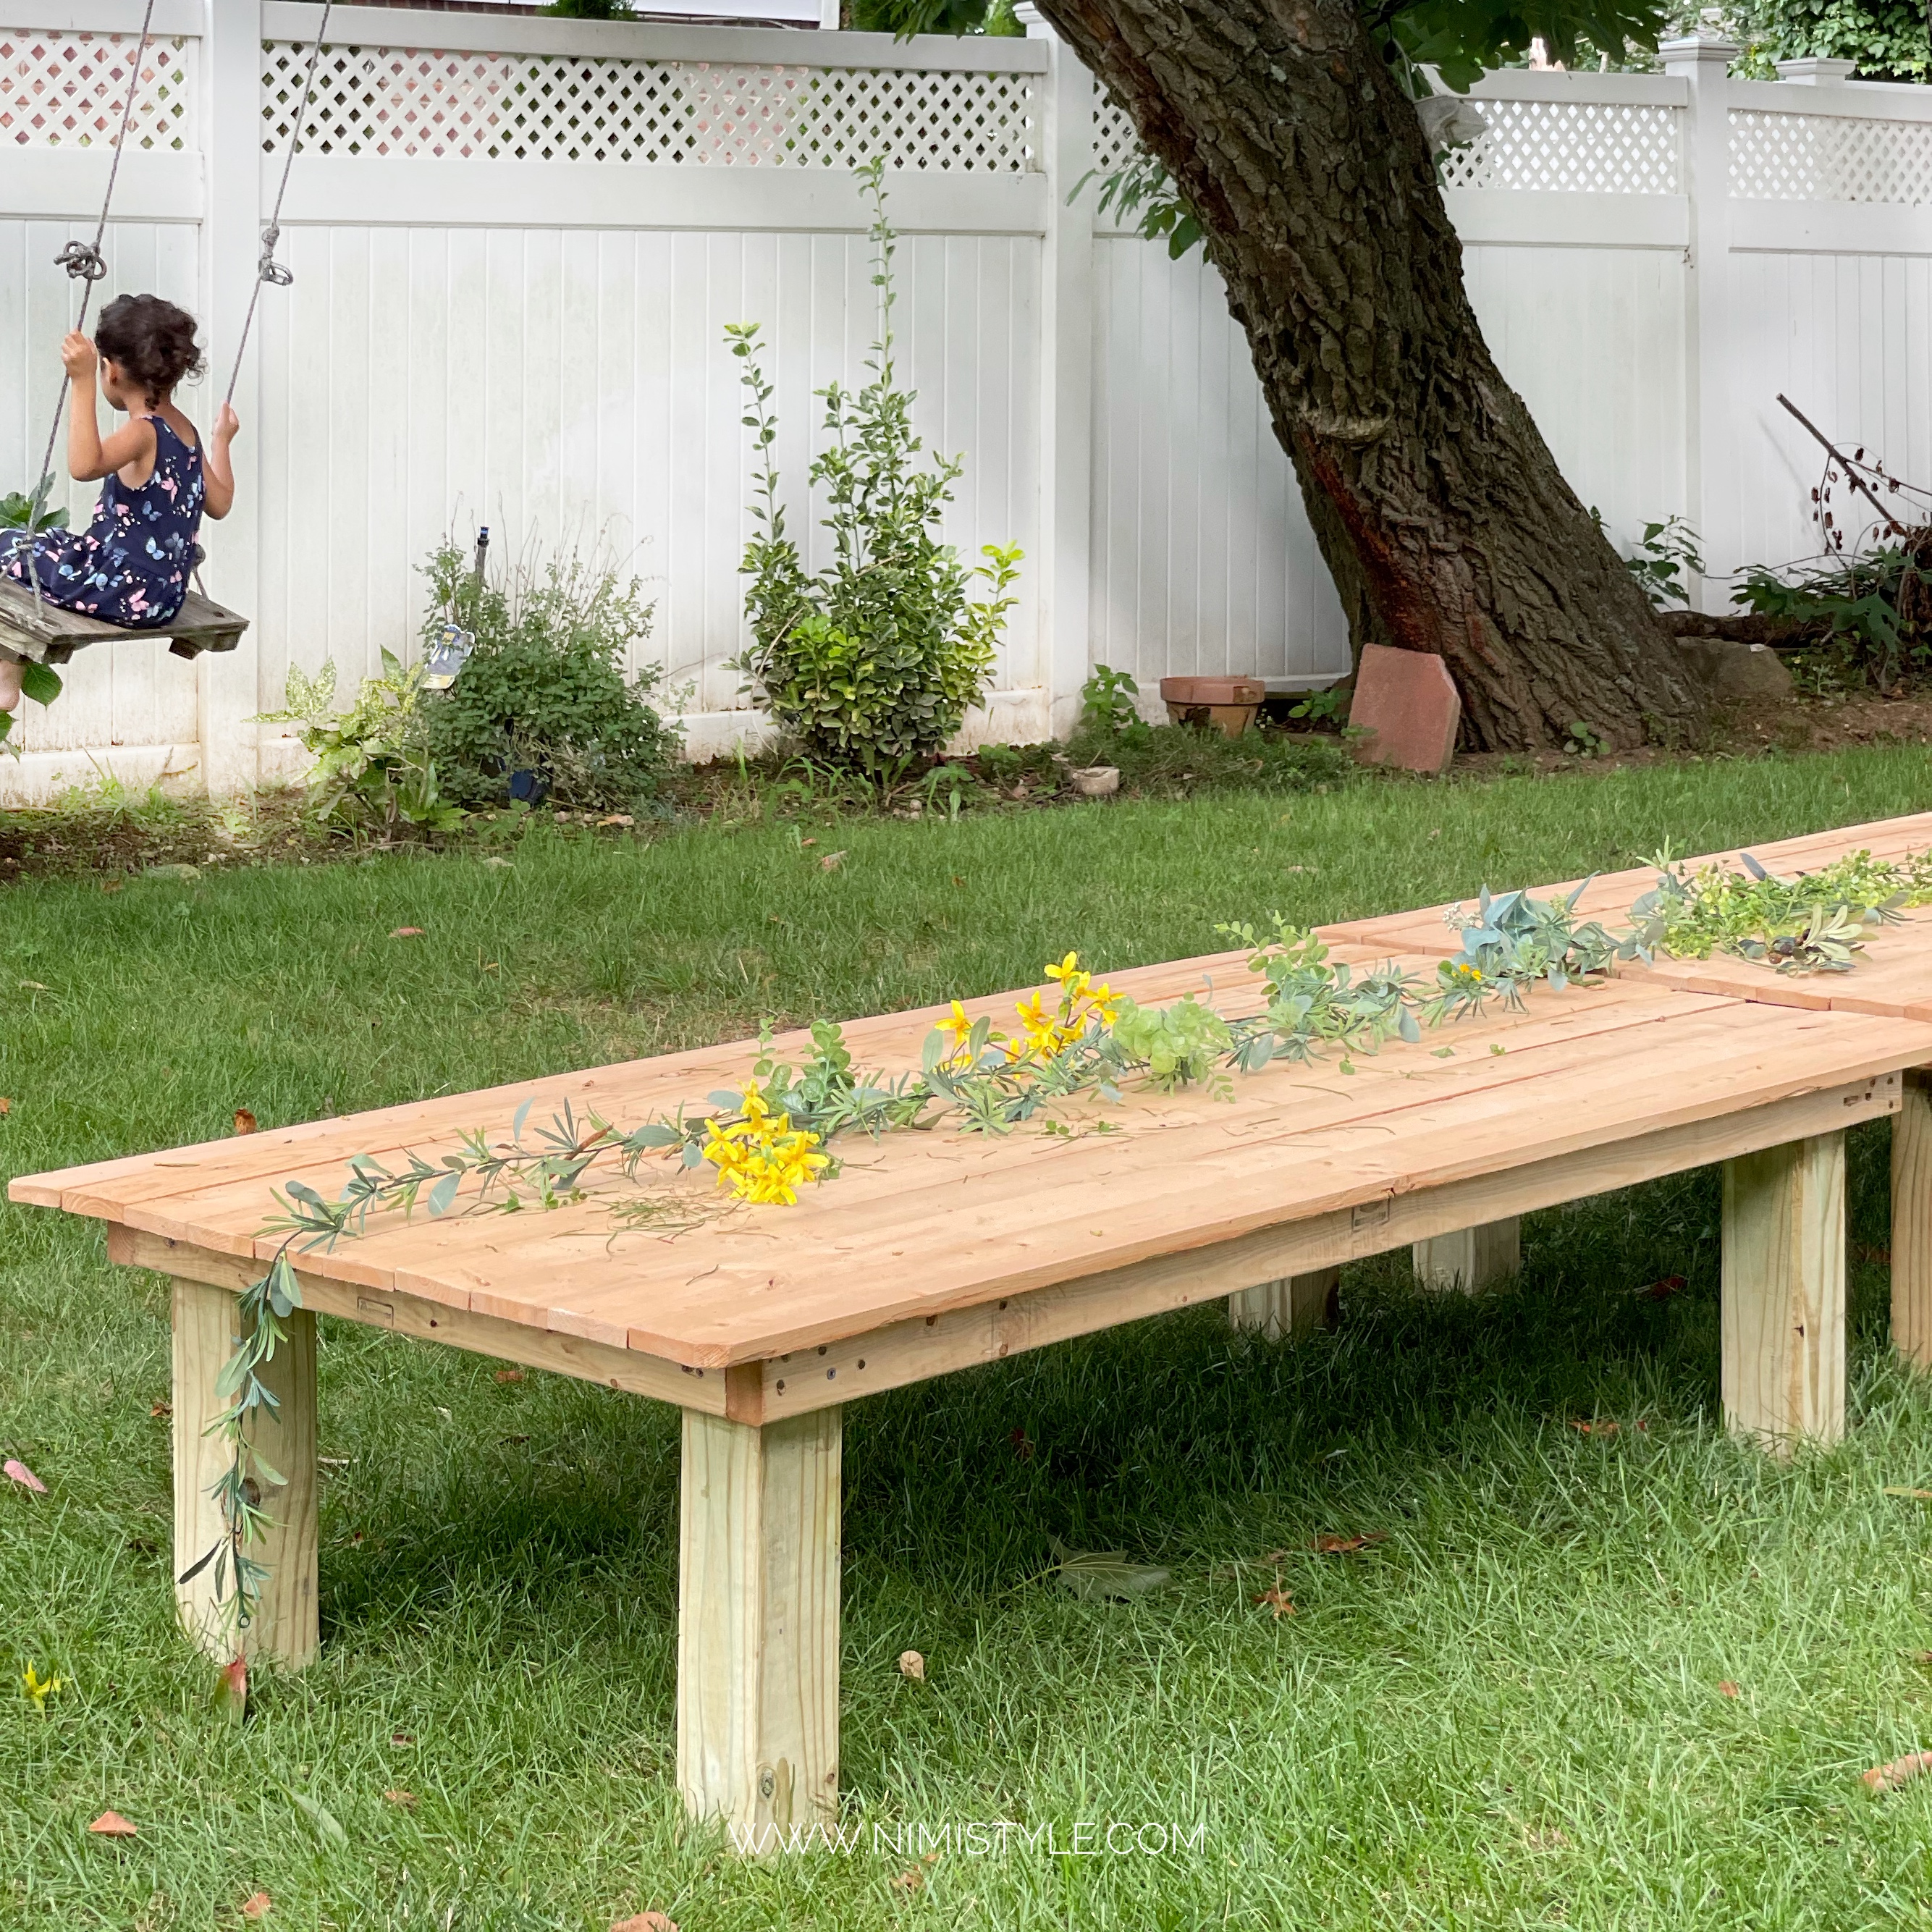
Picnic tables are ready to use! Just multiply all the wood materials for each table. We did x3 to create 3 tables to line up for a cute long low table setting.