This is the most visually yummy DIY I’ve shared and what’s even better is how easy it is! I loved the process, I love the texture, and I love that it was free. These normally sell for a few bucks for a small sheet and all you need to create your own is go through your office trash!
WHAT YOU NEED:
Used Paper
Water
Blender (Optional)
Strainer
Rag
Tray
WHAT YOU WILL DO:
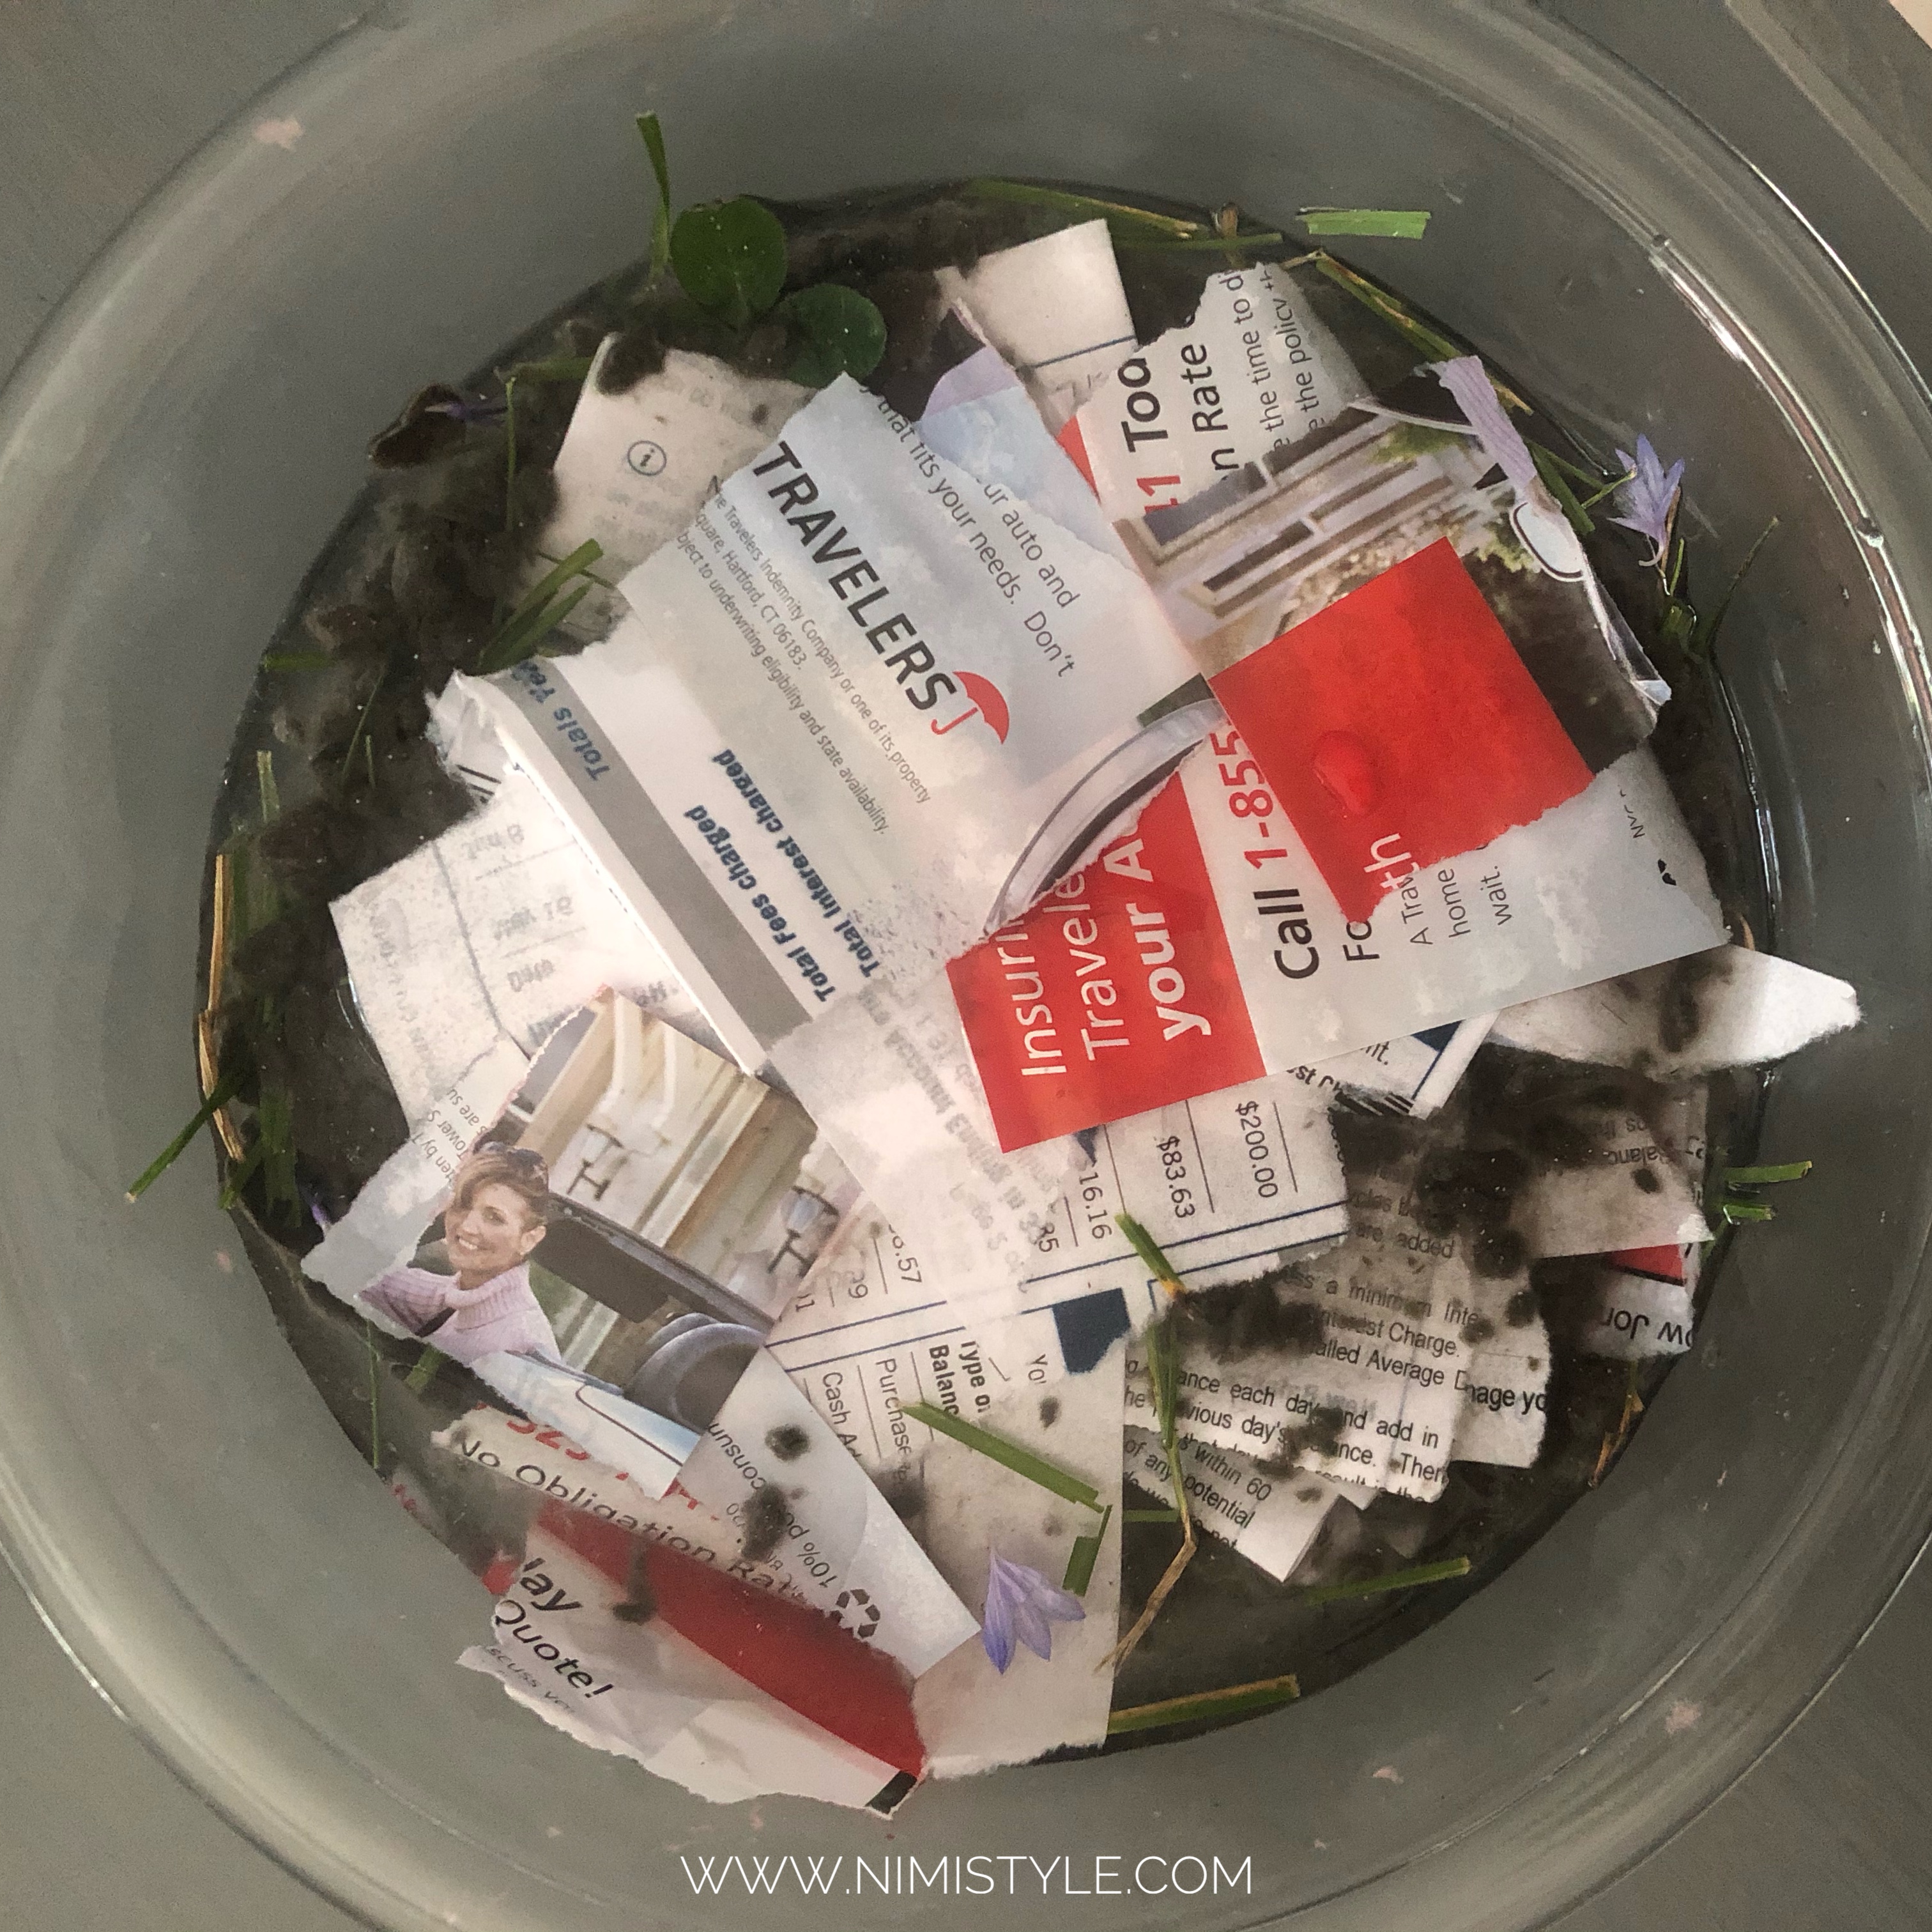
(1) Soak all your paper in water. I used mail, the girls art they no longer loved, and lots of hubbies work notes. Aka all our paper trash I could find.
(2) You can either mix your paper by hand until it’s a pulp or in a blender.
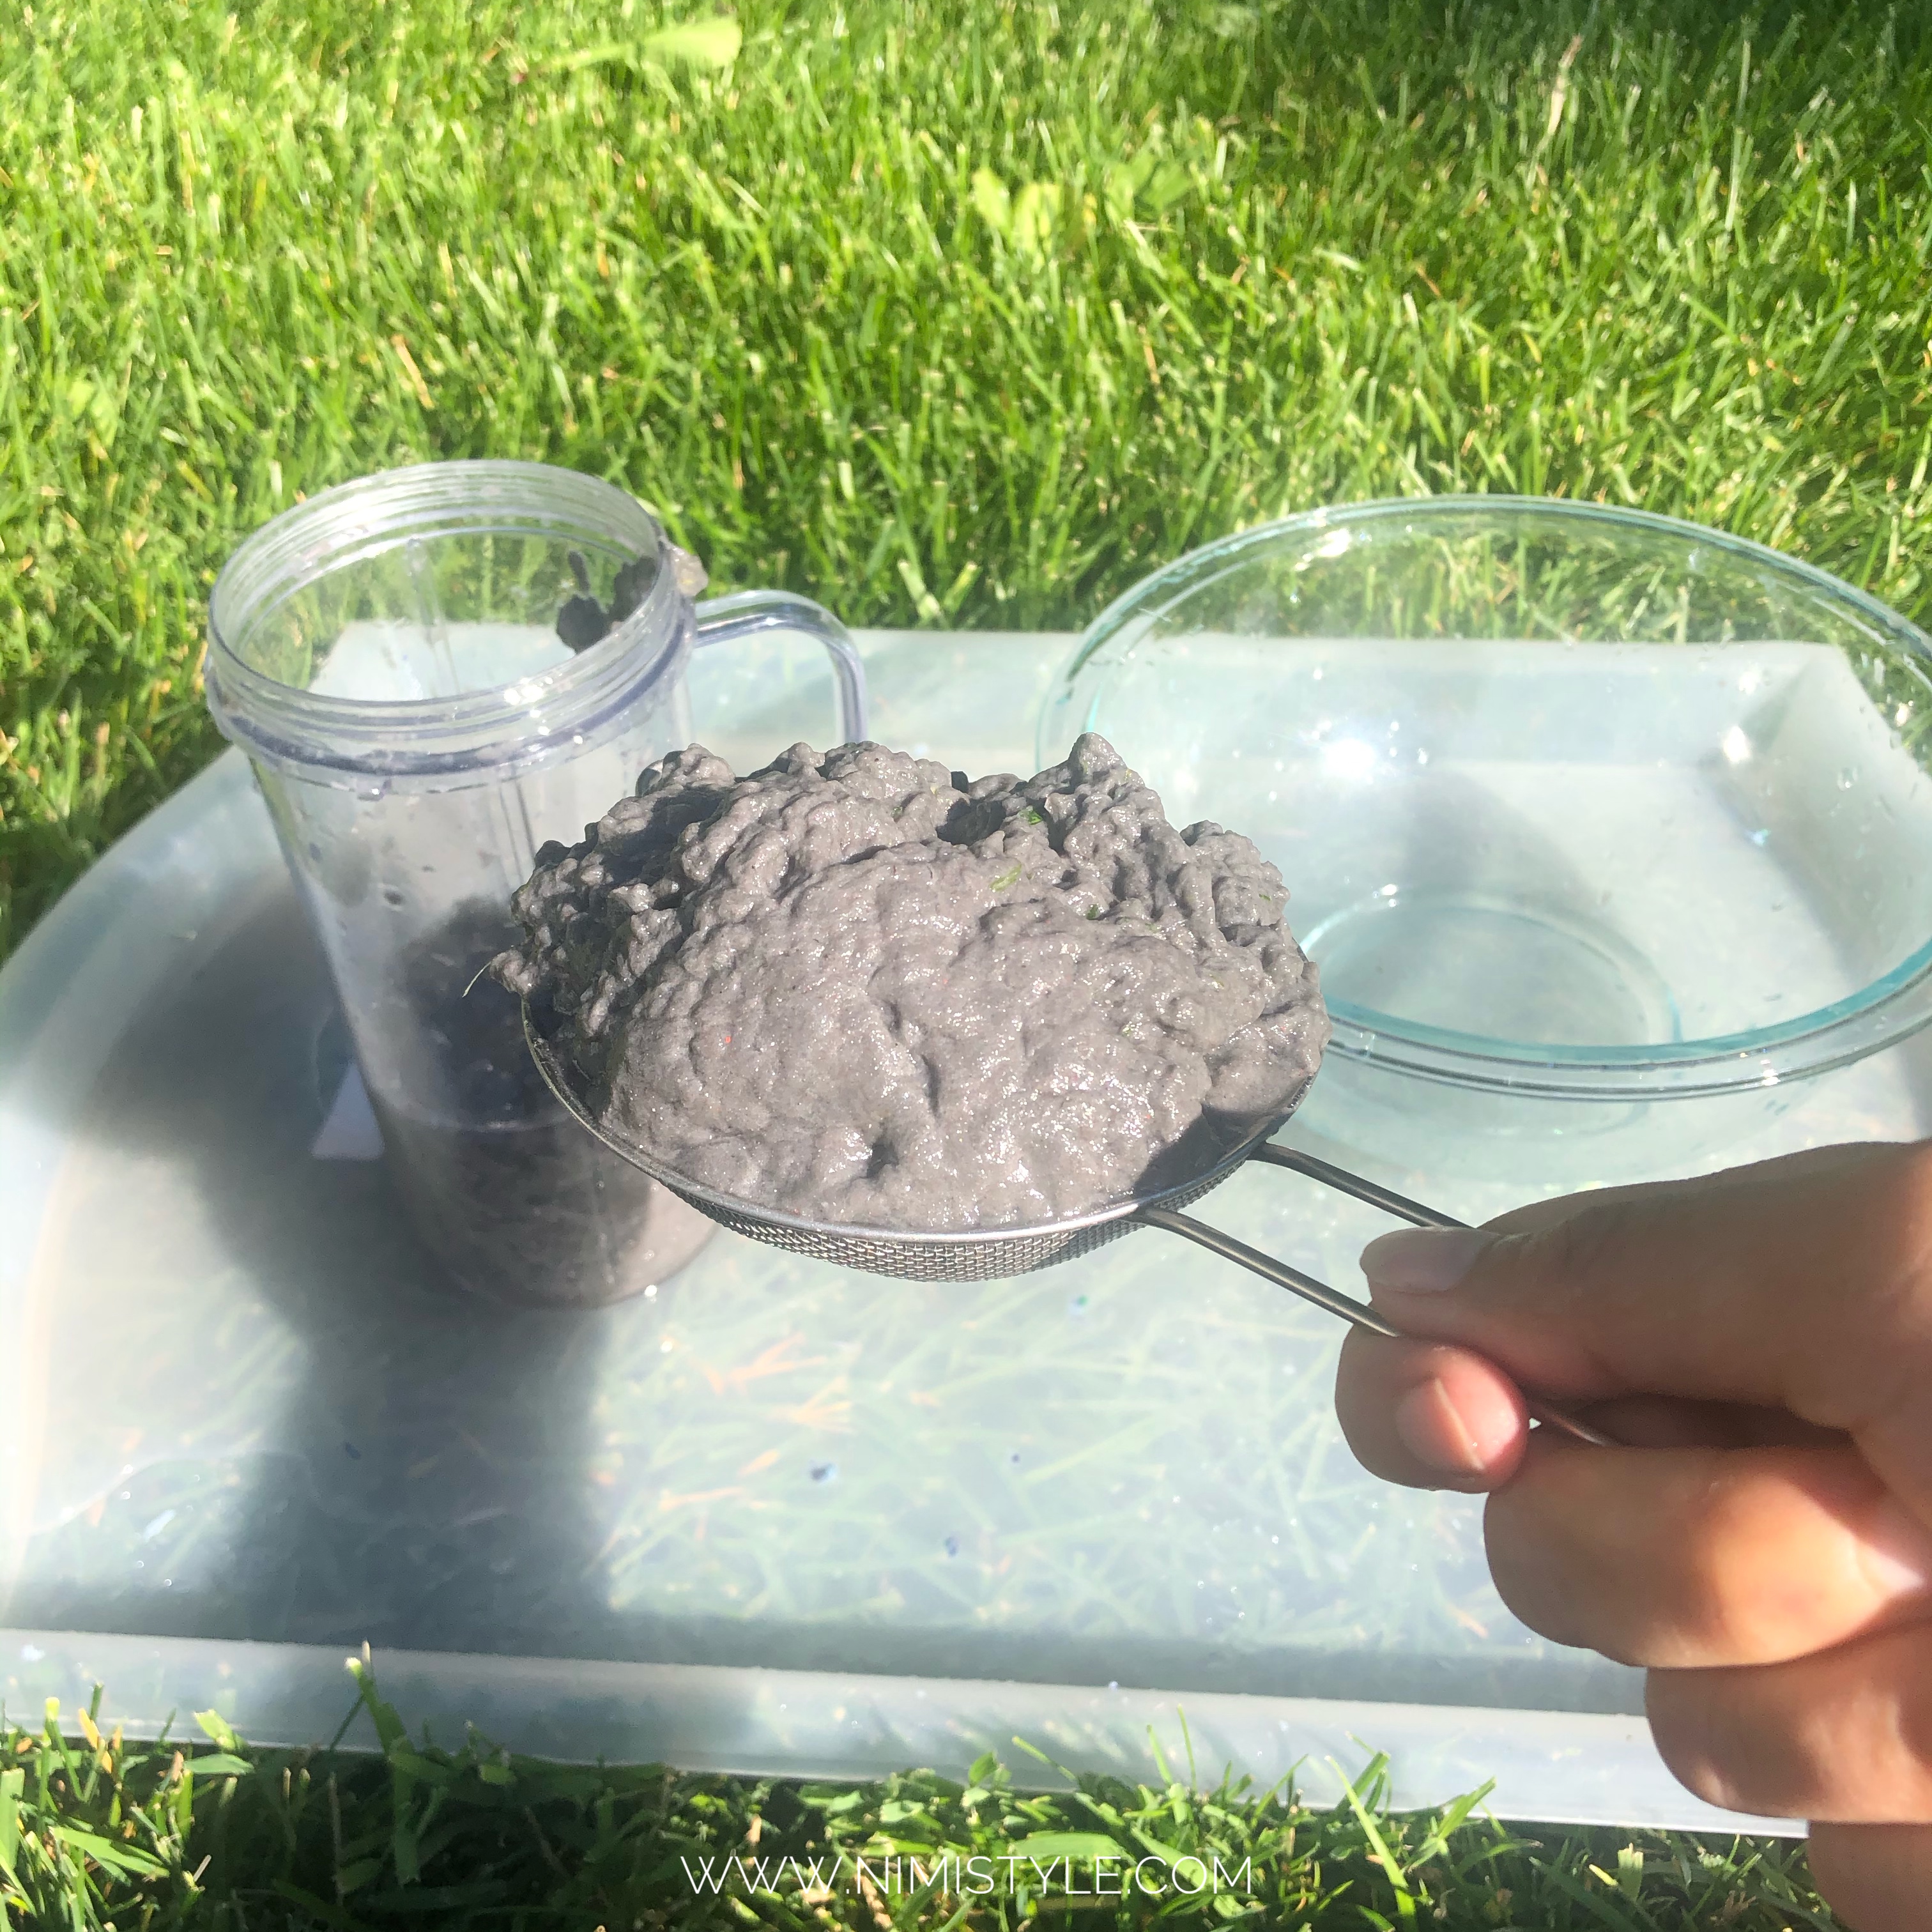
(3) Mix in your florals and strain all the water out of your pulp. If you were creating your pulp by hand you can mix in your florals in step 2.
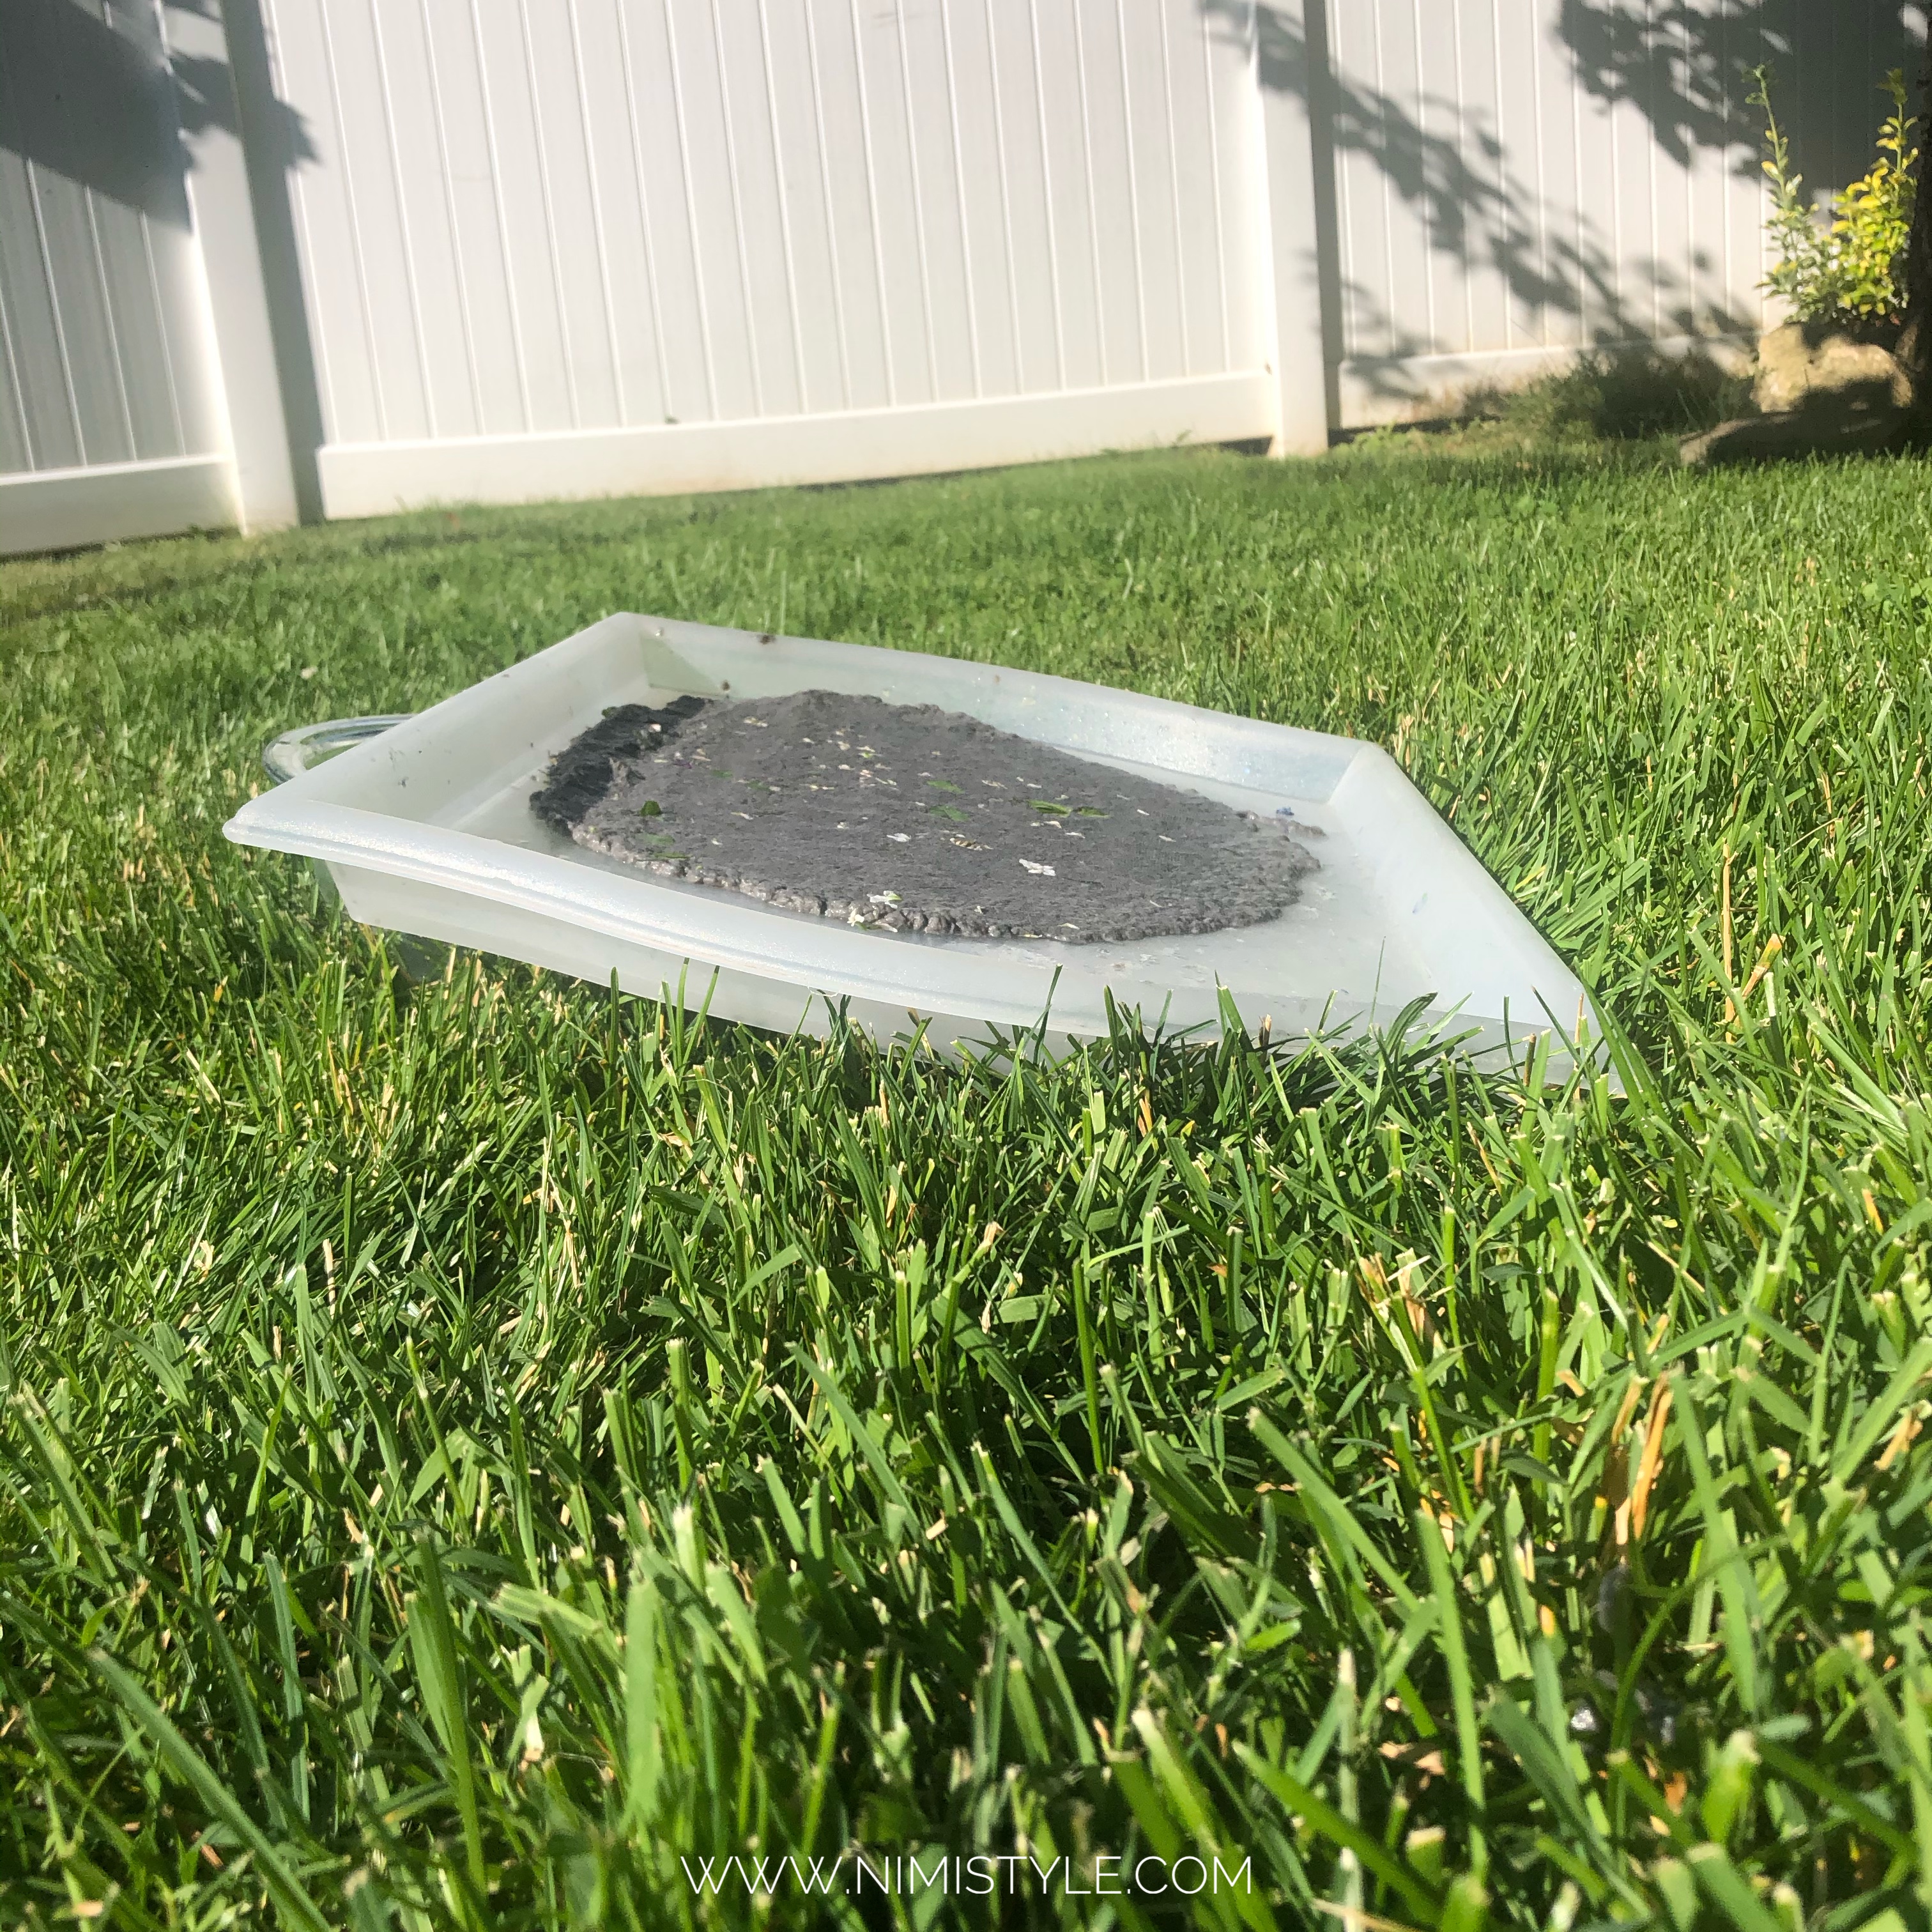
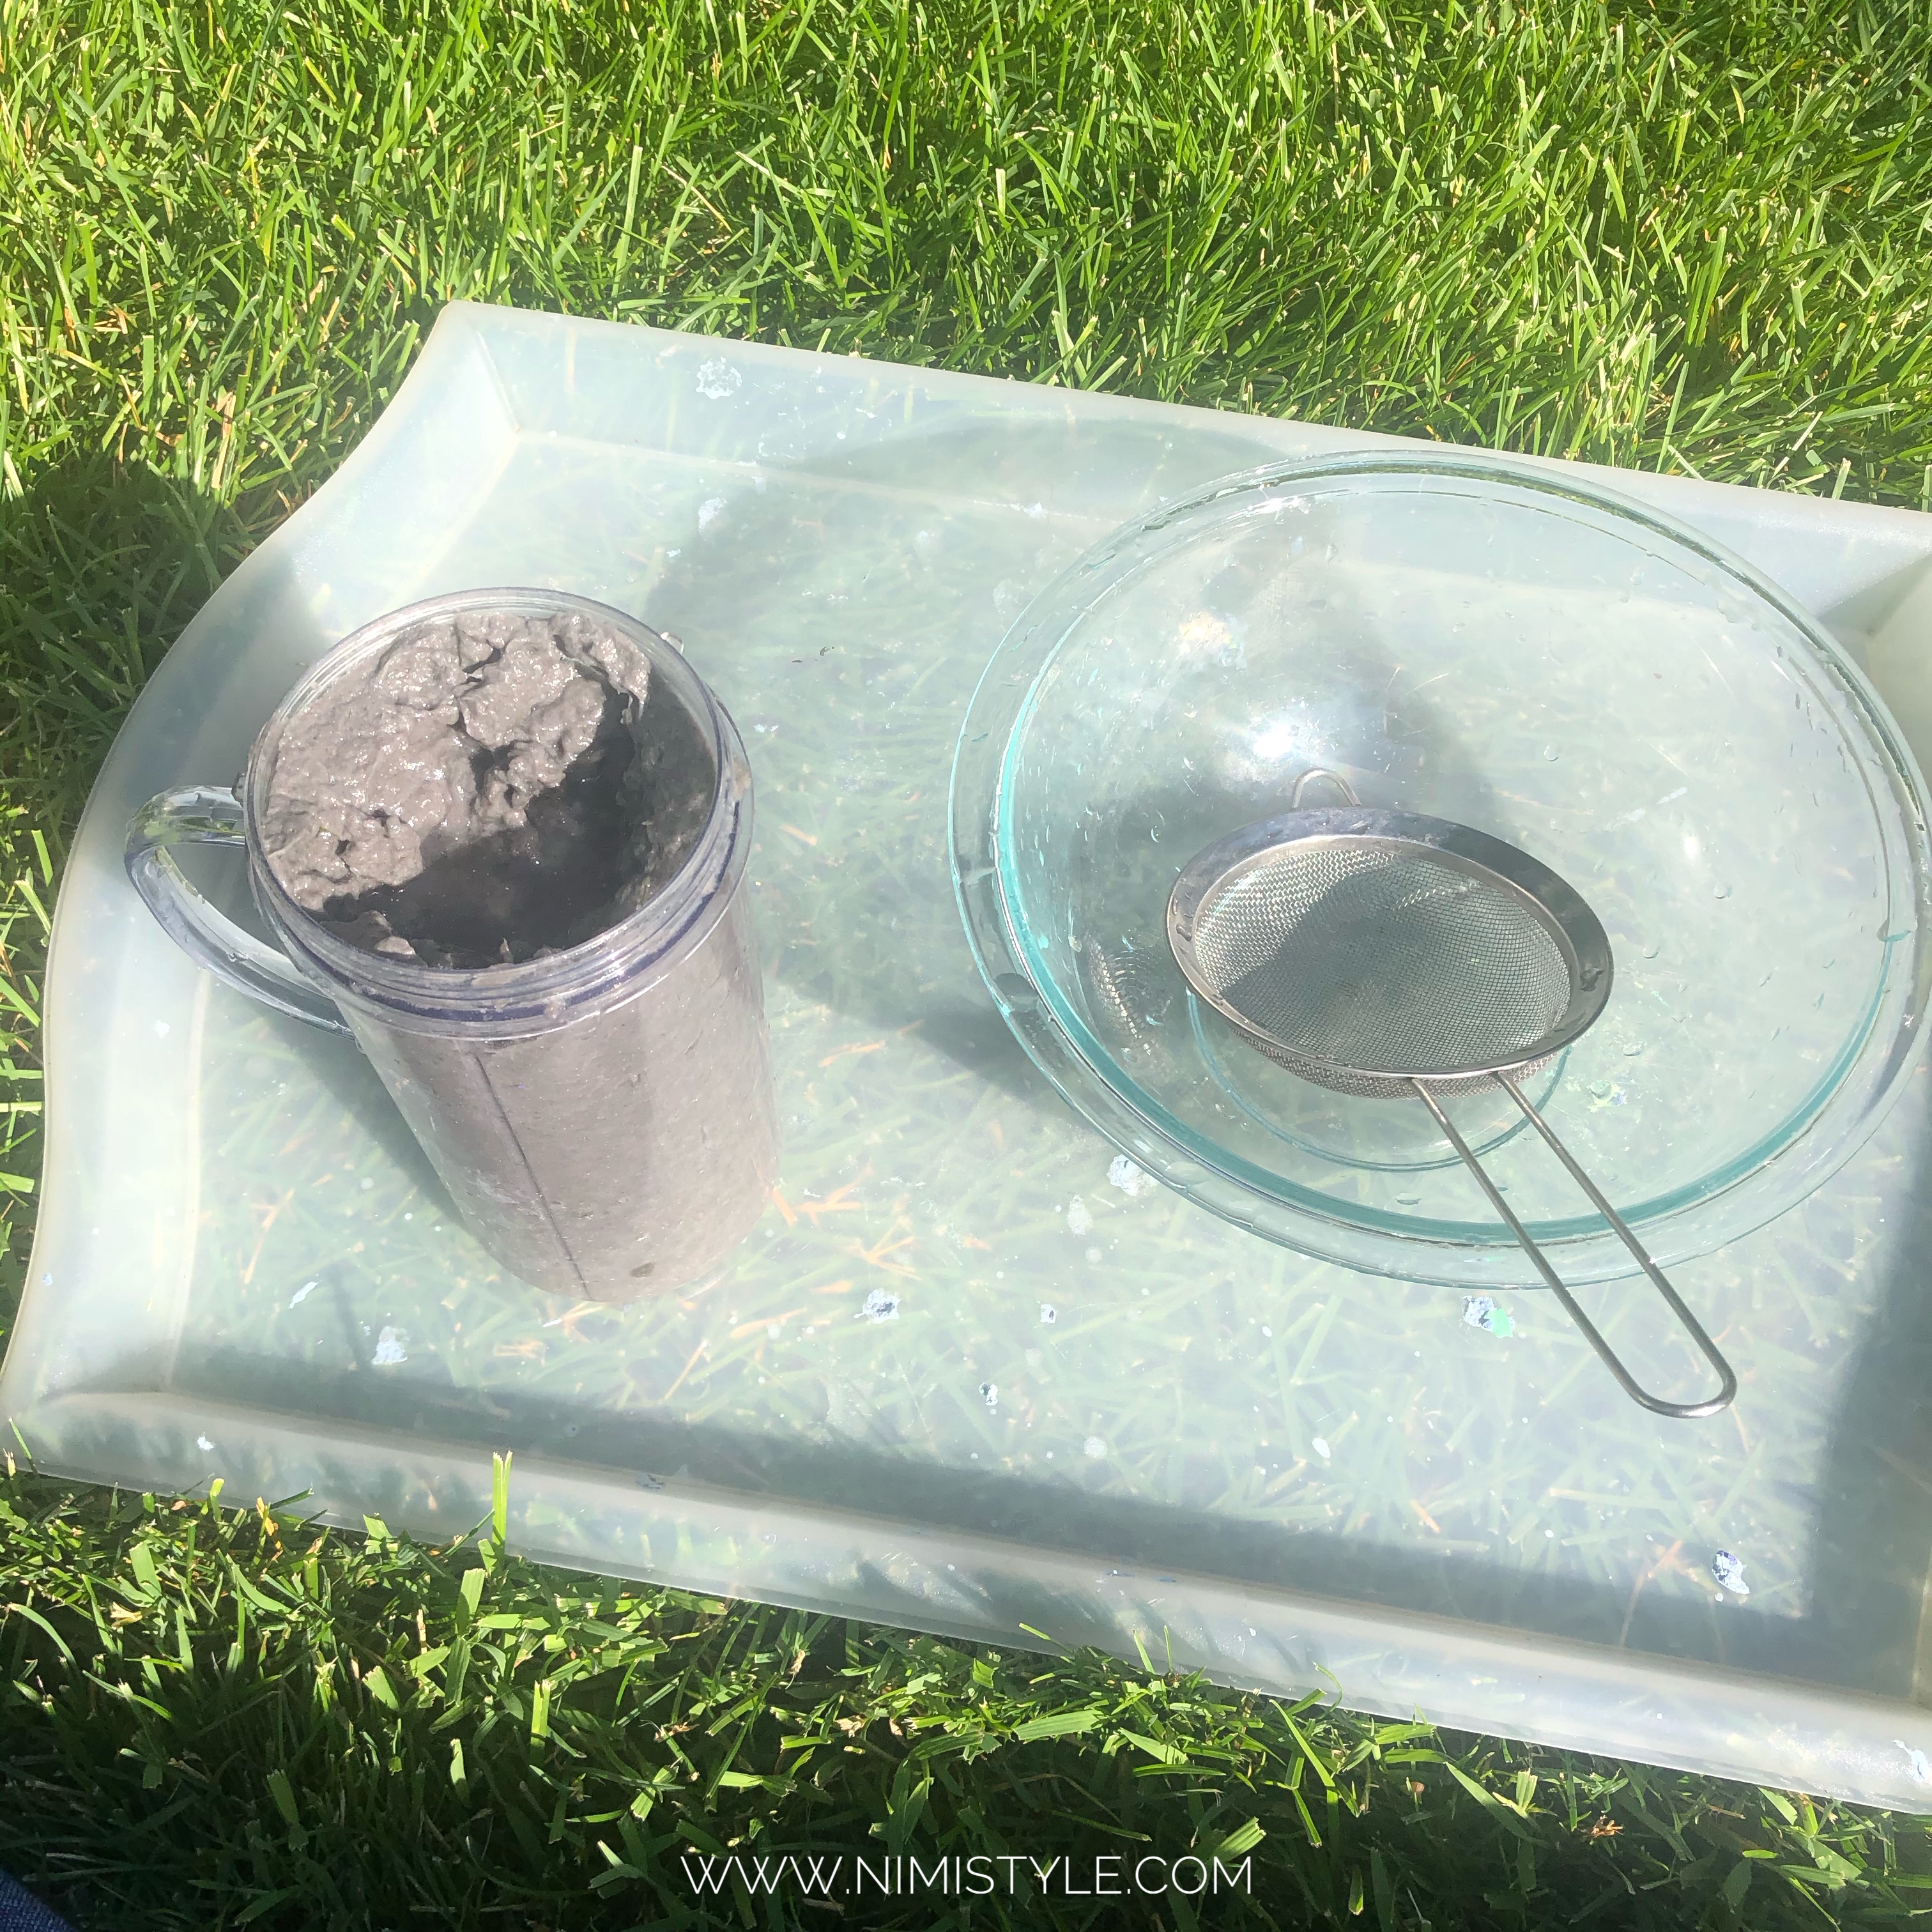
(4) Lay you pulp on an angled tray until there is no more water dripping out of the pulp.
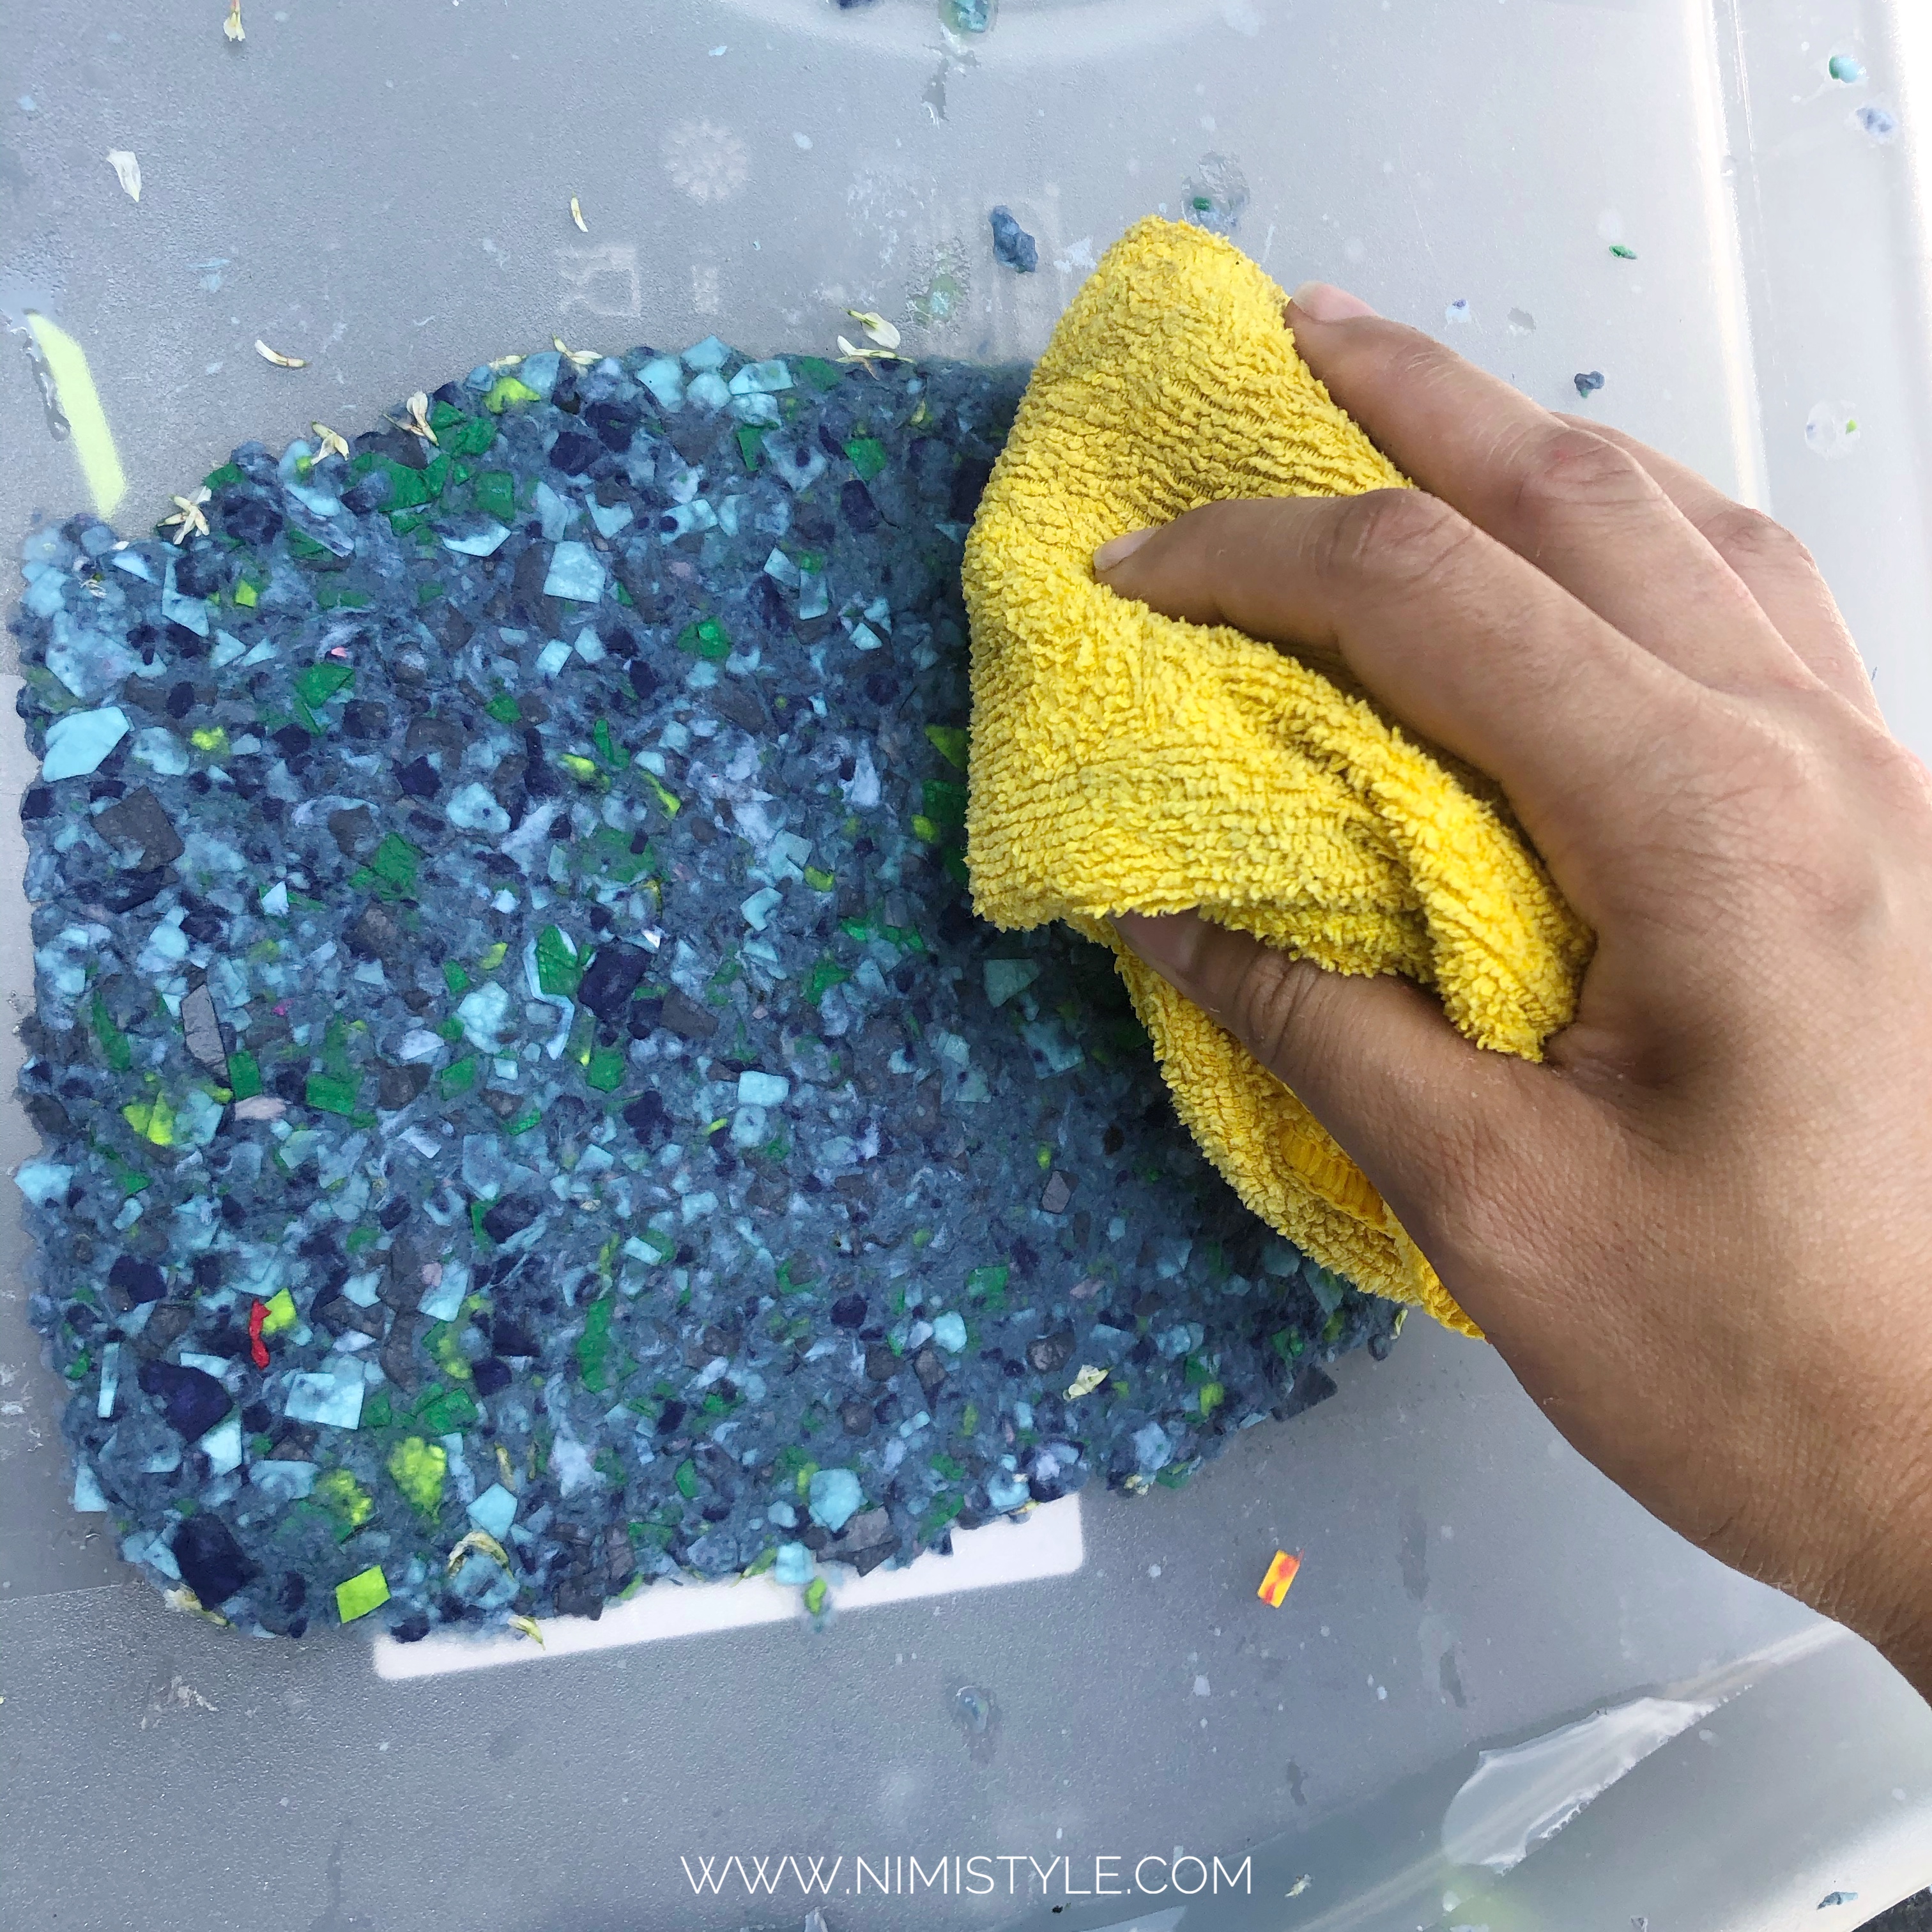
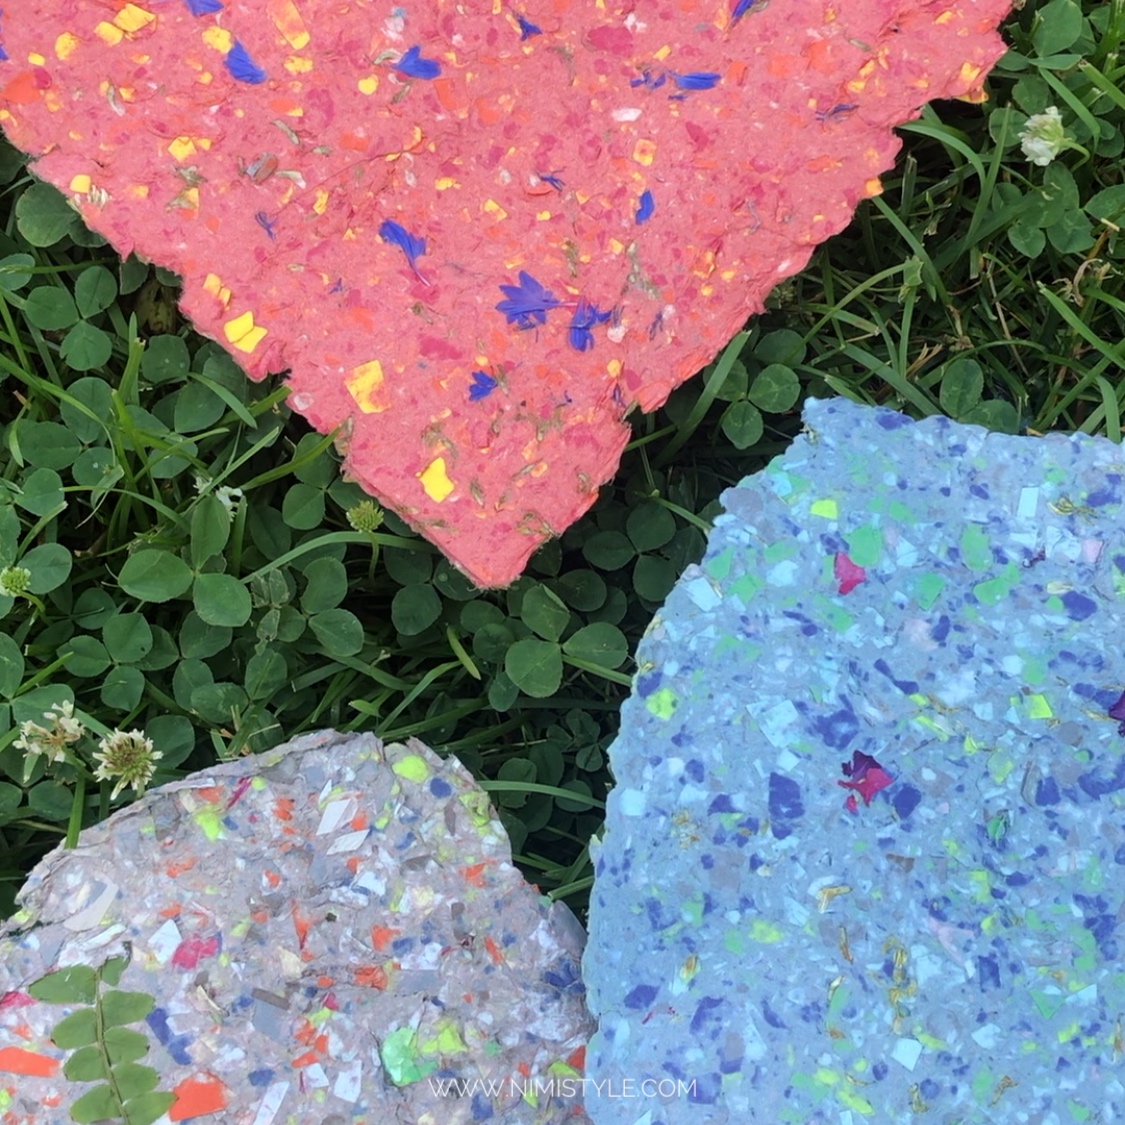
(6) Once the water stops dripping dab it with a rag to squeeze out any excess water remaining. This blue pulp was mixed by hand and the grey was mixed in a blender. You can see the difference in texture it creates.
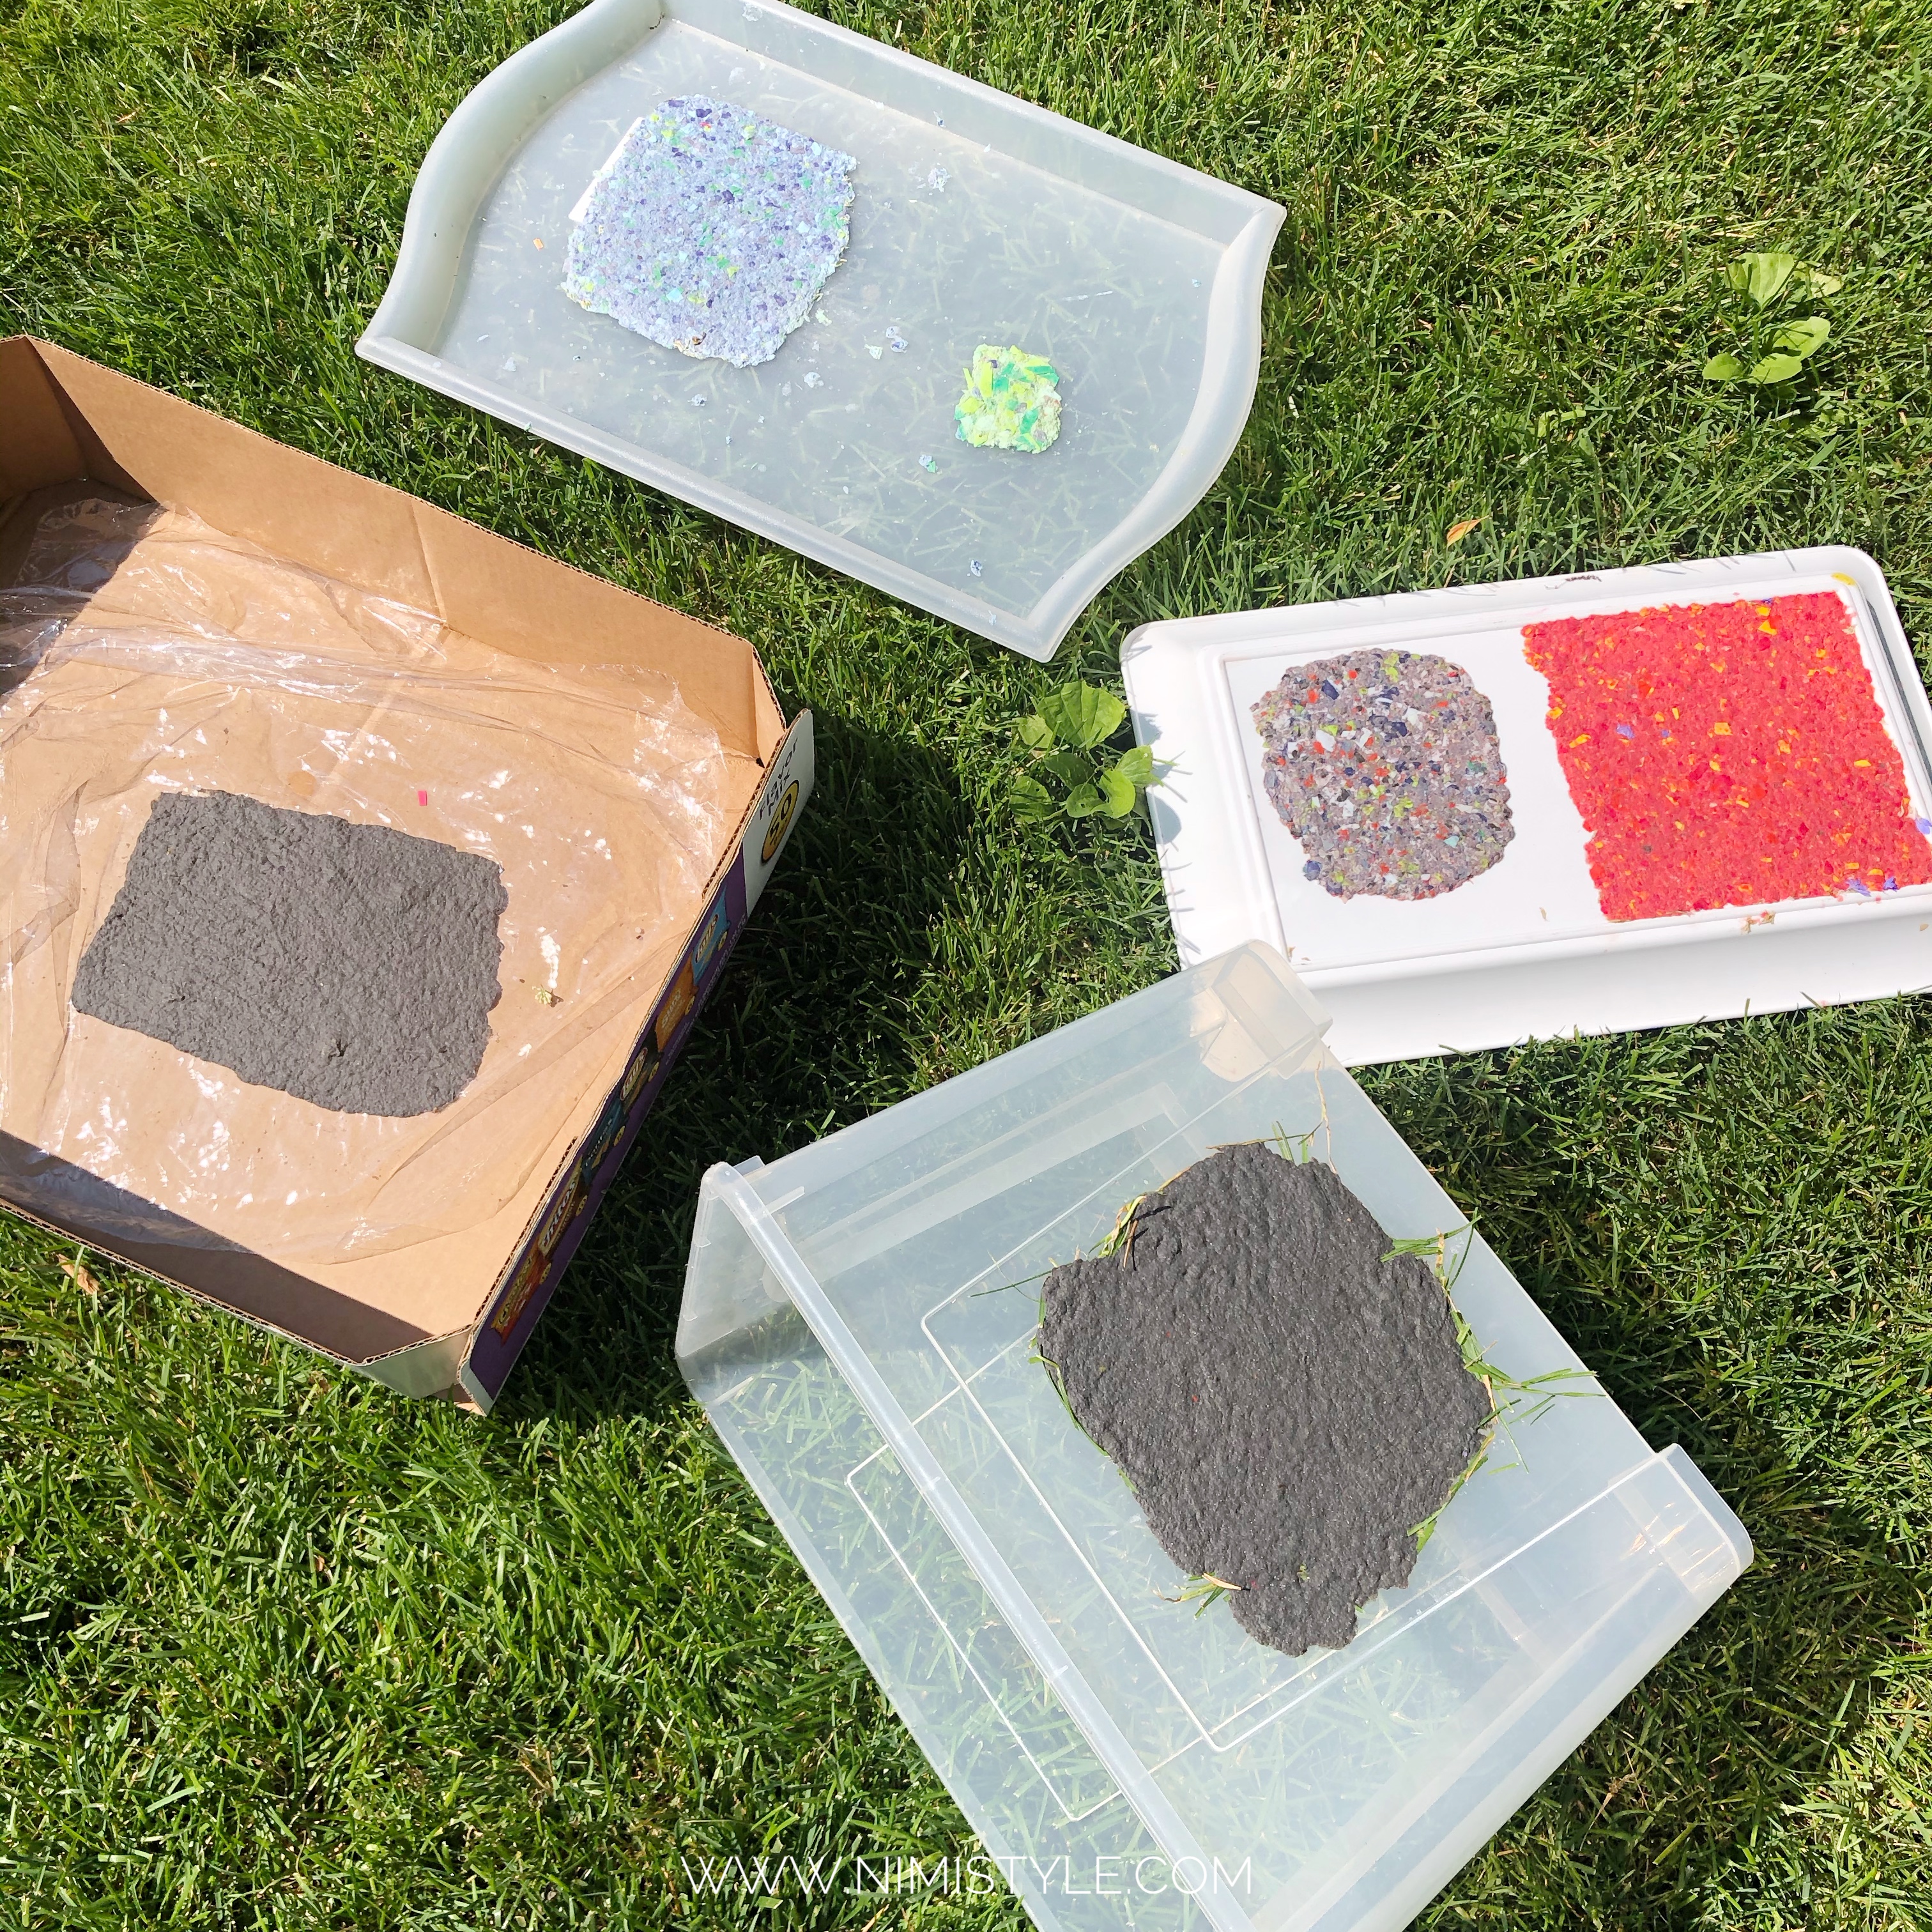
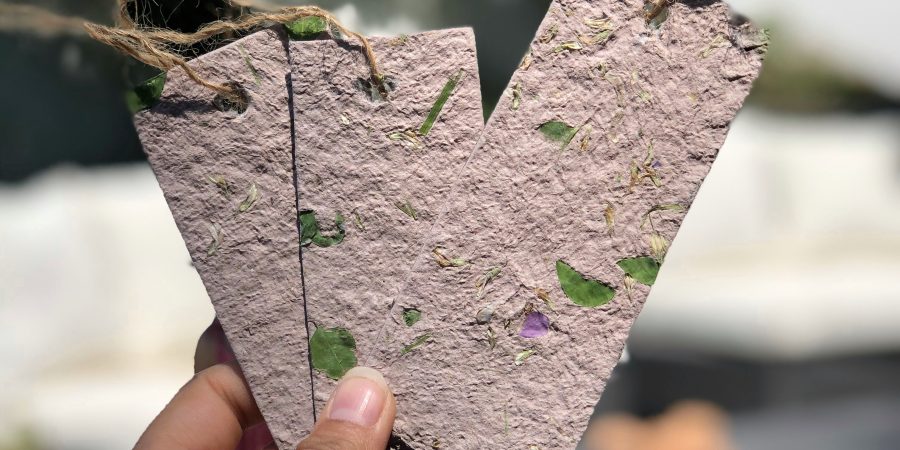
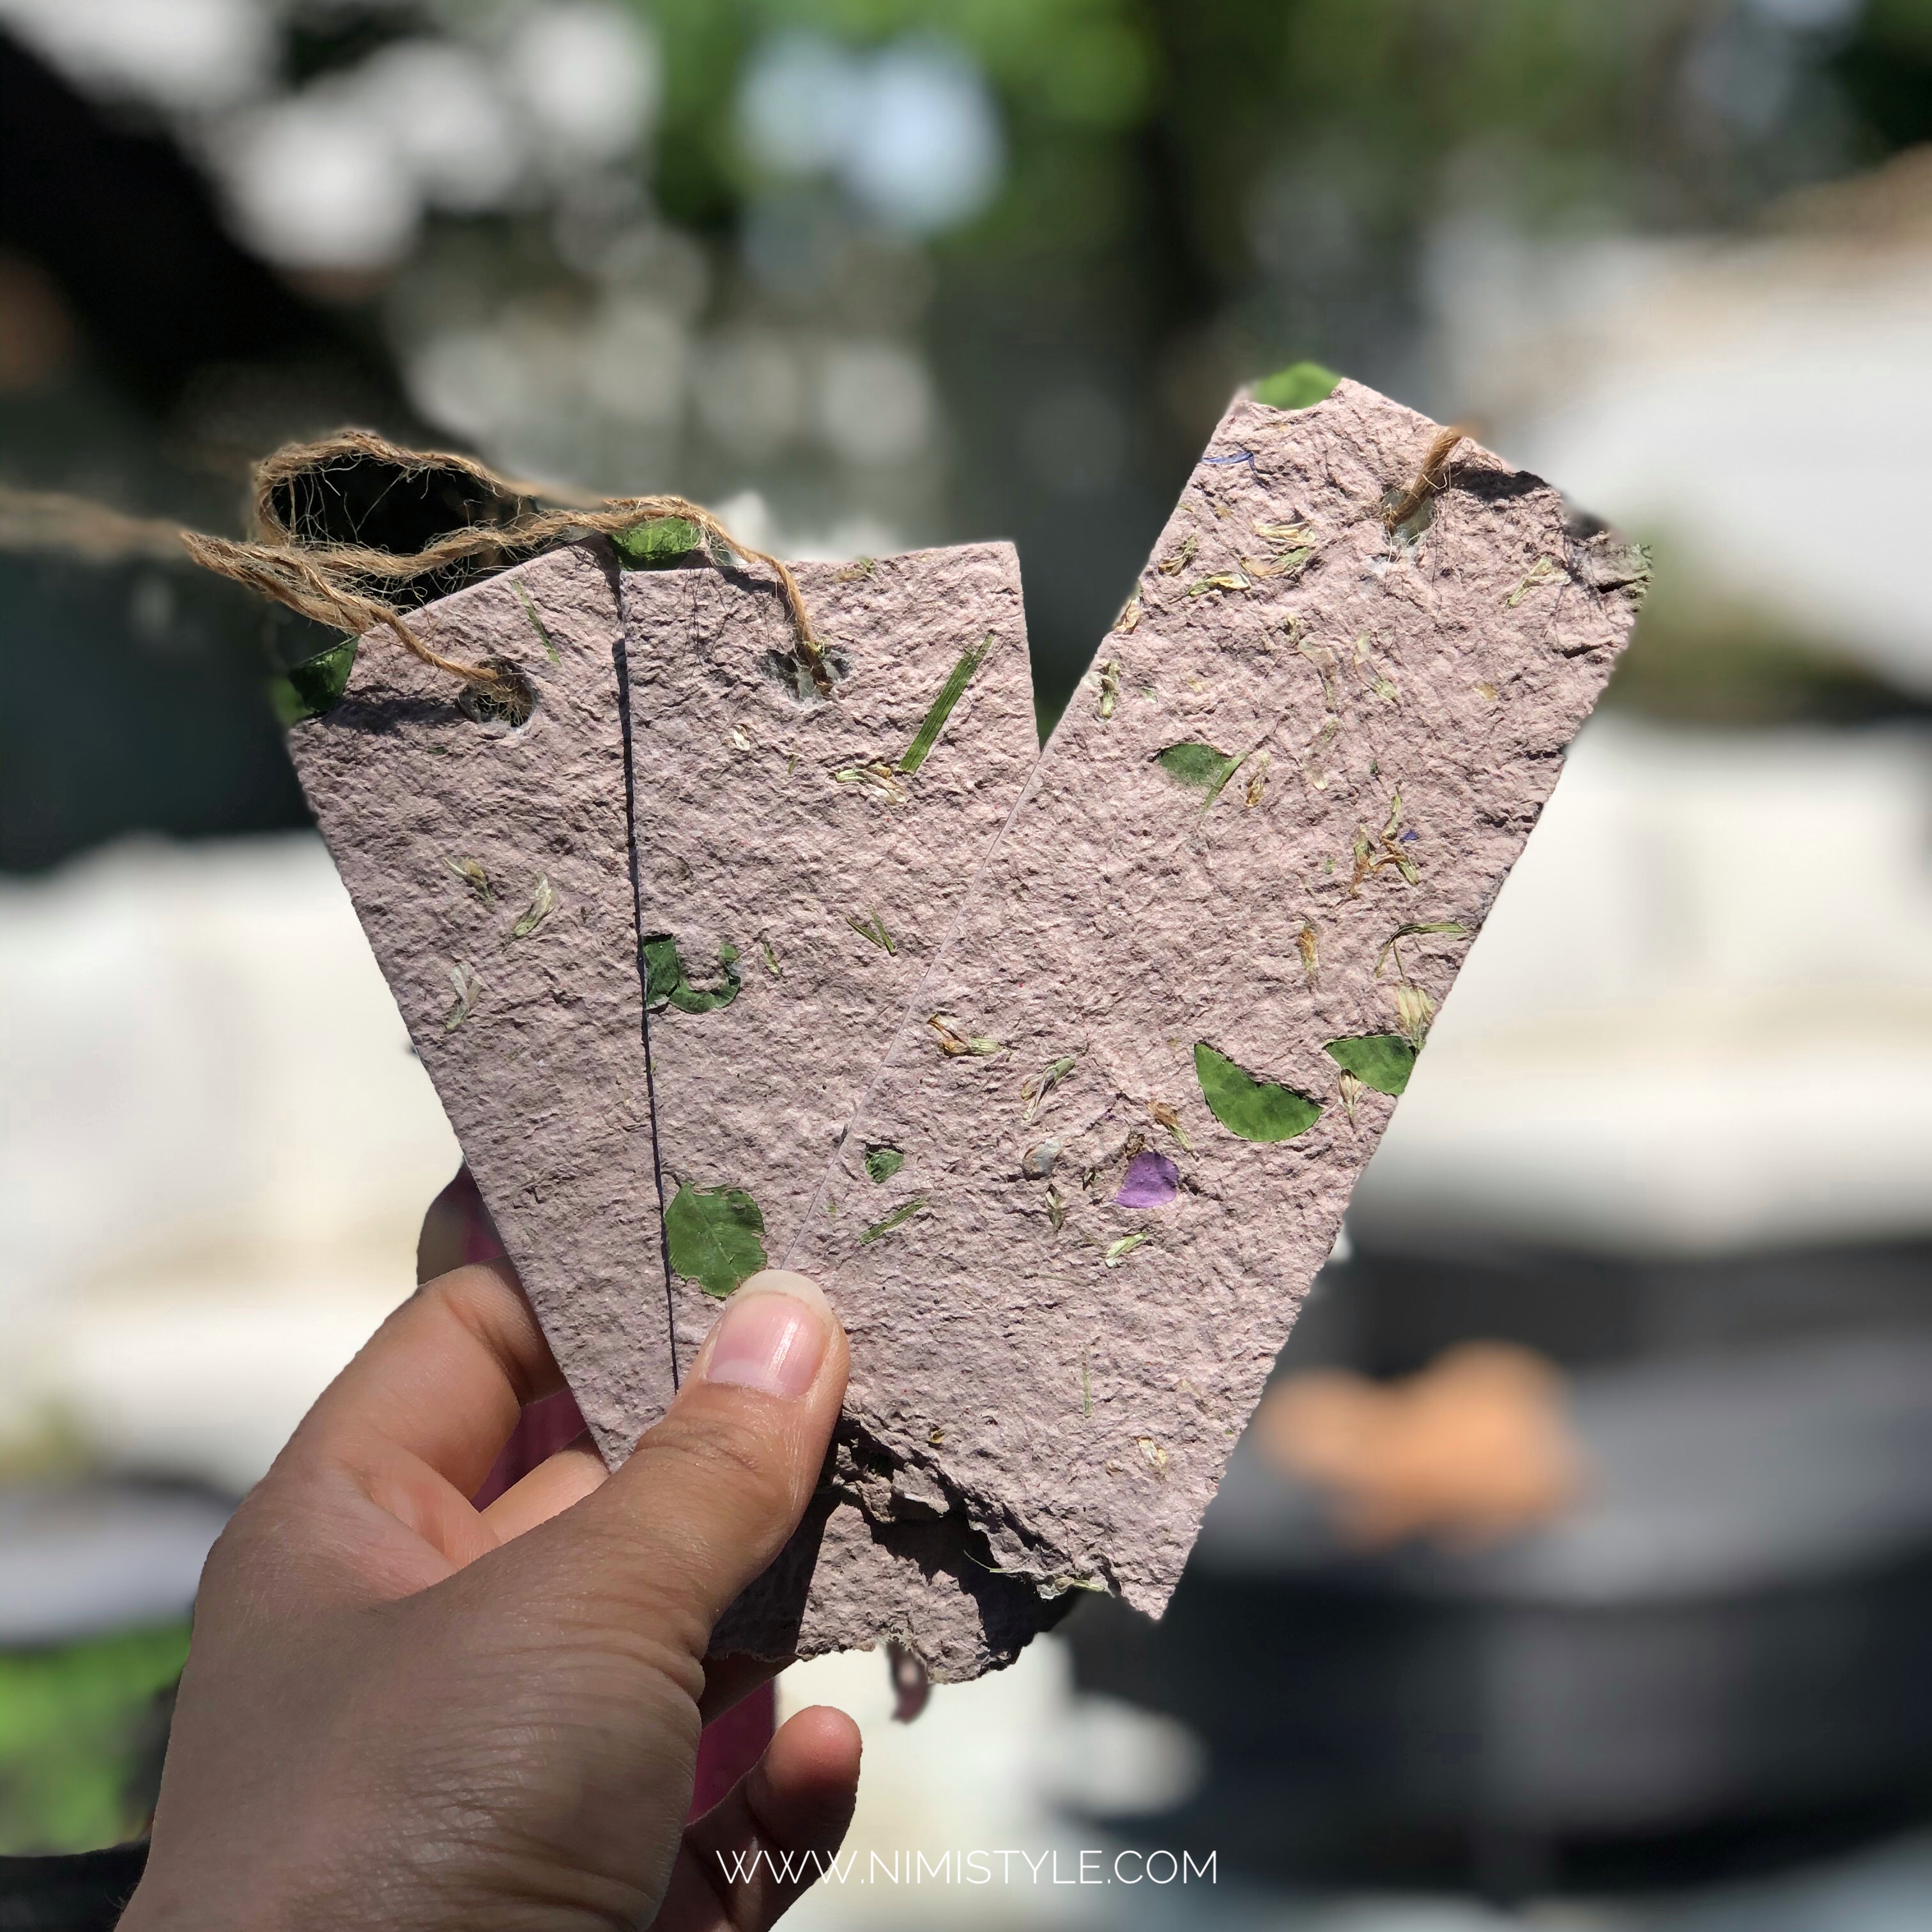
(7) Let it air dry for 24 hours. We left ours under the sun and then brought it in for the night. Woke up next morning to beautiful crisp textured floral paper!
I seriously can’t get over how cute these turned out! We turned some of them ( mine) into bookmarks and the girls saved there’s as is, they couldn’t get their little hearts to cut up their stunning paper and I don’t blame them! Now go, seriously, make your own!