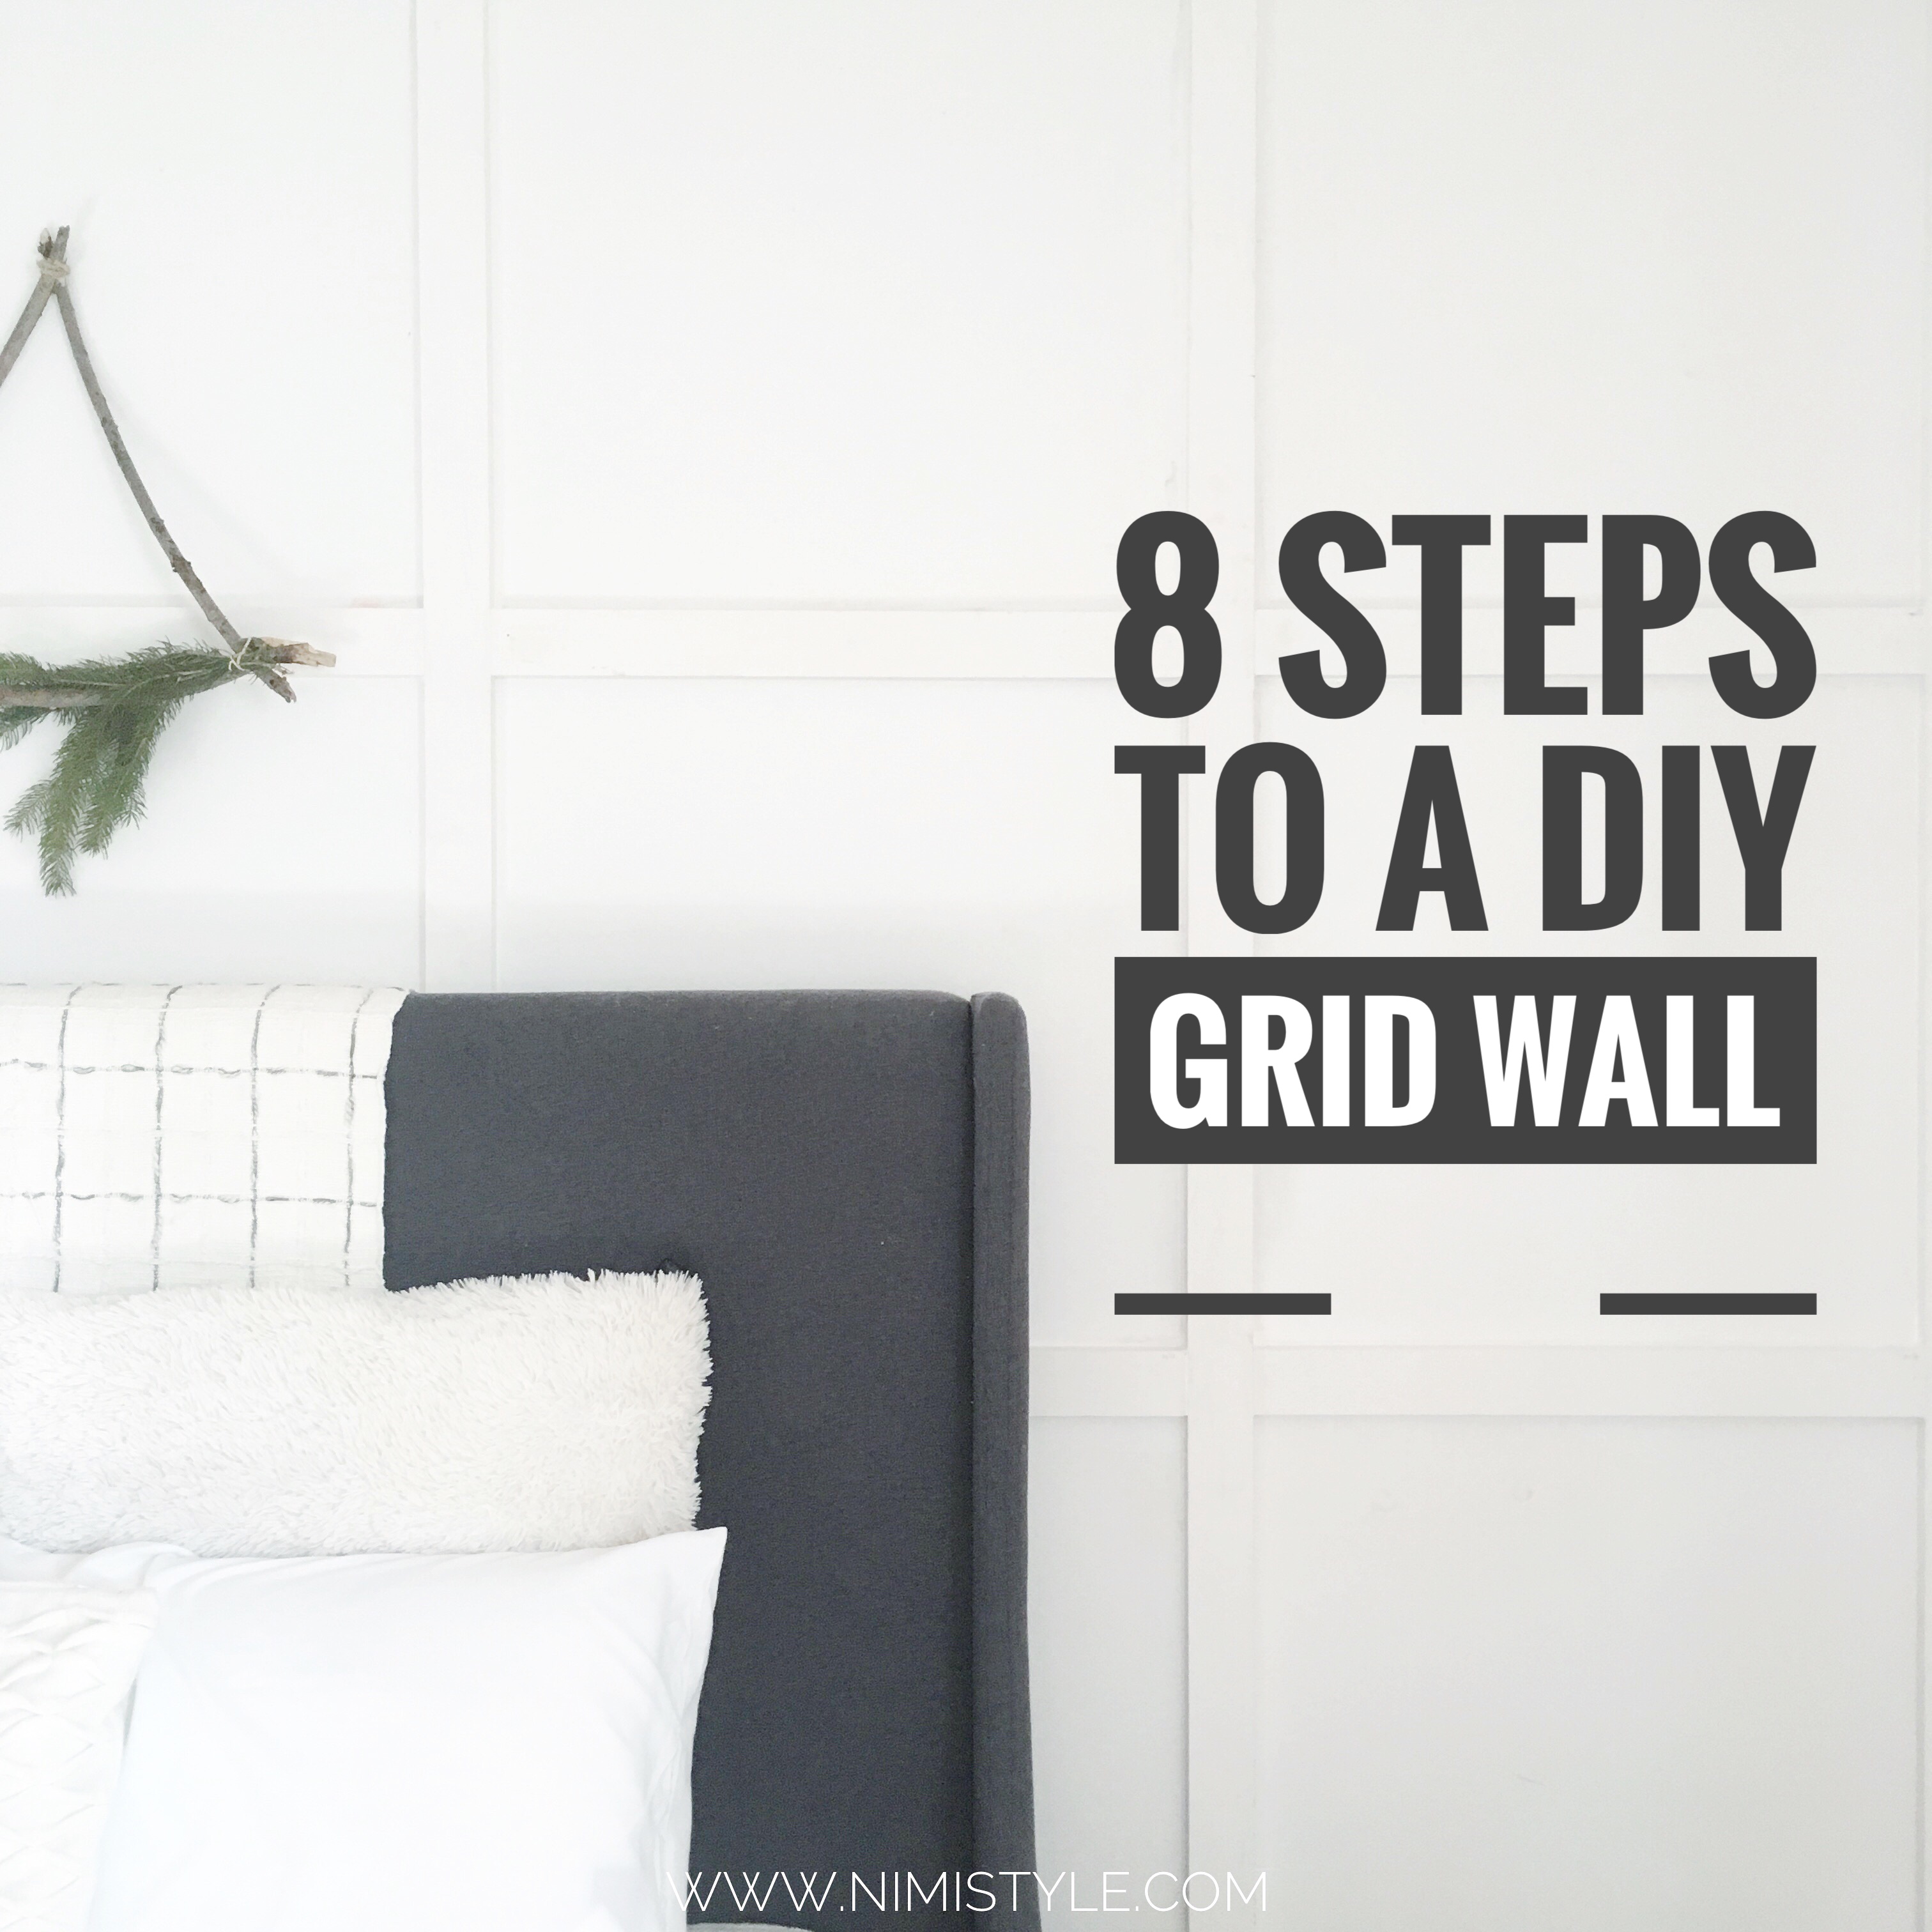

I was noticing all these beautiful board and batten walls when researching accent walls for our master bedroom, but as stunning as they were something wasn’t giving me that Aha feeling. I knew I wanted a modern touch to my accent wall and simply changing the shape from rectangles to squares brought that sleek minimalistic look I was so craving. We ended up doing a grid board and batten wall but without the boards. Our walls were pretty smooth and we didn’t mind nailing right into them. You can watch our process here!
WHAT YOU NEED:
Chalk reel
1”x3”x8’ Primed Pine Board
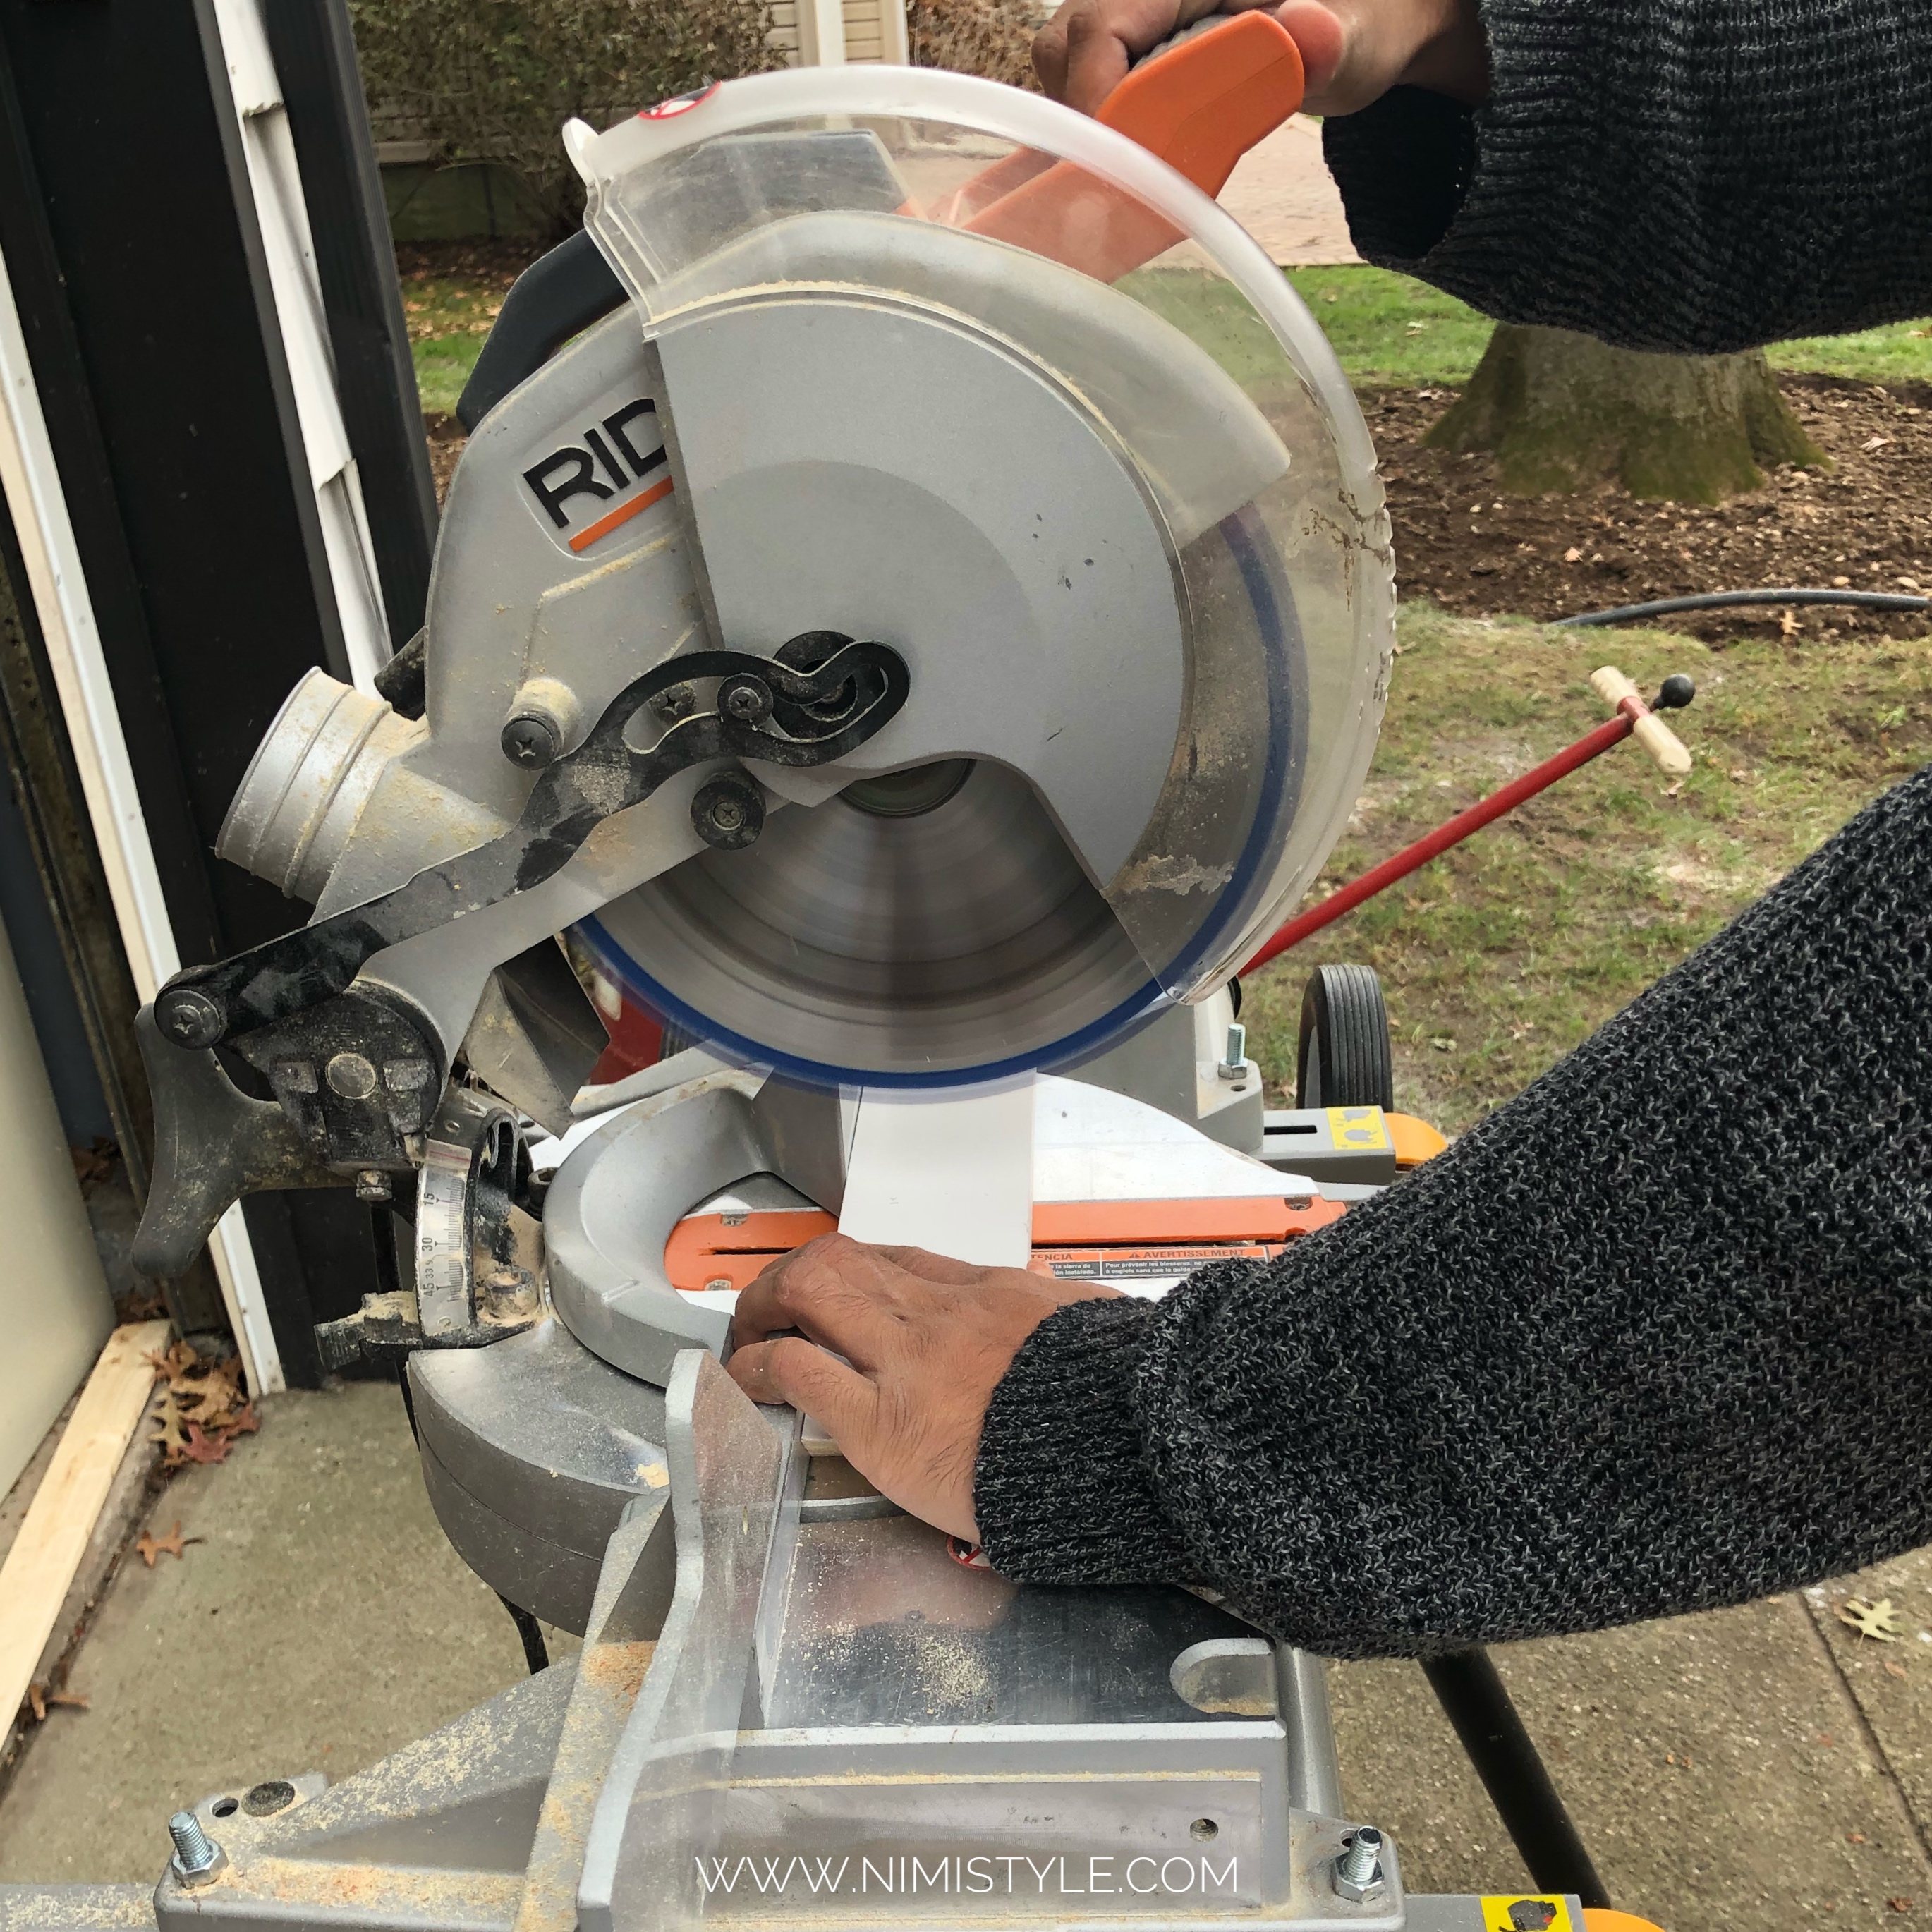
Miter Saw
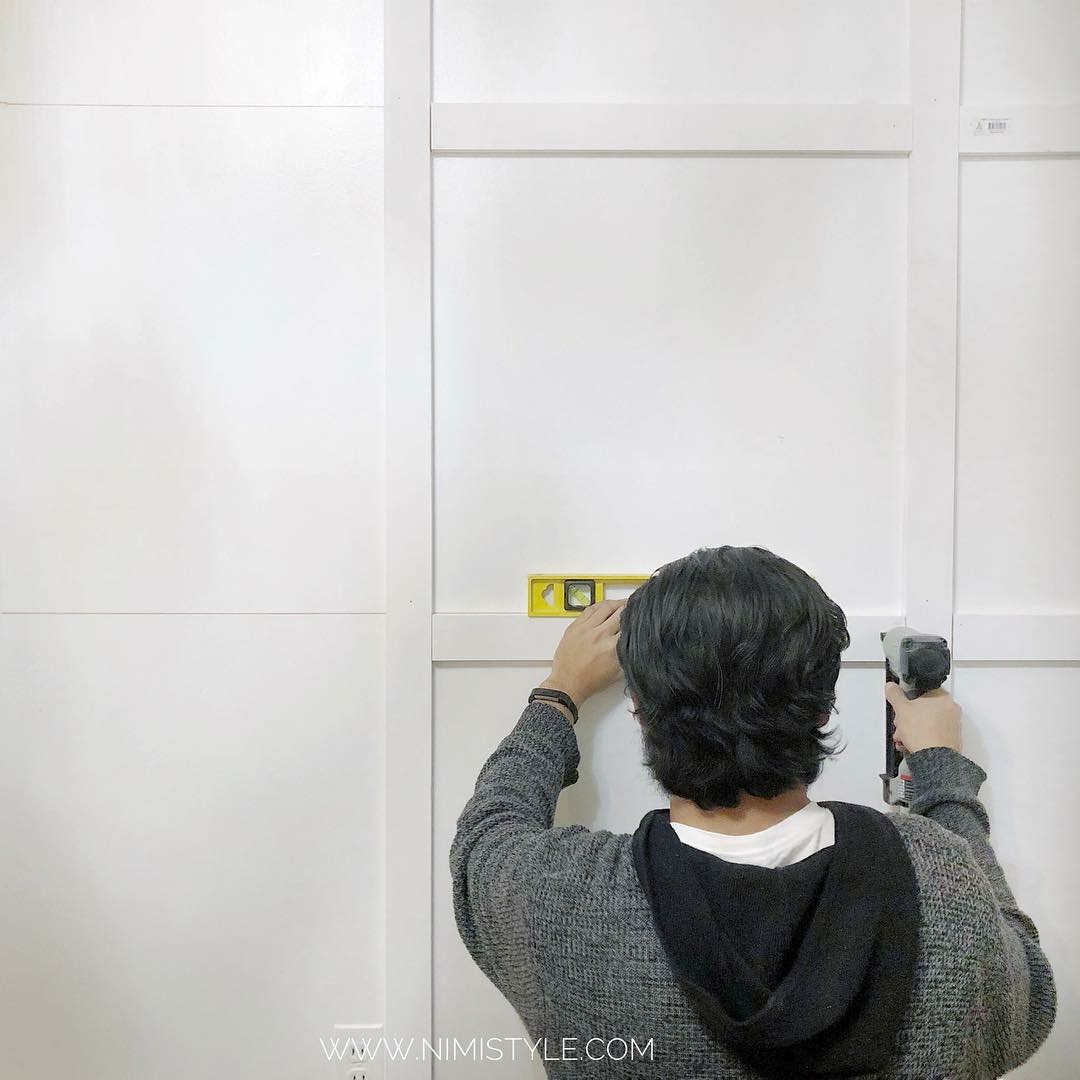
Level
Glue
Nail gun w/ 1-1/4” nails
Wood Filler or Joint compound
Paintable Caulking
WHAT YOU WILL DO:
(1) Measure out your wall and figure out the size of your grids, our grids are 23” from the beginning of one batten to the beggining of the next. You can use a board and batten calculator to figure out how much material you’ll be needing and how big your grids will be. We used this one. If you have any questions about how to use this specific calculator send us a message! Remember to take into account that the measurements for the pine boards are not precise. A 1”x3”x8’ board is actually .719”x2.5”x8’.
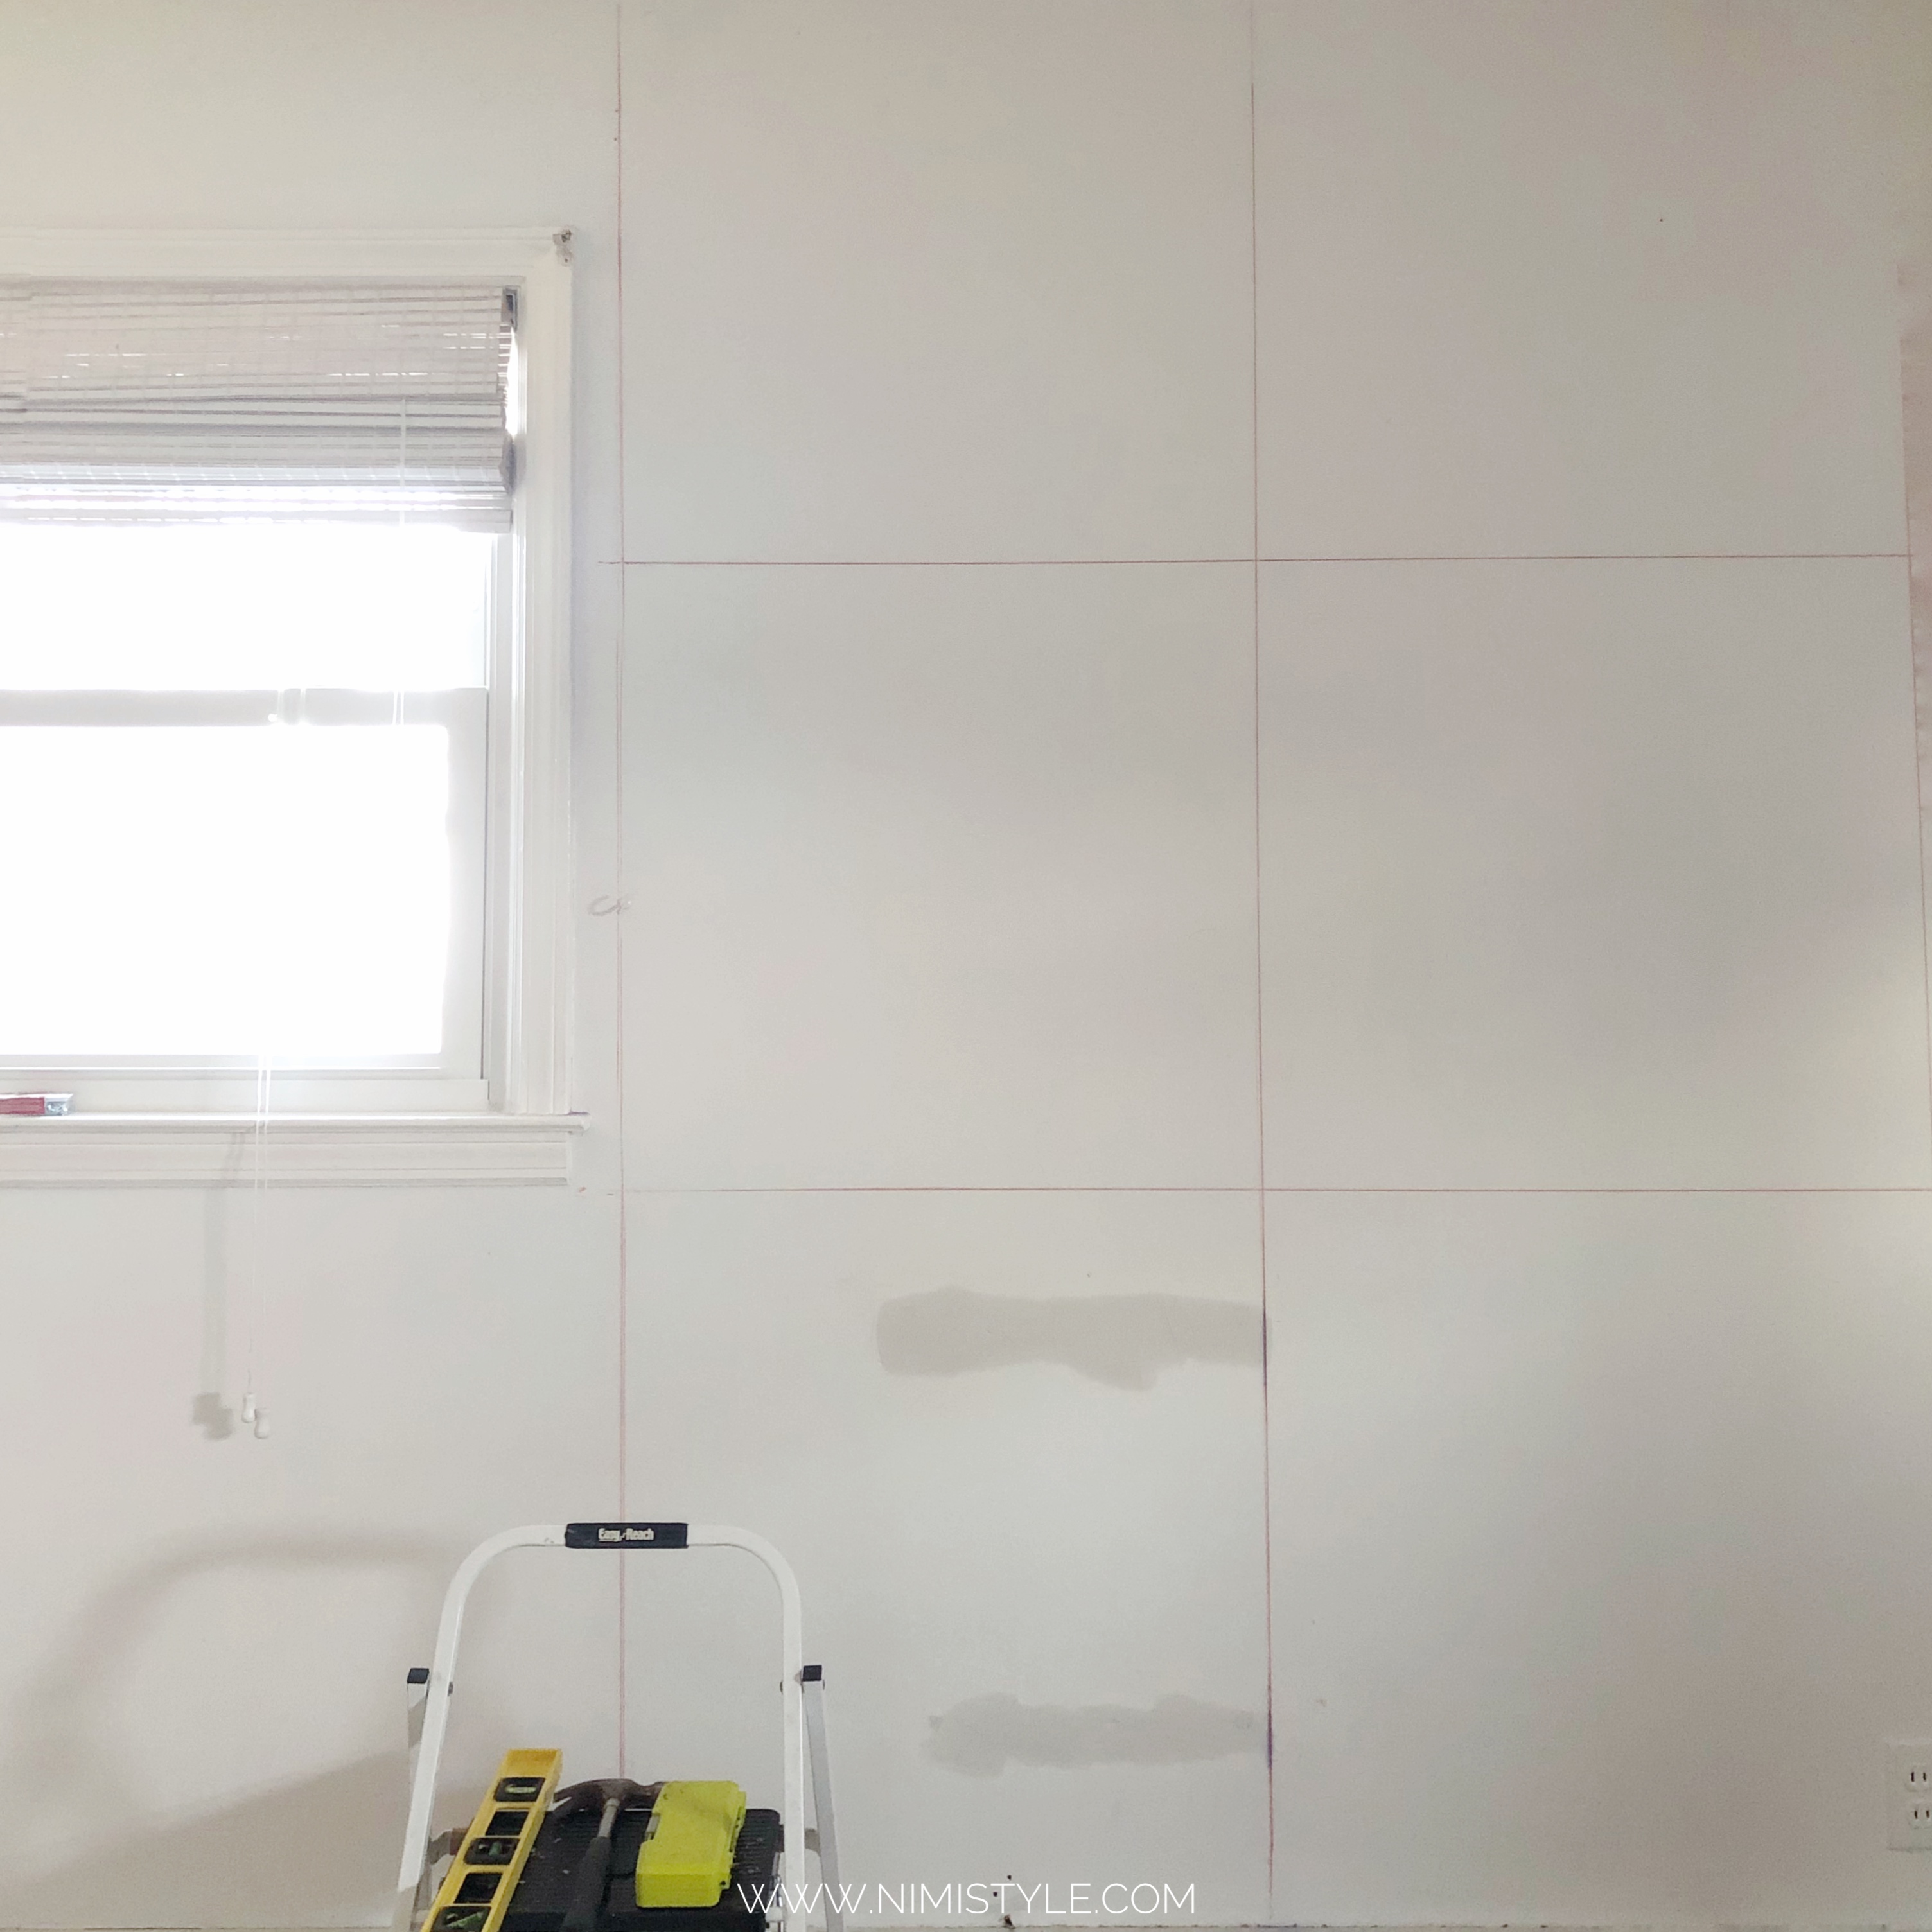
(2) Use a chalk line to mark your walls. Our chalk lines were used as a guide for where to place our batten. We decided to mark them so each batten would be to the right of the line horizontally and to the bottom of the line vertically. The chalk lines also helped us visualize the size of each square before cutting any pieces and finalizing the look. Once we were happy with the way it looked and where each square was landing is when we moved onto the next step.
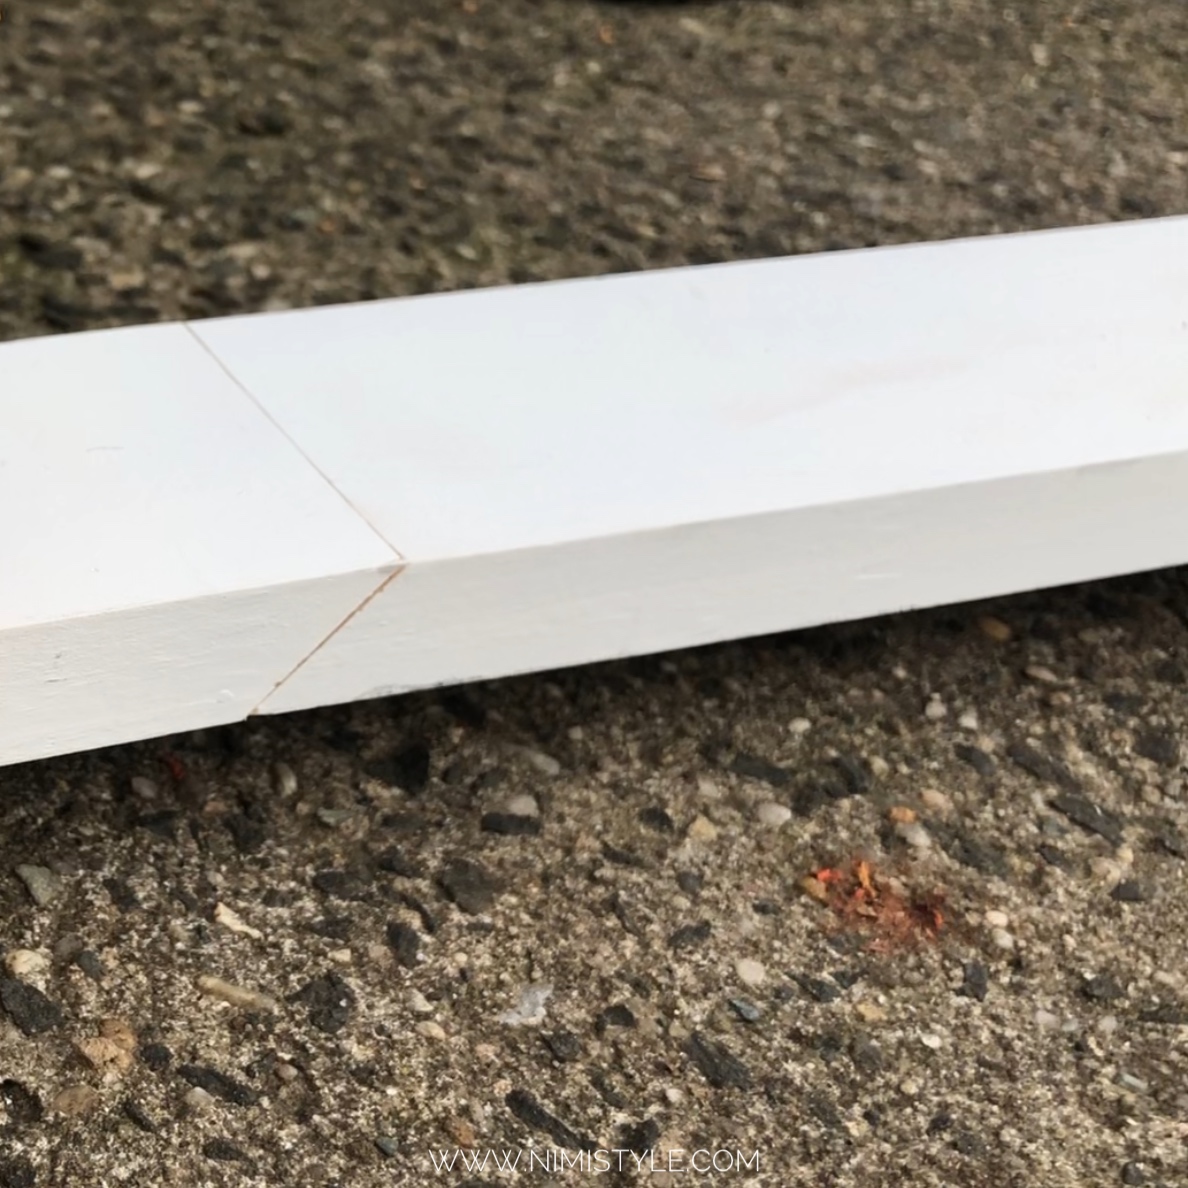
(3) Next cut your top piece and bottom piece. This should be the first two battens to be glued and nailed in. If you need to join multiple battens make sure to splice your cuts to get a smooth fit.
(4) Next cut your horizontal pieces. We decided on using one piece each for our horizontal battens so we have a more finished look. Measure each horizontal line again before cutting as no wall is straight. Our horizontal battens were all so very slightly off from each other in measurements. Visually you can’t tell but the pieces would have small gaps or overlaps if we didn’t measure them all individually. Make sure to glue these as well before nailing them in.
(5) Now comes the time to make the most cuts. Measure and cut each vertical line between each batten. Glue and nail in.
(6) Use wood filler or joint compound to cover each nail hole.
(7) Use paintable caulking to fill in all the joints and spaces where the battens connect, where the batten touches the ceiling, where the batten touches neighboring walls, and where the batten touches your baseboard molding (for us it was baseboard heating.)
(8) Paint your wall.

(9) Sit back and enjoy those beautiful grids and if you made it all the way to the bottom of this post here is our first DIY time lapse for you. #newbies 😉