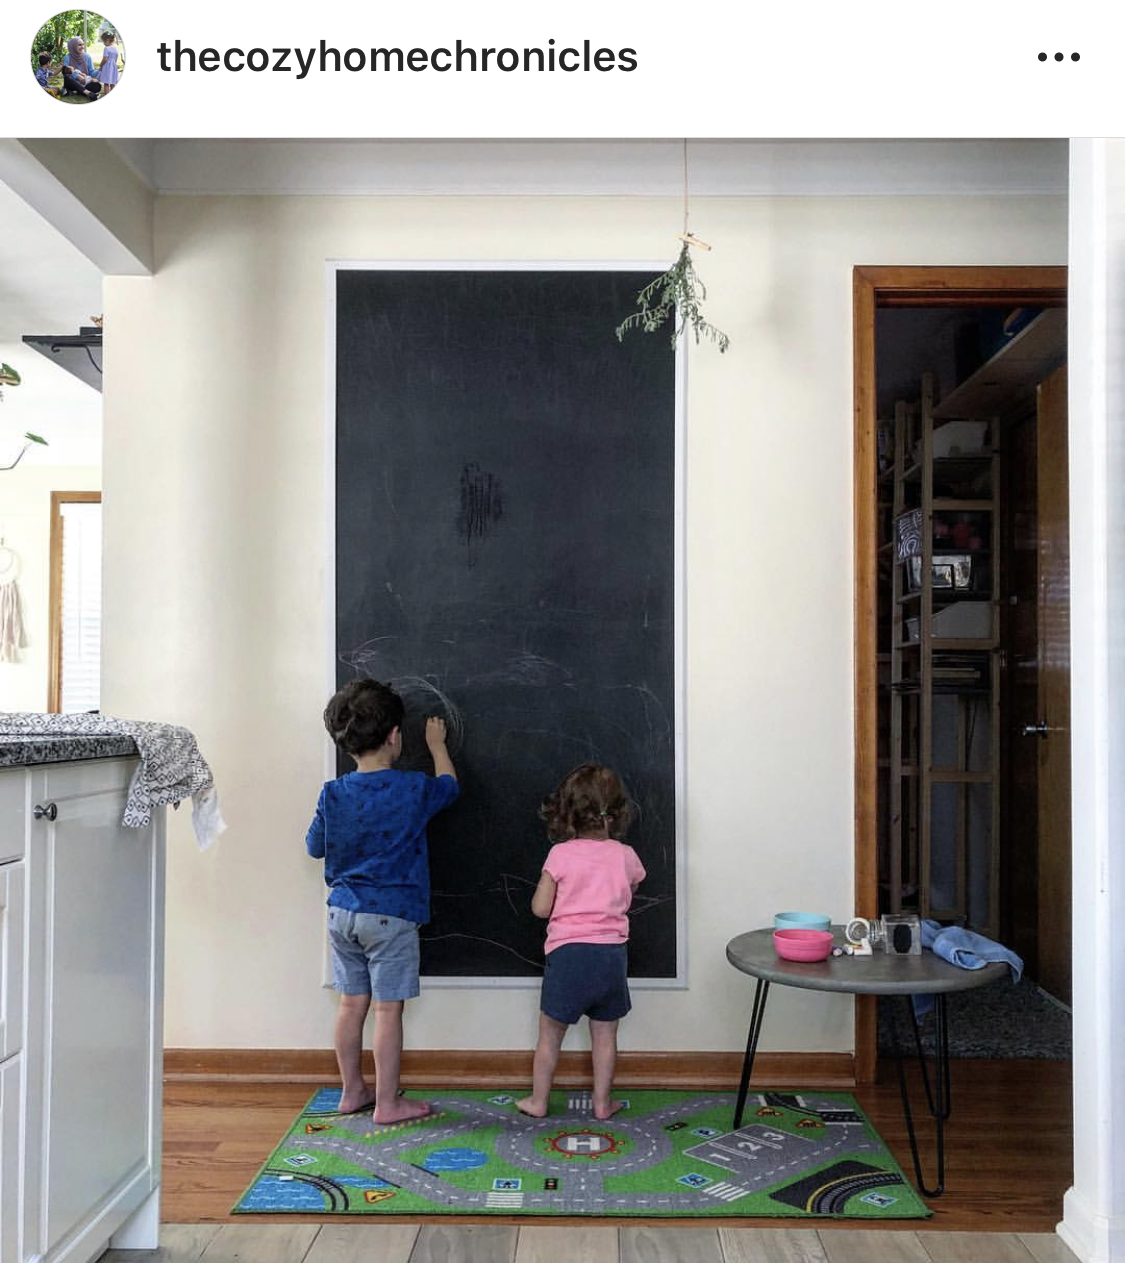
Our office chalk wall has been making an appearance every few months whenever I update our chalk art and you all ask how we made it! This was a DIY from back in the day that we never had the chance to document so I thought it would be a good idea to finally put it down on paper (blog) for me to reference when asked about it.
WHAT YOU NEED:
Chalk Board Paint
Paint Brush
Chalk
WHAT YOU WILL DO:
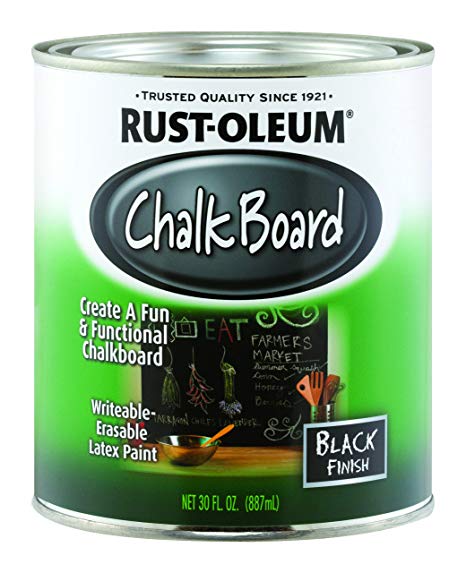
(1) Make sure your paint can is throughly mixed then brush it onto your wall. We only needed one coat and one can was enough to cover our entire wall with some still left over. Let it dry for a few days. We gave ours about 3 days.
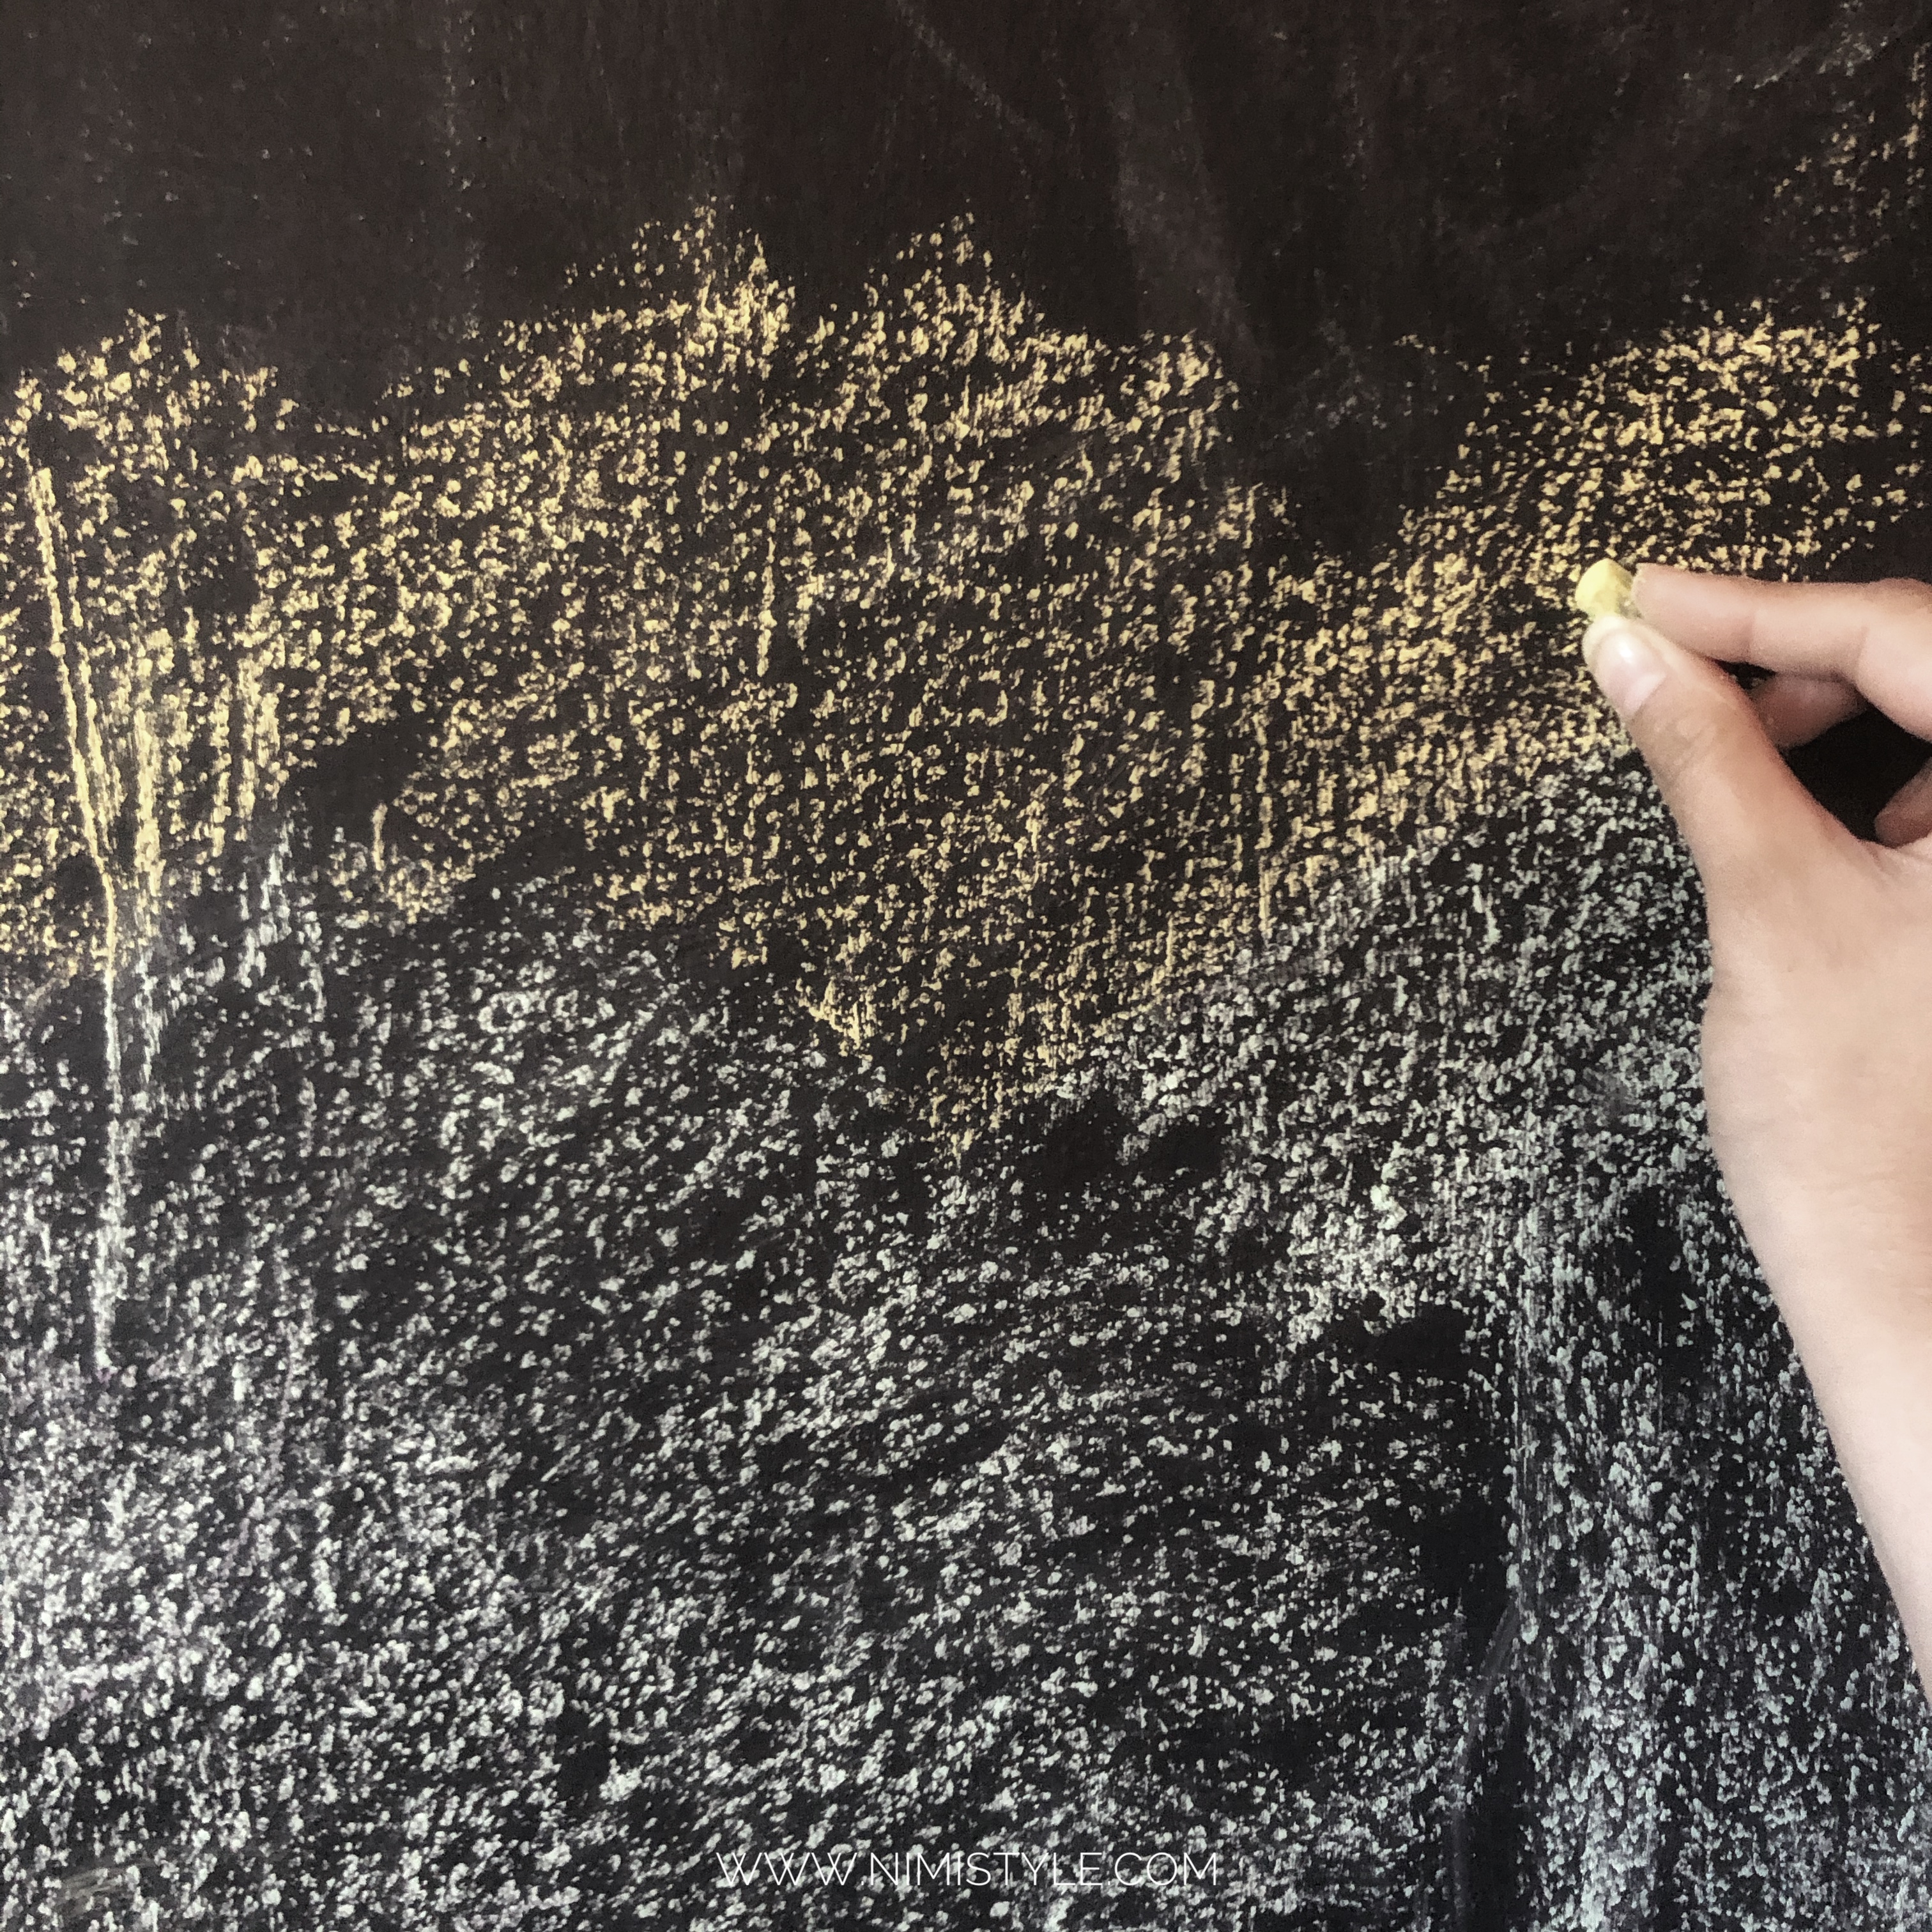
(2) Season your entire chalkboard wall surface by using the side of a chalk to draw. Get into every nook and cranny that you would possibly draw on in the future. If you draw on an unseasoned chalk wall anything you draw will leave a permanent imprint.
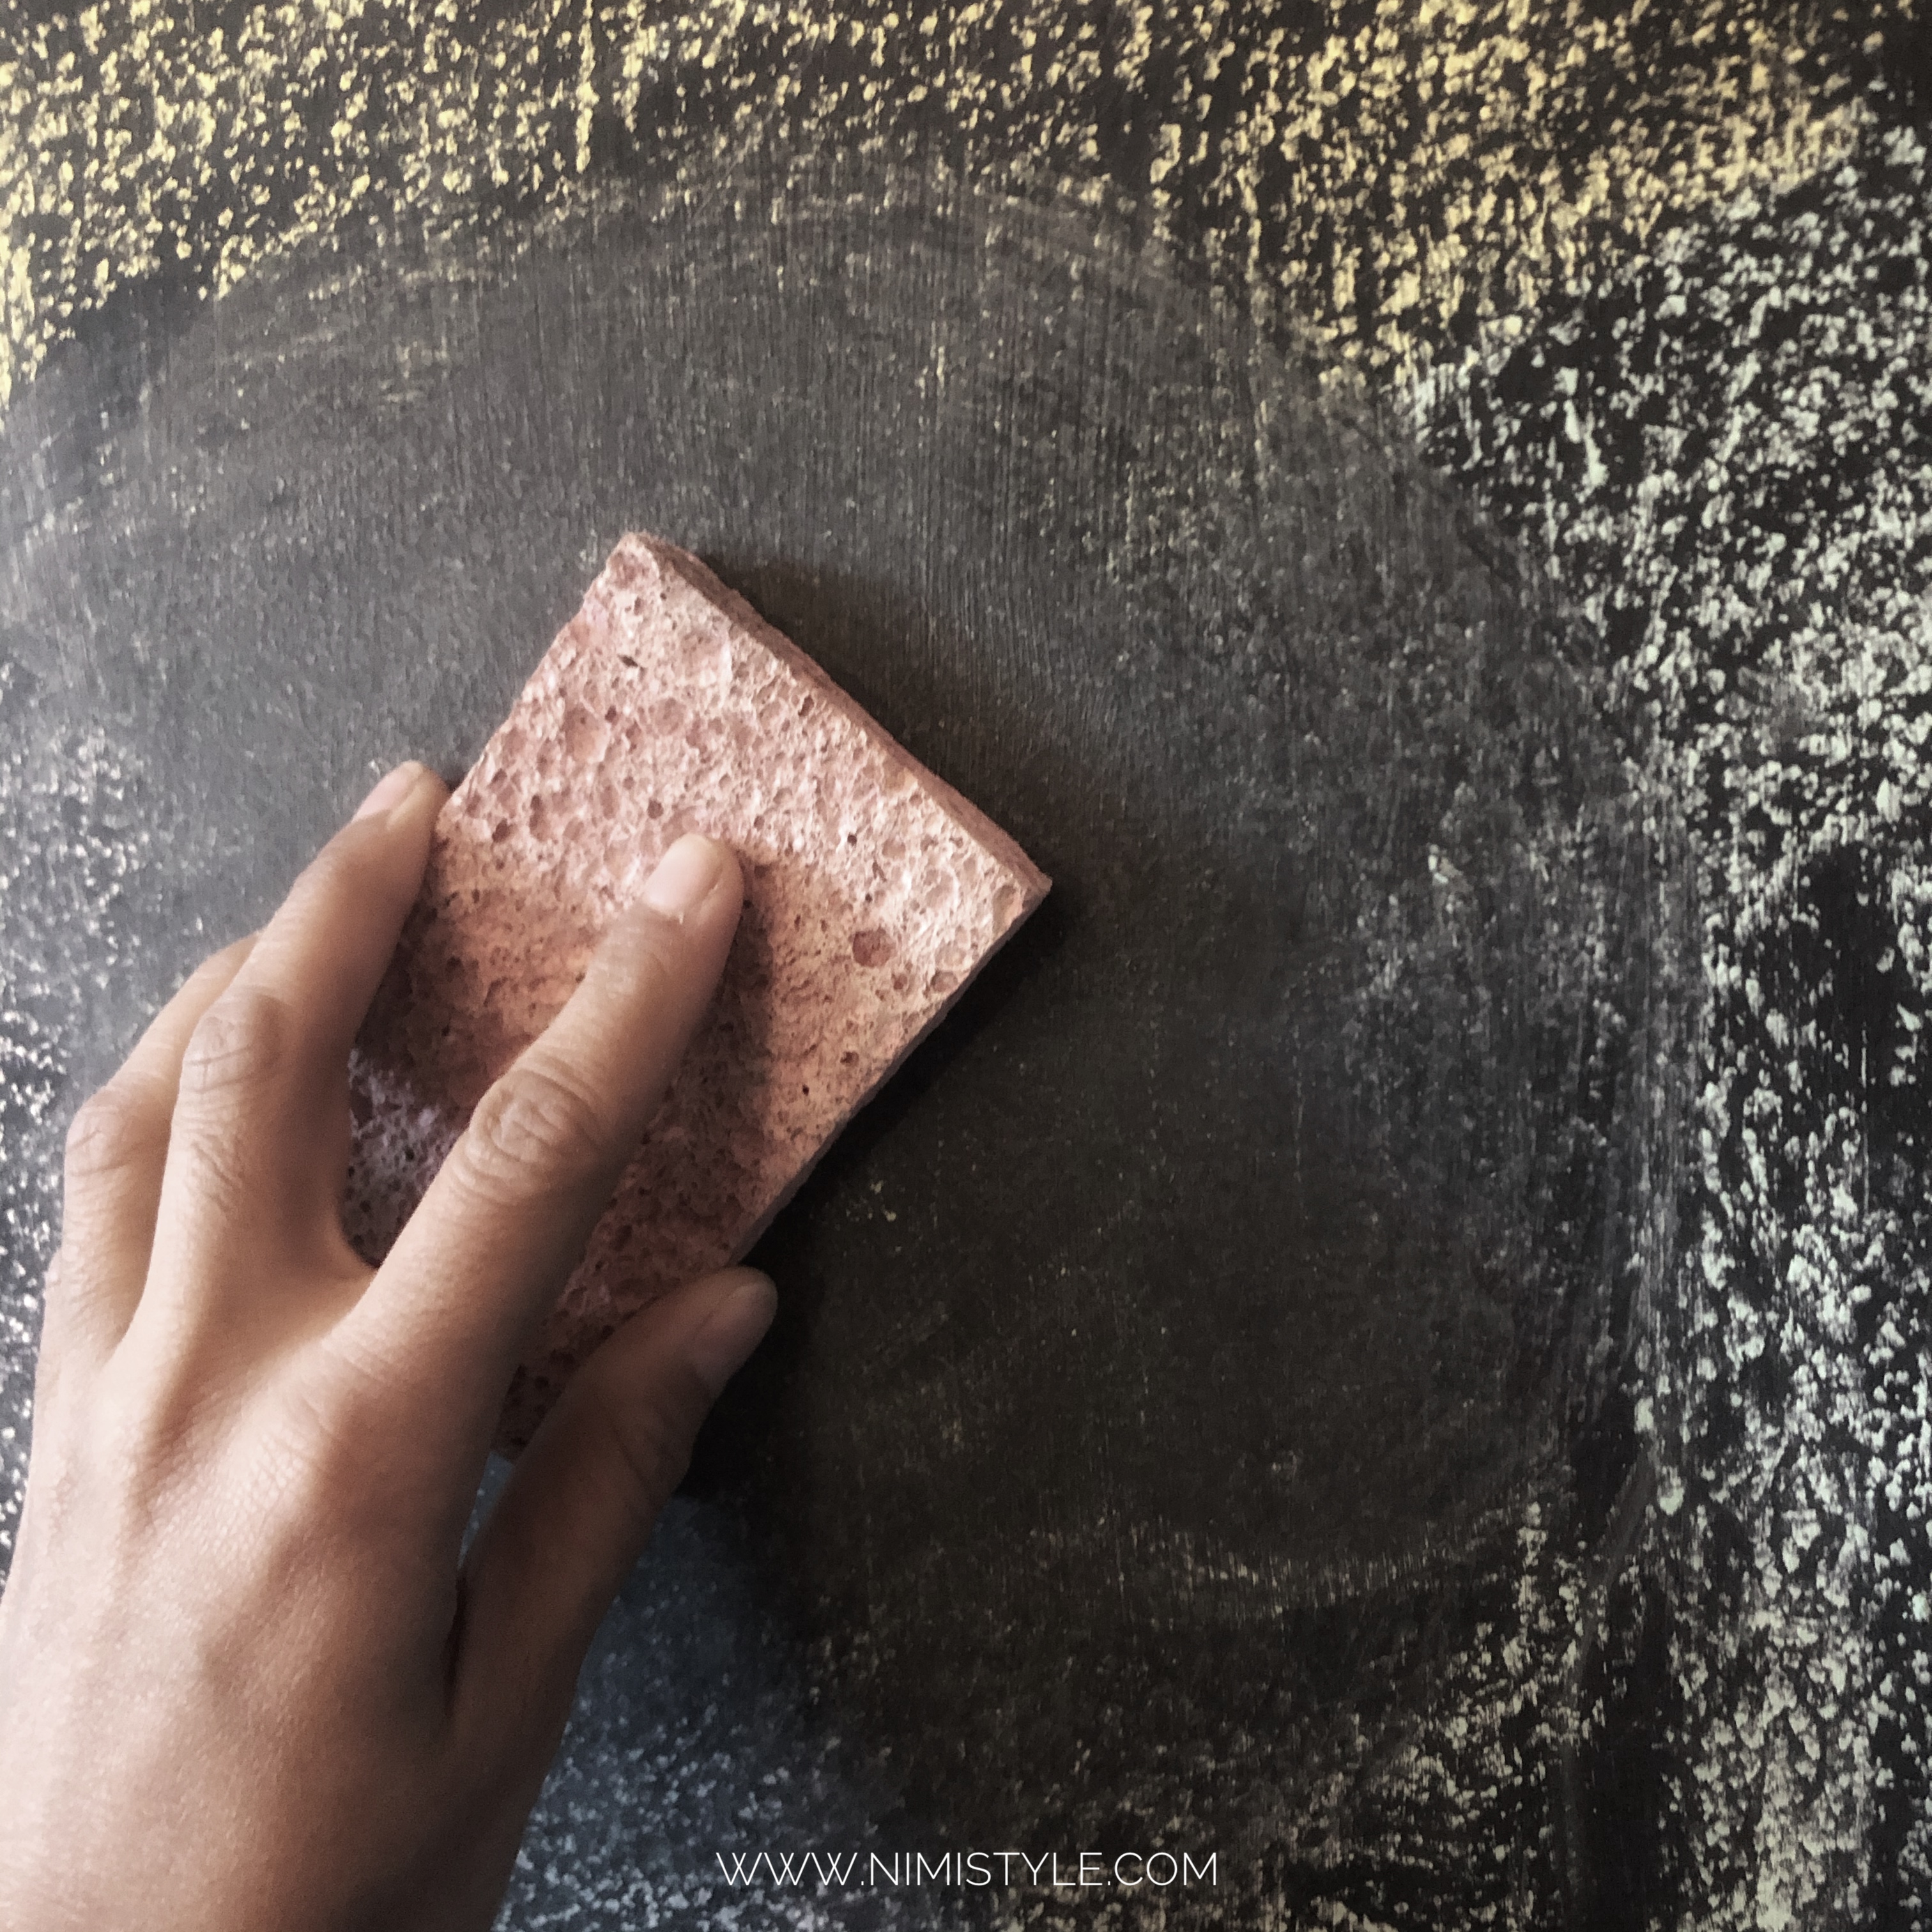
(3) Wipe off the chalk with a dry rag or sponge. Make sure it’s dry. You want all that chalk residue to remain just remove the dust.
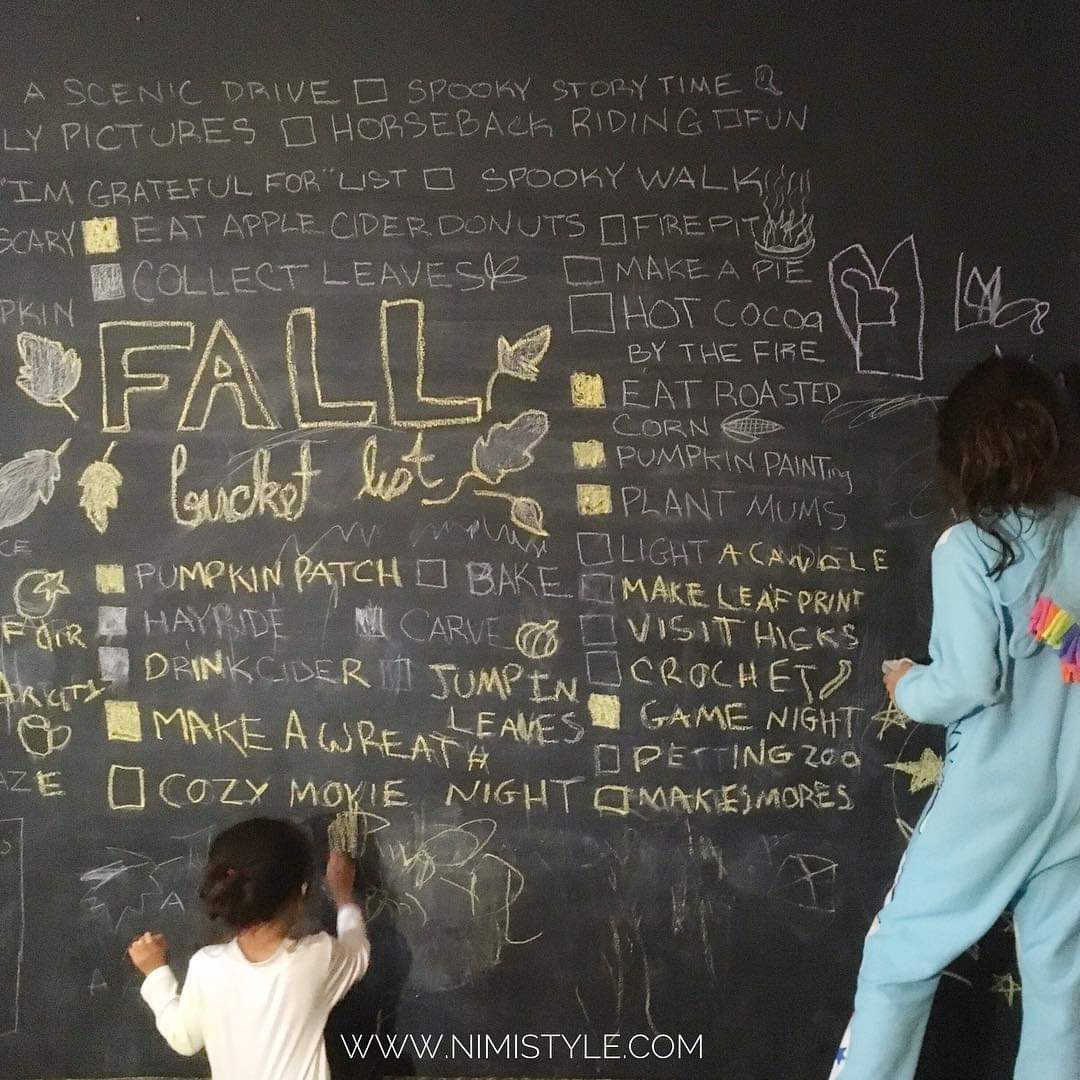
(4) Get creating! The chalk wall is ready to use.
How To Maintain A Chalkboard Wall:
(5) Once you’ve got your chalk wall up it’s easy to maintain! You can draw on it with regular chalk or chalk pens.
- Regular chalk wipes off easily with a wet rag but rubs off super easily with the touch of a hand.
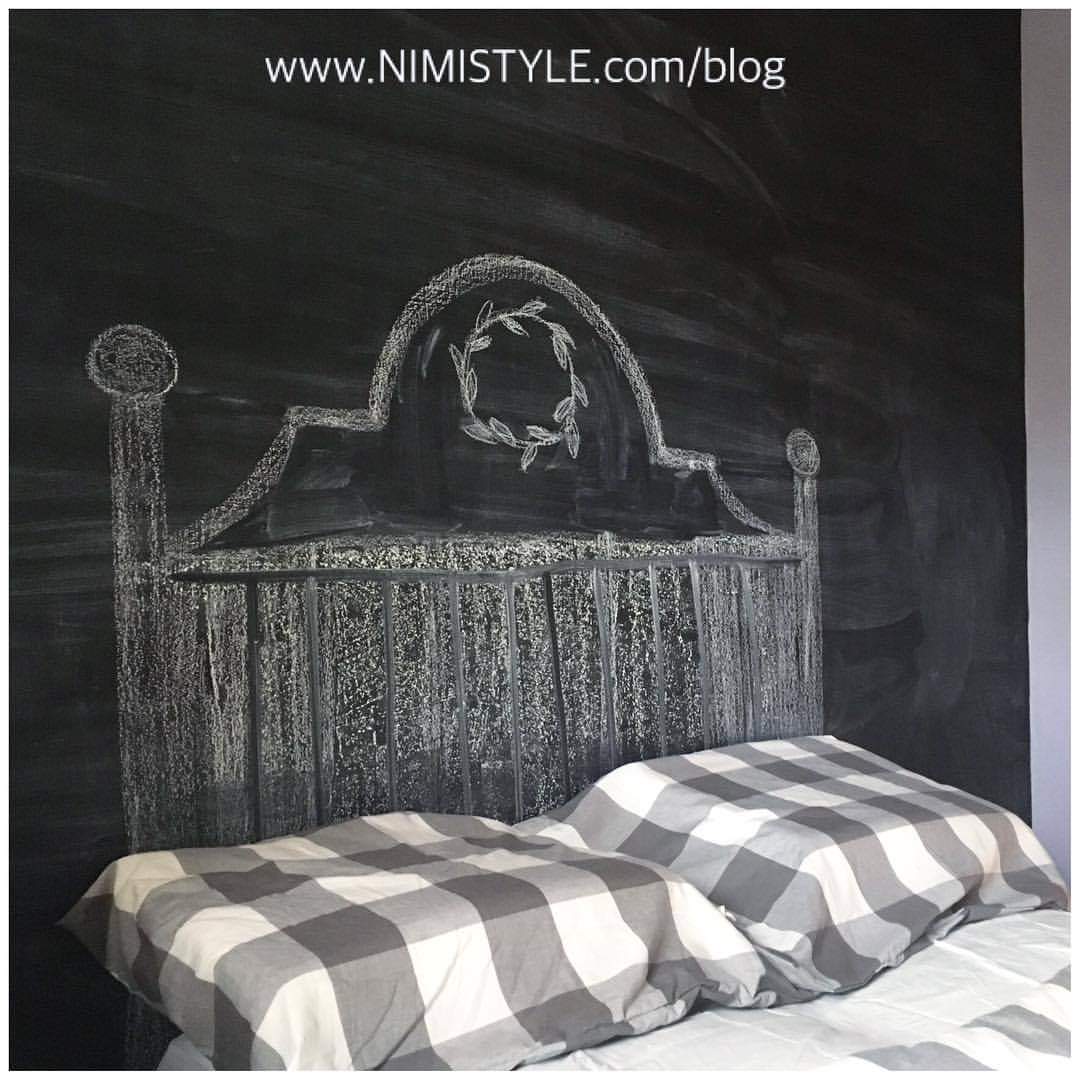
- Chalk pens are more permanent so perfect for chalk art you want to have up long term but require a little more when cleaning them off. I use a magic eraser to get the job done.
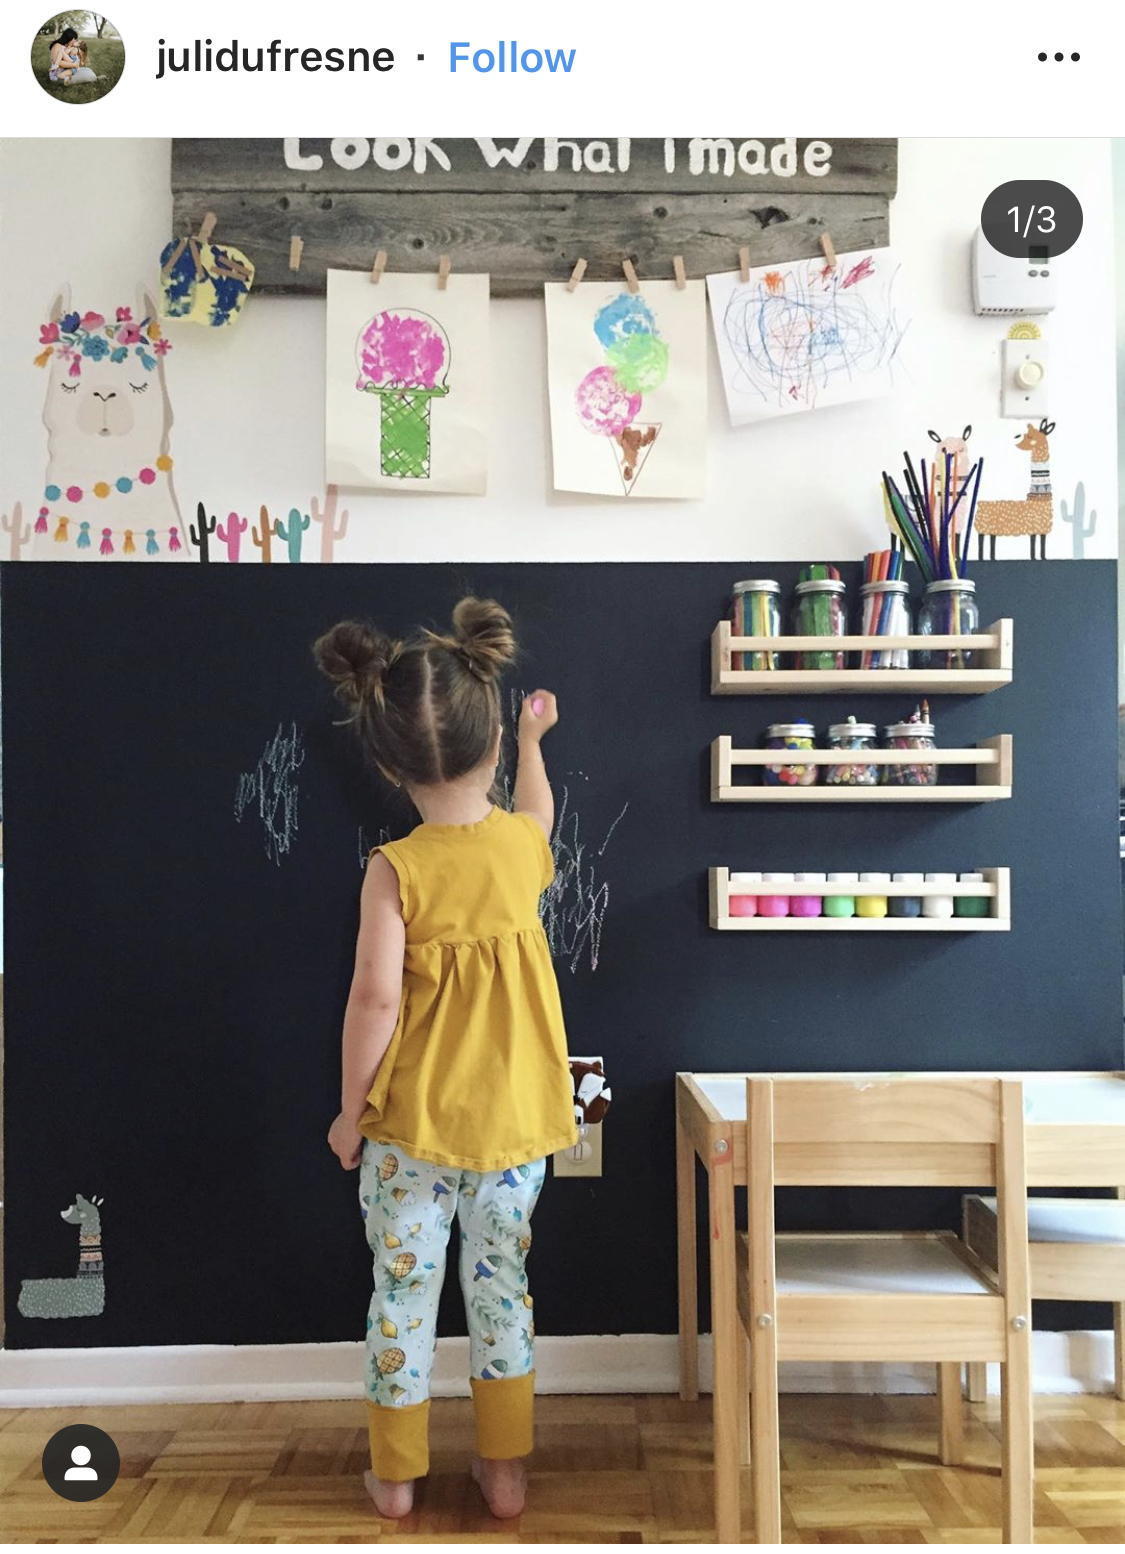
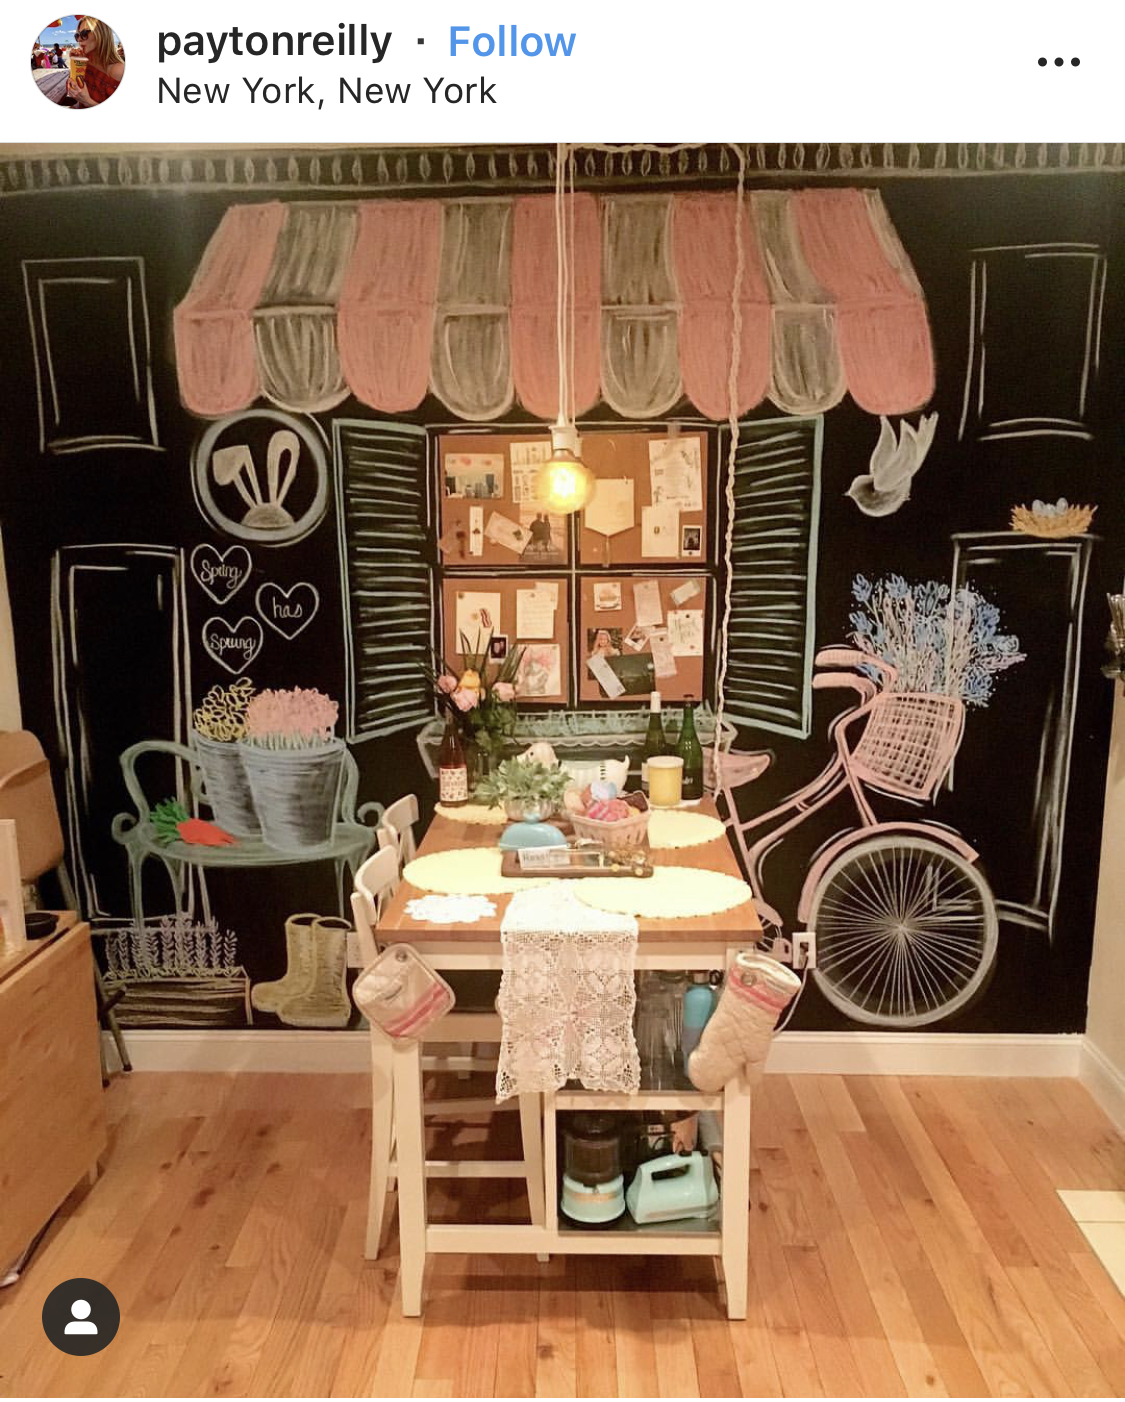
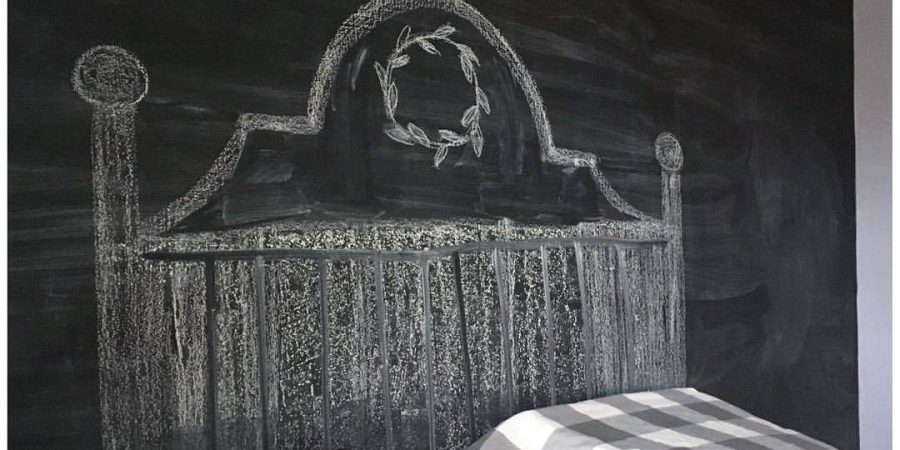
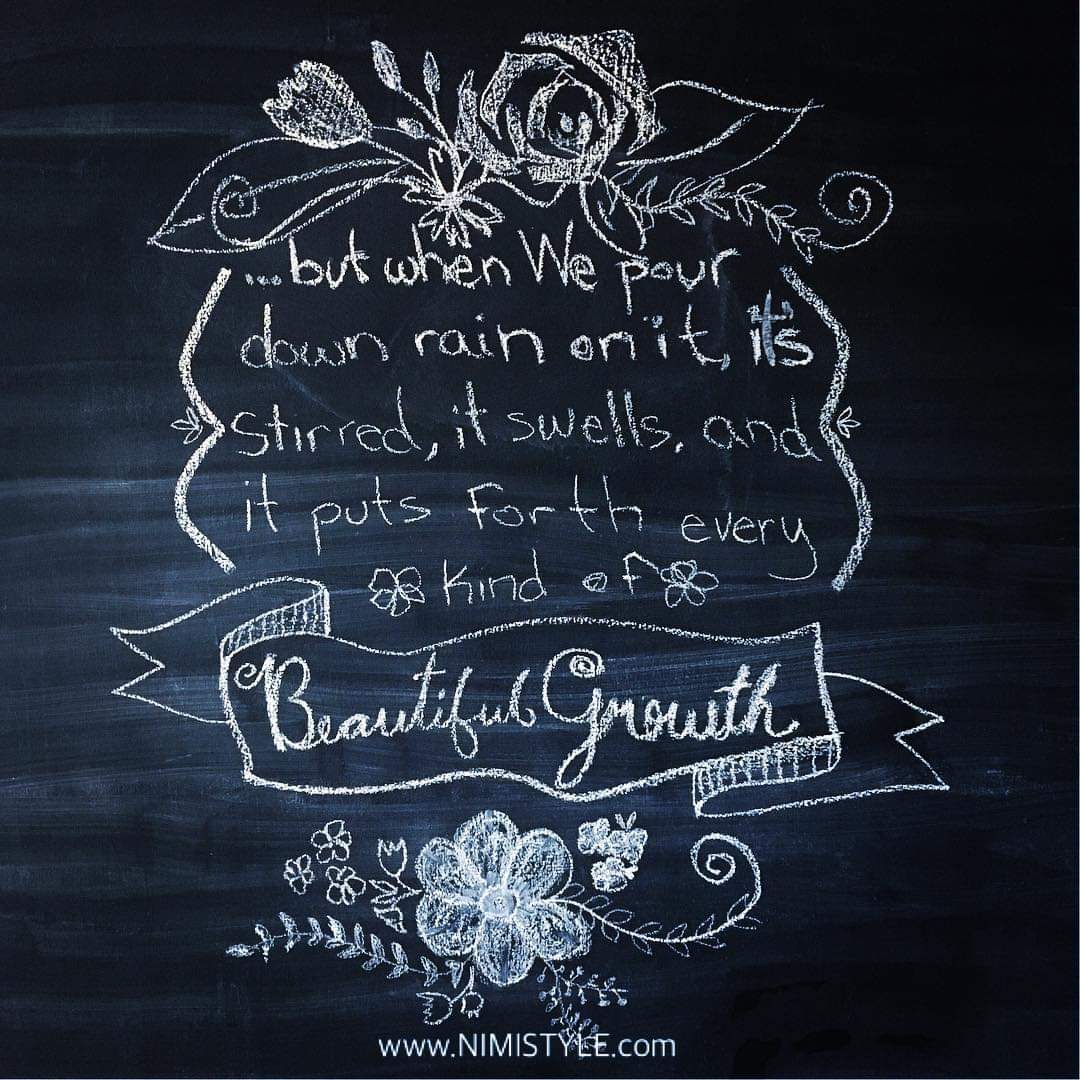
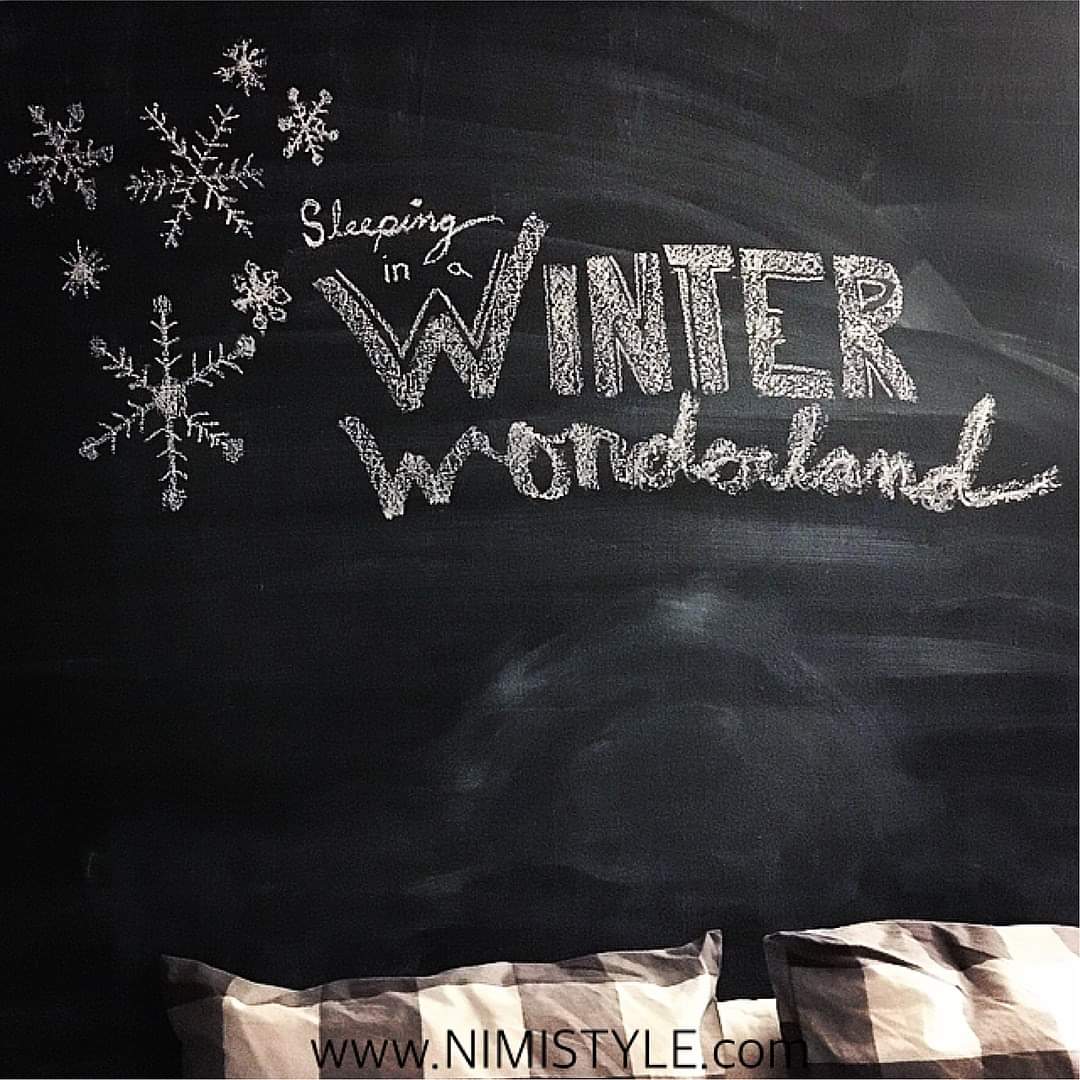
Here are a few more creative DIY chalkboards to inspire you!